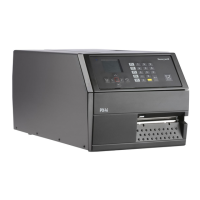
PD45 User Guide 57
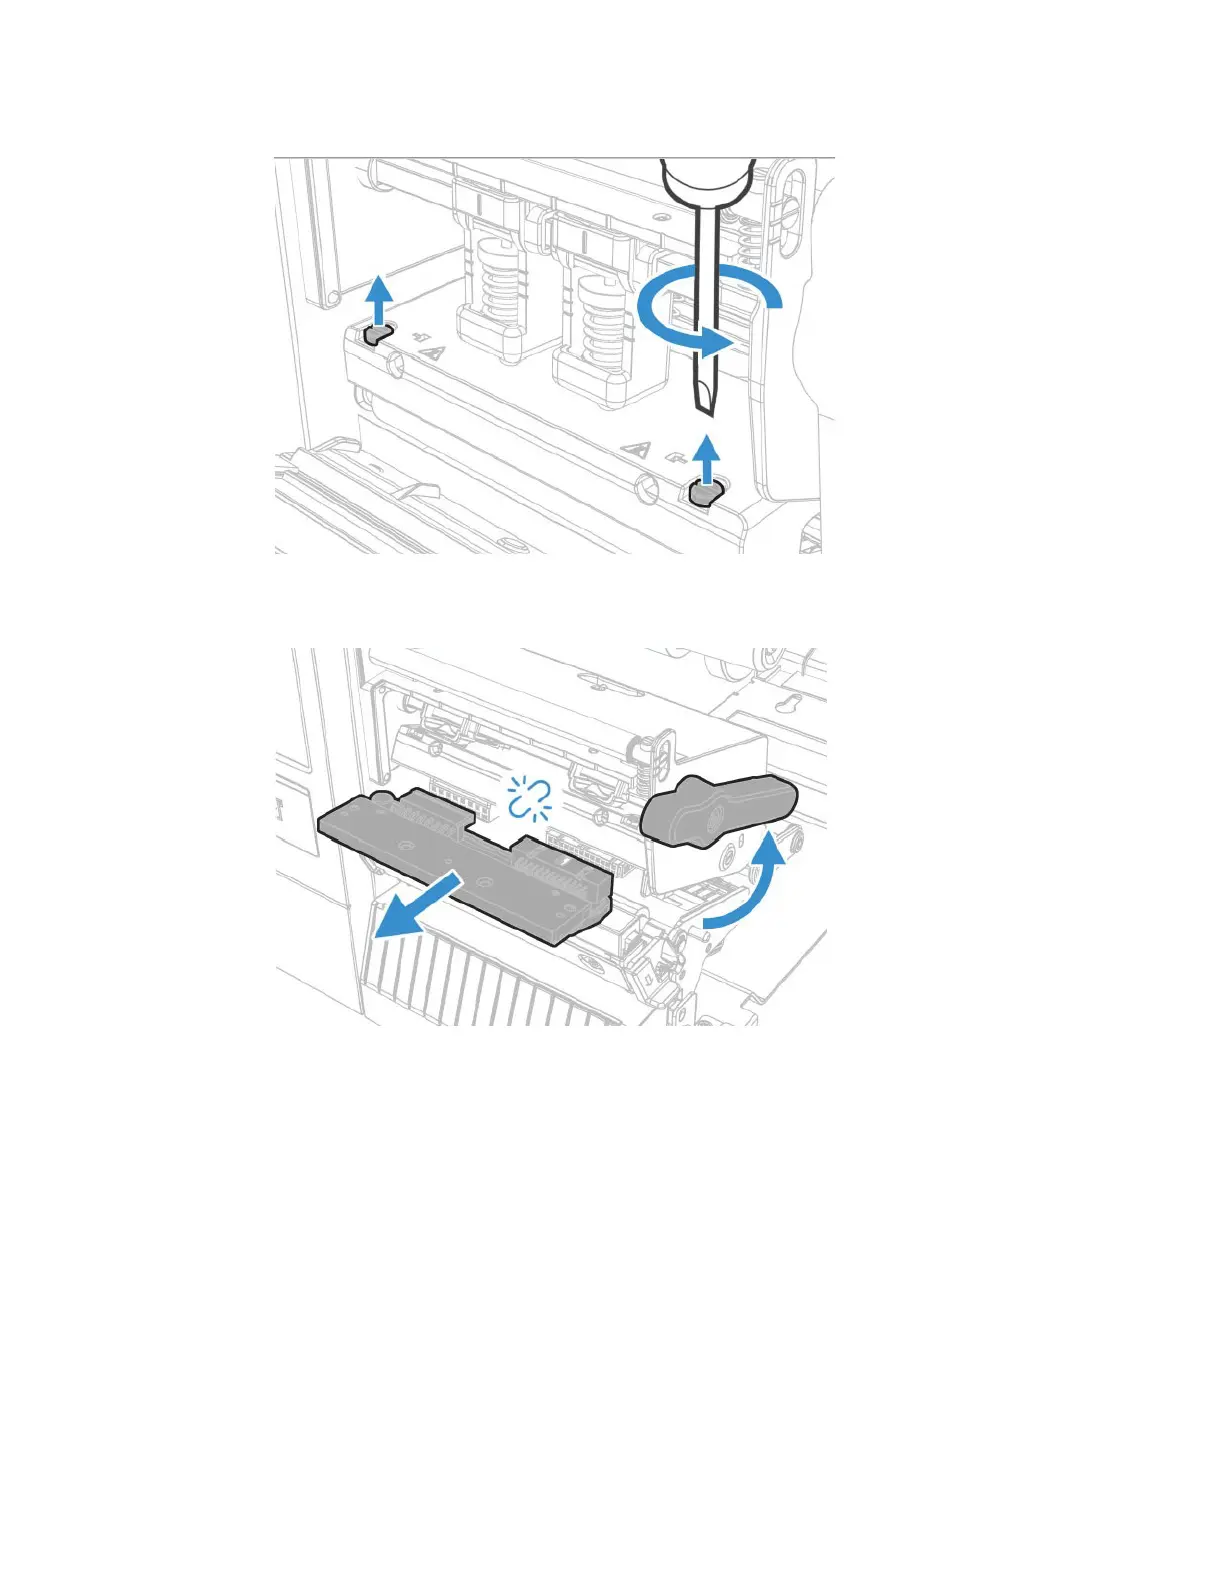
7. Use a screwdriver to loosen the left and right screw.
8. Turn the printhead lift leaver counter clockwise and put the printhead toward
you to remove.
Note: Use a long screwdriver and the guiding holes to access the screws.
9. Disconnect the two cables from the printhead as you remove it from the
printer.
10. Connect the two printhead cables to the new printhead.
11. Insert the new printhead to the bracket into the printer.
12. Turn the printhead lift lever clockwise to close it.
13. Fasten the left and right screw.
14. Lock the Front Sensor module back to the printer.
15. Replace the media (and ribbon) in the printer.
16. Close the media cover, reconnect power, and turn on the printer.

 Loading...