22
Starting calibration
Place a container or attach a calibration bag
under the metering unit, depending on the
machine.
Press the trac light button to start.
A second page "Calibration" appears.
With the "ESC"-key you can abort the process
at this point and start it anew.
The "Return"-key brings you back to the work
page.
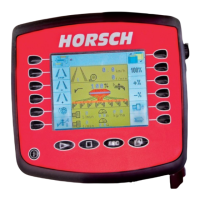
¾ Operate the calibration switch on the machine.
The rotor turns and fills the calibration
container.
¾ After switching o calibration the menu to
enter the calibration quantity appears.
Metering unit lled?
The hopper must be suciently lled with seed
before starting the calibration process. However,
the hopper should not be lled completely; this
applies particularly for ne seeding, to enable
easier exchange of rotor if it has been incorrectly
selected.
For correct calculation of the seed quantity all
cells in the rotor should be lled when starting
the seed calibration.
For this purpose press the key "Metering Unit".
The rotor will rotate as long as specied in the
"Conguration 3" menu under "prime rotor time",
or until the key is pressed again.
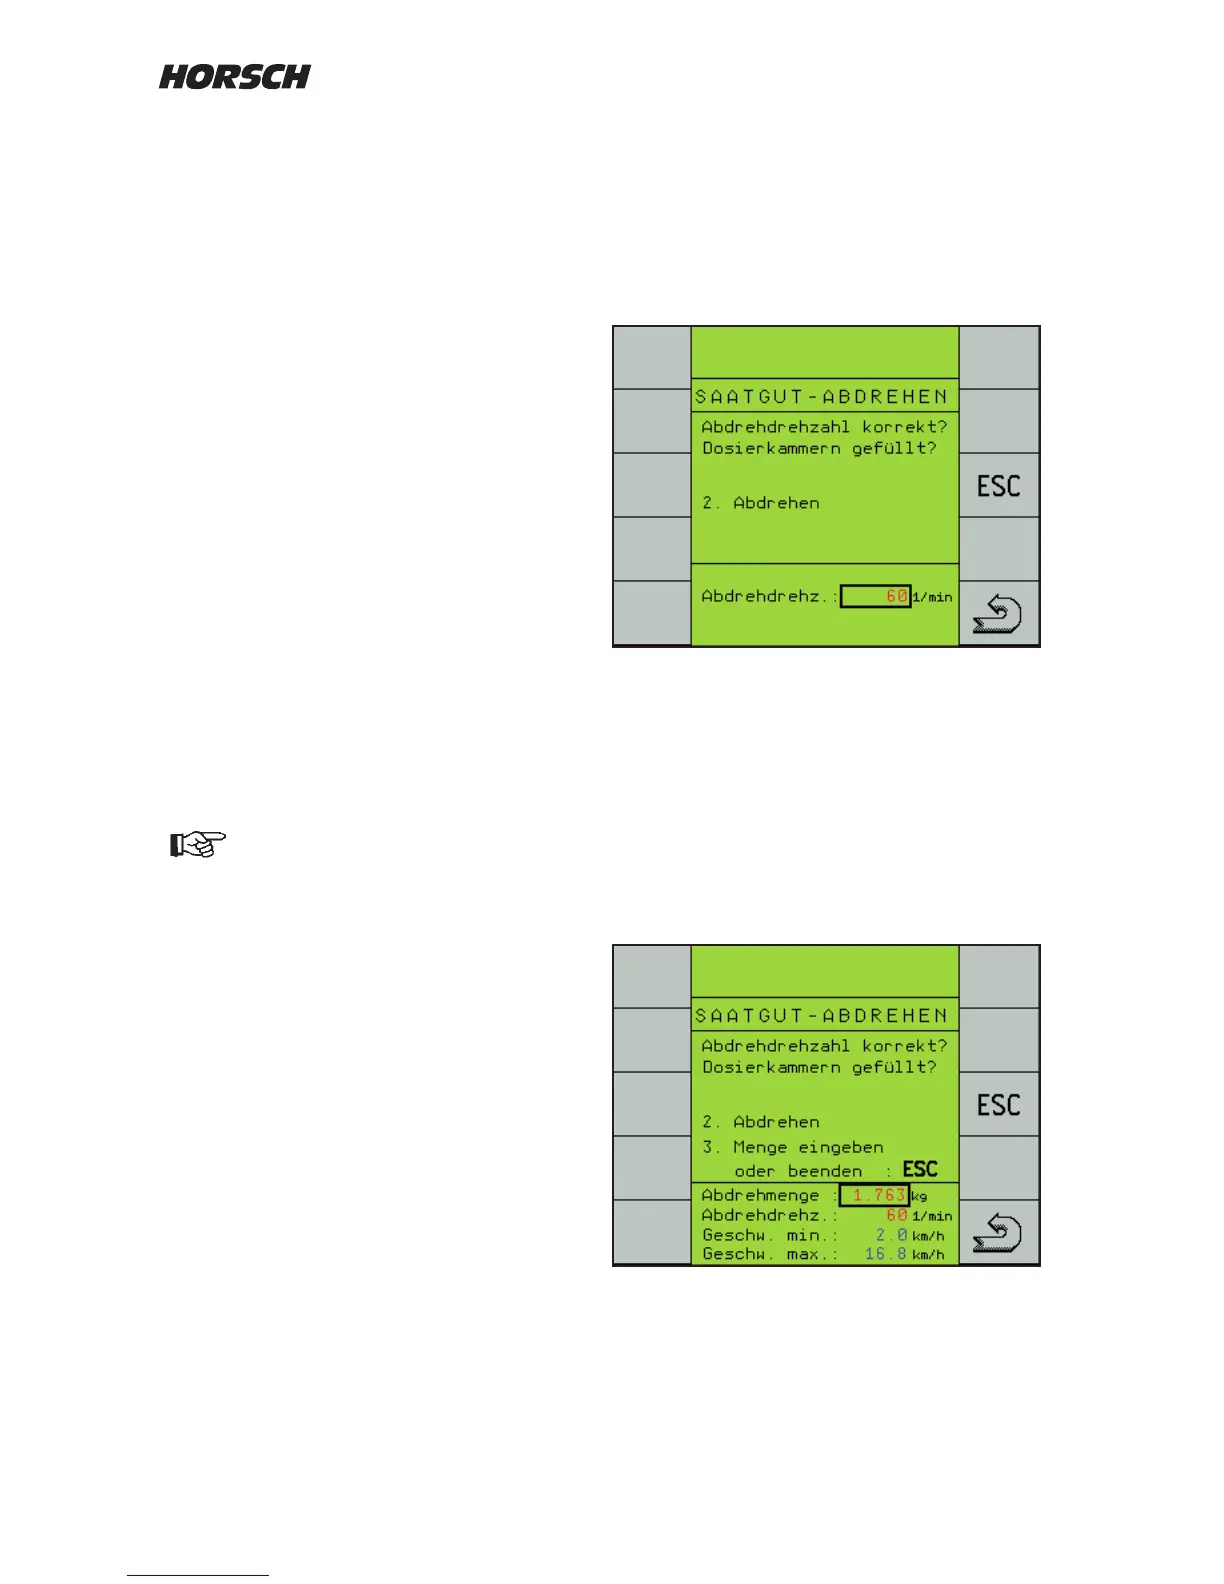
Calibration quantity
During the "Seed calibration" the computer
receives the calculation information required for
exact metering control.
It requires the seed weight taken from the
metering unit during seed calibration as input
value.
In order to keep measuring inaccuracies low, as
much seed as possible should be metered out.
Before the seed calibration you must
check and possibly clean the Venturi
area and the connected pipes from any
seed deposits. Residues falsify the
calibration quantity and thus the
complete drilling.