EasyManua.ls Logo

Horus VERTIGO - Menu M1-Set Clock; Menu M2 - Set Chrono; Submenu M2 - 1 - Enable Chrono; User Menu

Horus VERTIGO
Print Icon
To Next Page IconTo Next Page
To Previous Page IconTo Previous Page
Loading...
Manuale di installazione uso e
manutenzione
47
41.User Menu
Holding down the P1 button accesses the menu.
This is divided into various items and levels that allow the user to access the stove program. The following is a summary of the
menu structure, focusing on the selections available to the user.
The following describes the programming phases for the menu pages with their submenus.
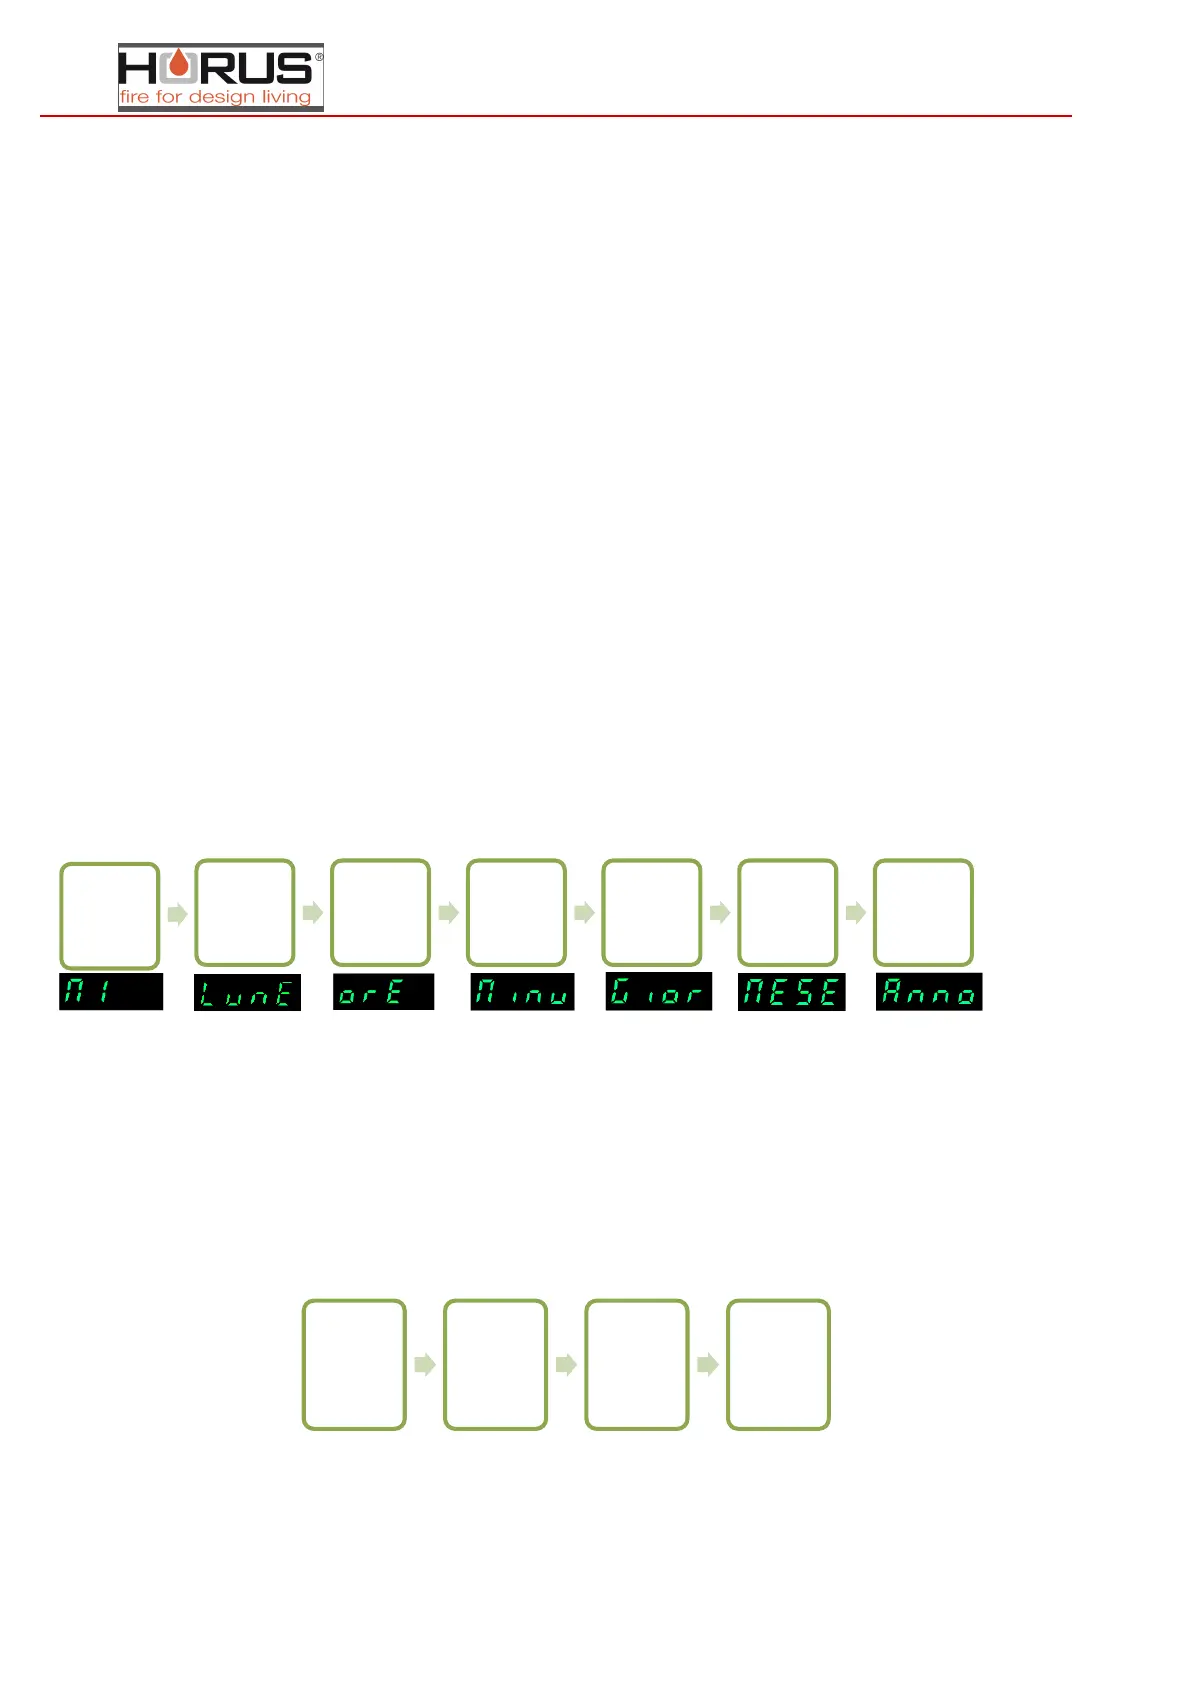
42.MENU M1-SET CLOCK
Set the current date and time. The board has a Lithium battery that gives the internal clock over 3-5 years of autonomy. To
access the general programming menu, press P1 for 2 seconds. Pressing P1 (decrease) or P2 (increase) selects M1
43. Menu M2 - Set Chrono
44. Submenu M2 - 1 - Enable chrono
The menu shown on the display, "M2 set chrono" allows the user to enable and disable all chronothermostat functions
(choose the band - "daily", "weekly", "weekend" - desired and set to ON, disabling the other two, this prevents overwriting
the programming). To enable press P3 and then press P1 or P2 per section On or Off. Confirm with P3.
Procedure to enable or disable chrono zone,
Press P3 for a few seconds or wait until it returns to the home screen
Press P1 for
2 seconds
Press P3
then P1 or
P2 to select
the day of
the week
Press P3
and P1-P2
to choose
the hour
Press P3
and P1-P2
to choose
the minutes
Press P3
and P1-P2
to choose
the day of
the month
Press P3
and P1-P2
to choose
the month
Press P3
and P1-P2
to choose
the year
Press P1
for 2
seconds
Press P2
"set
chrono"
Press P3
"enable
chrono"
Press P3
and then
P1-P2
enable or
disable
M1-Set Clock
01-Day
of the
week
02-
Hours
03-
Minutes
04-Day
05-
Month
06-Year
M2-Set chrono
M2-1 Enable chrono
M2-2 Daily programming
M2-3 Weekly programming
M2-4 Weekend programming
M2-5 Exit programming
M3-Choose
language
01-Italian
02-English
03-French
04-German
M4-stand-by
01-stand-by
M5-Buzzer
01-buzzer
M6-first load
01-first load
M7-stove
status
01-stove
status
M8-technical
calibration
01-access key
M9-exit
01-exit

Table of Contents

Related product manuals