Hardware options installation 39
• Populate drive bays, based on the drive numbering sequence. Start from the drive bay with the
lowest device number ("Drive numbering" on page 13).
• All drives grouped into the same drive array must meet the following criteria:
o They must be either all SAS or all SATA.
o They must be either all hard drives or all solid state drives.
o Drives should be the same capacity to provide the greatest storage space efficiency when drives
are grouped together into the same drive array.
Installing a non-hot-plug drive
CAUTION: To prevent improper cooling and thermal damage, do not operate the server
unless all bays are populated with either a component or a blank.
To install the component:
1. Power down the server (on page 16).
2. Remove all power:
a. Disconnect each power cord from the power source.
b. Disconnect each power cord from the server.
3. Remove the tower bezel ("Remove the bezel" on page 17).
4. Remove the access panel (on page 18).
5. Remove the air baffle (on page 20).
6. Disconnect all cables connected to any installed drives.
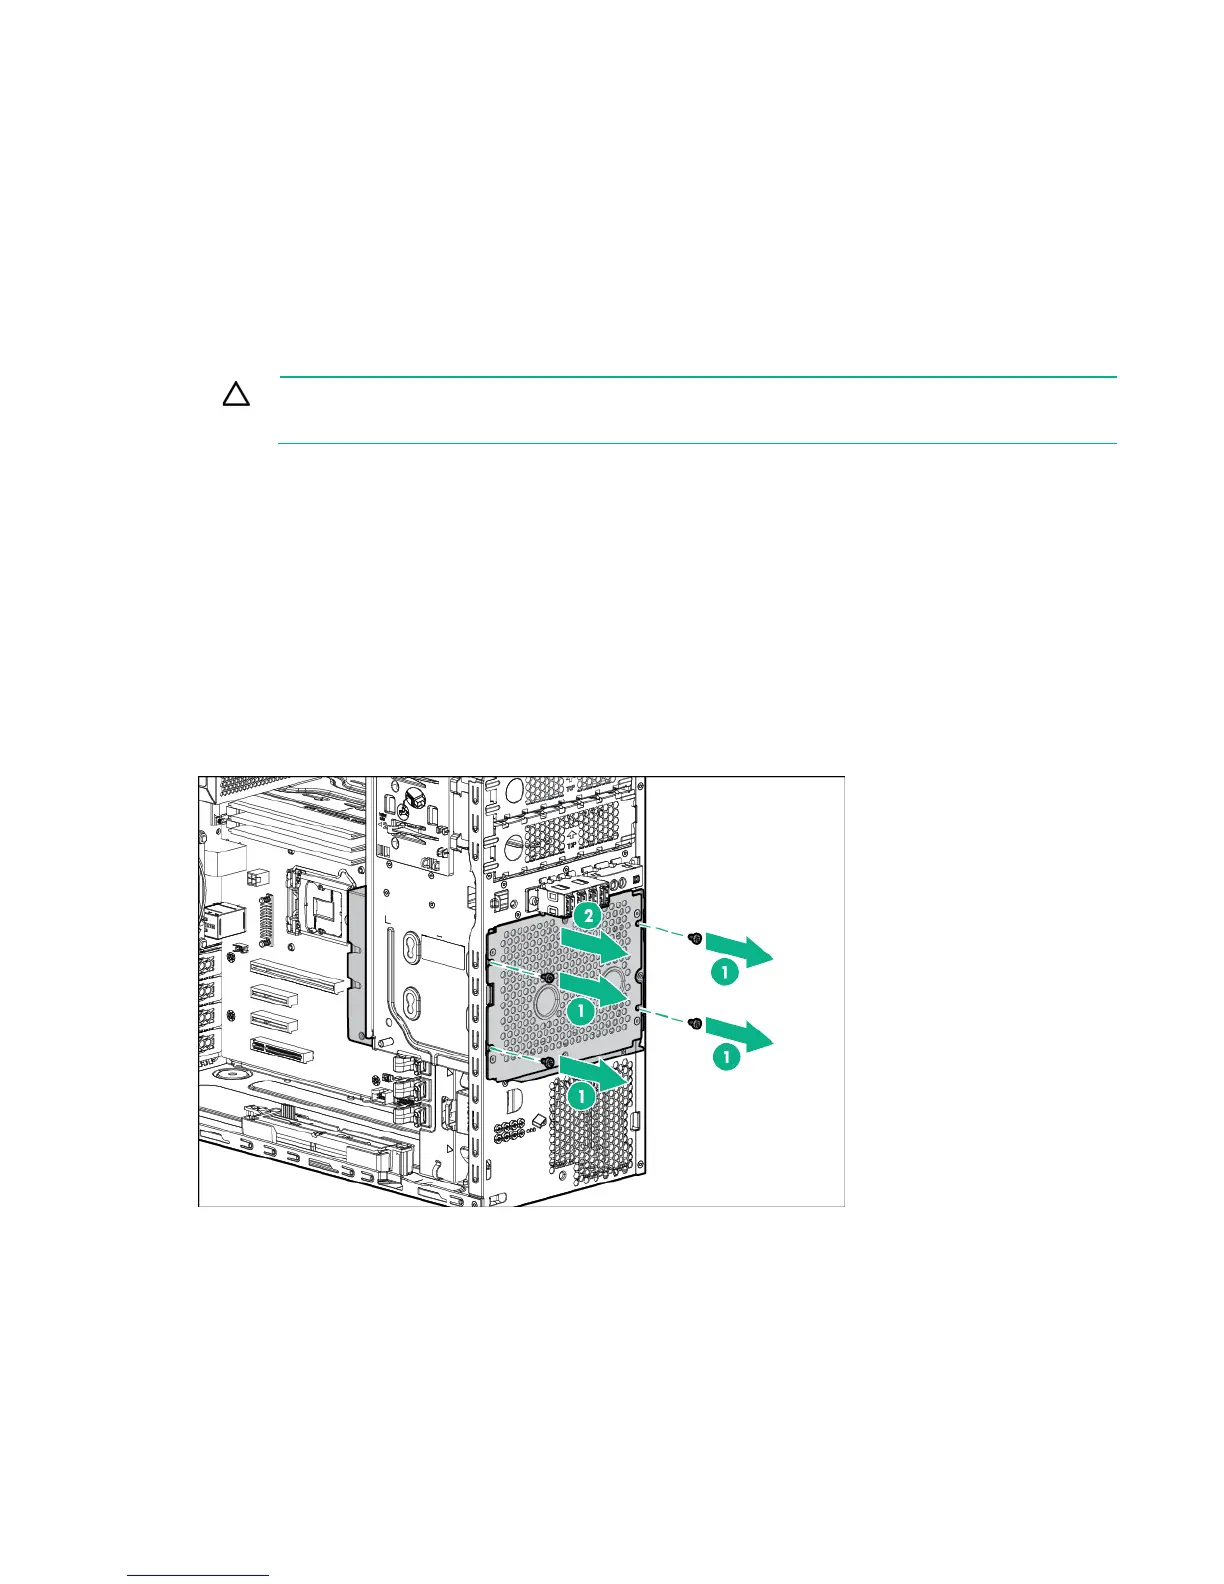
7. Remove the installed drive cage assembly.
8. Use the screws on the drive cage to install the drives.

 Loading...