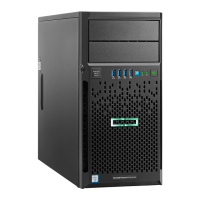
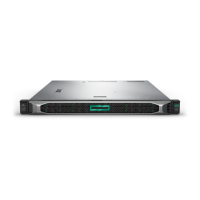
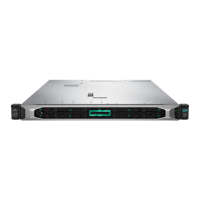
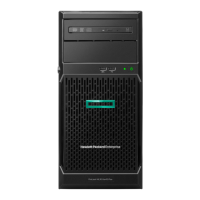
Hardware options installation 44
b.
Disconnect each power cord from the server.
4. Remove the bezel (on page 17).
5. Place the server on its side with the access panel facing up.
6. Remove the access panel (on page 18).
7. Remove the air baffle (on page 20).
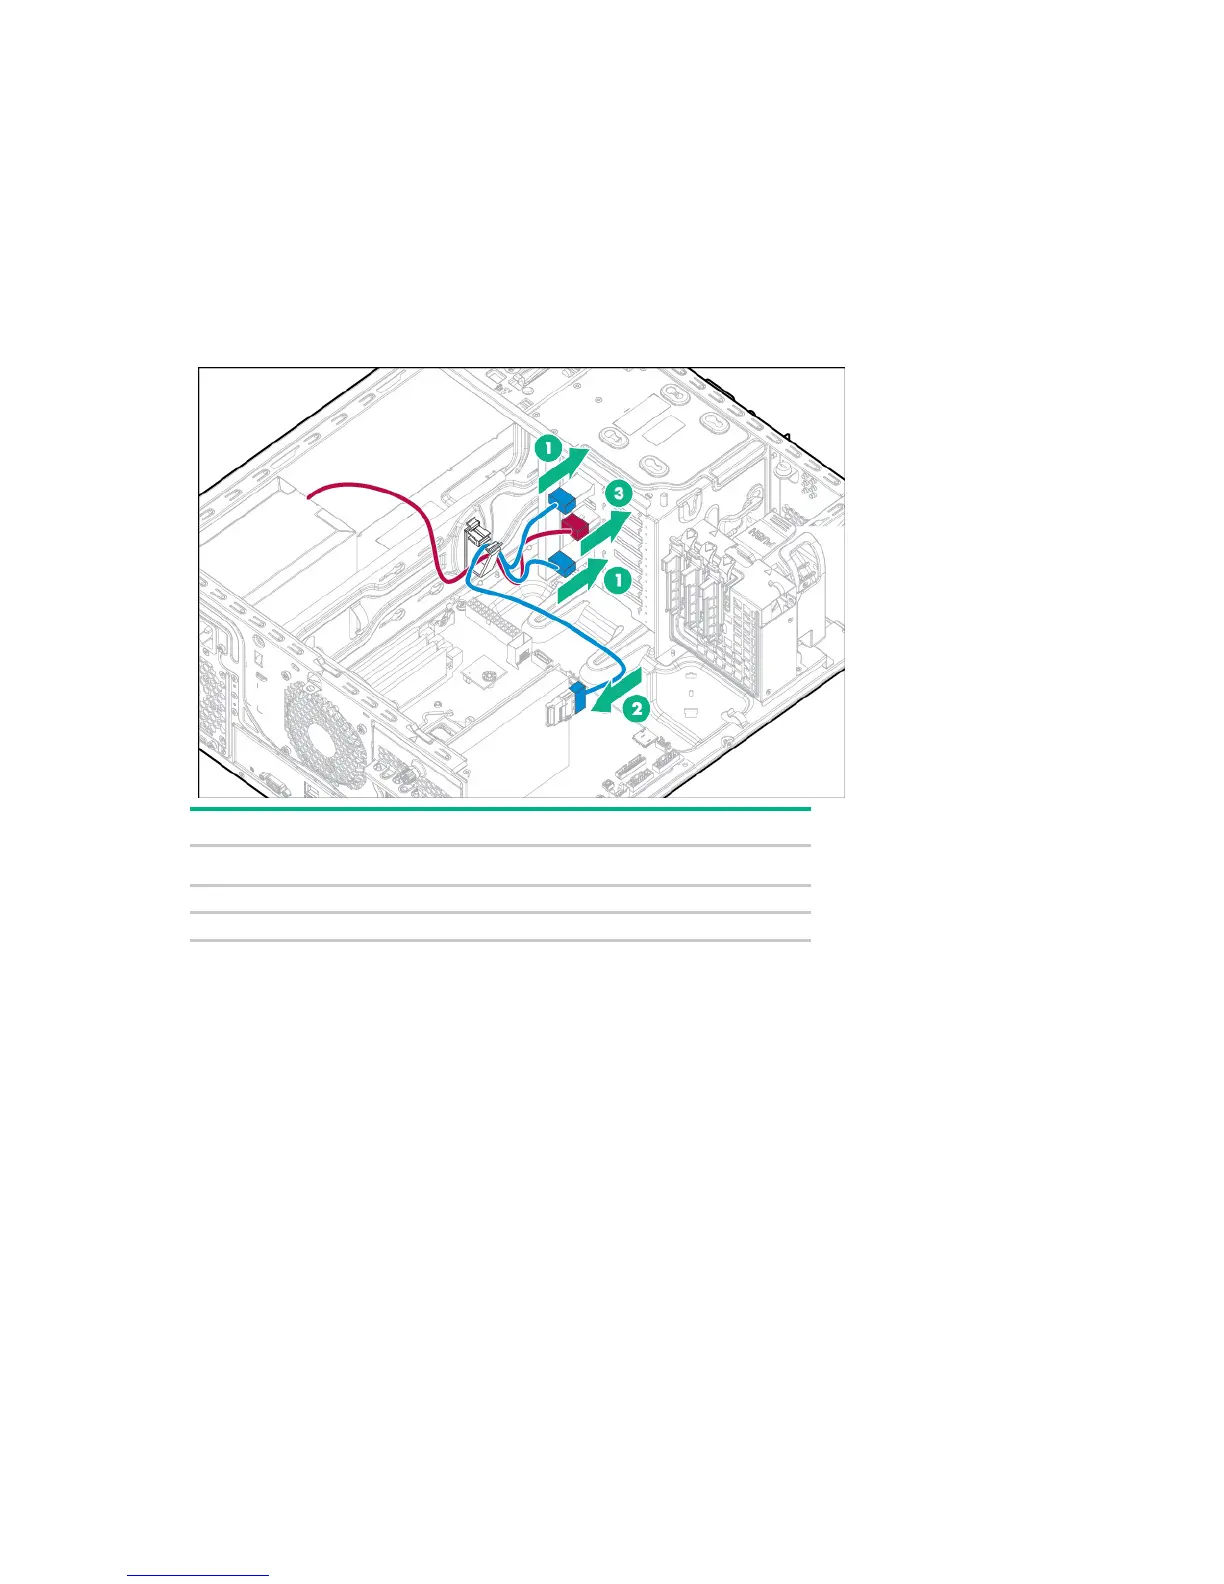
8. Disconnect the existing Mini-SAS cables from the drive backplane and the Mini-SAS connectors on
the system board.
9. Connect one end of the cable to the Smart Array Controller, route the cable through the cable clips,
and then connect the other ends to the drive cage backplane.
Item Description
1
Port 1 and 2 drive backplane connection
Smart Array controller connection
10. Install the Smart Array Controller ("Installing a storage controller and FBWC module options" on
page 45).
Storage controllers may be installed in PCIe slot 1 or 4, HPE recommends installing the P440/P441
Smart Array Controller in slot 4 for optimal performance.
11. Install the air baffle (on page 19).
12. Install the access panel (on page 17).
13. Install the bezel (on page 16).
14. Return the server to an upright position.
15. Connect each power cord to the server.
16. Connect each power cord to the power source.
17. Power up the server (on page 16).
Controller options
The server ships with an embedded Dynamic Smart Array B140i Controller. For more information about
the controller and its features, see the Dynamic Smart Array B140i RAID Controller User Guide on the
Hewlett Packard Enterprise website (http://www.hpe.com/info/smartstorage/docs).

 Loading...