English 23
2 How to Install Accessories Inside Your PC Workstation
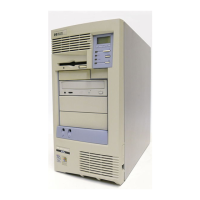
Removing and Replacing the Cover
Removing and Replacing the Cover
WARNING For your safety, never remove the PC Workstation’s cover without first
removing the power cord from the power outlet, and any connection to
a telecommunications network. Always replace the cover on the
PC Workstation before switching it on again.
Removing the Cover
1 Switch off the display and computer.
2 Disconnect all power cables and any telecommunications cables.
3 If necessary, unlock the cover using the key on the back panel.
4 Lift the two latches on the front sides of the computer upwards.
5 Grasp the cover on the sides at the back of the computer and slide it
forwards and off the computer.
Replacing the Cover 1 Ensure that you have installed all your accessories and that all
internal cables are properly connected and safely routed.
2 Ensure that the two latches on the front sides of the cover are lifted
up, and that the lock is unlocked.
3 Slide the cover onto the computer, making sure that the two guides
at the bottom of the case slide into the two rails at the base of the
computer. Firmly slide the cover backwards into position.
4 Lower the two latches on the front sides of the cover.
5 If required, lock the cover using the key provided.
6 Reconnect all the power cables.
Intrusion Monitor Your PC Workstation is equipped with an intrusion monitor located
behind the Hardware Control Panel on the front case of the
PC Workstation. The following occurs when the intrusion monitor
detects that the PC Workstation has been opened:
• If the PC Workstation has not been opened between boots, a
FastBOOT is performed when the cover is replaced.
• If the PC Workstation has been opened between boots, a full reboot
is performed.
napa.bk : napa-ug2.fb4 Page 23 Monday, August 4, 1997 7:20 PM

 Loading...