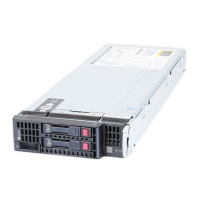
Server Blade Configuration and Utilities
6. Use the iLO Virtual Power Button feature to reboot the server blade.
7. After the server blade boots, follow the normal network installation procedure for
an operating system.
USB CD-ROM
SmartStart simplifies the deployment process and facilitates loading the operating
system. However, SmartStart does not prevent you from loading the operating system
and drivers manually. For more information on SmartStart, refer to the HP website:
www.hp.com/servers/smartstart
To perform a boot CD deployment:
1. Connect a USB CD-ROM drive to the server blade using the local I/O cable.
Refer to Chapter 6, “Connecting Local I/O Devices” for more information on
using the local I/O cable.
2. Insert the boot CD into the CD-ROM.
3. Reboot the server blade.
4. After the server blade boots, follow the normal installation procedure for an
operating system.
Diskette Image Deployment
Diskette Image Deployment involves creating a DOS-based network-enabled boot
diskette that will execute a script that configures the hardware and installs the
operating system. The diskette gets the server blade on the network where it can
access the scripts and files necessary for deployment. This implies a deployment
infrastructure that may include an administrator workstation, PXE server, Microsoft
Windows file share, or a Linux file share.
The server blade must be connected to a network before beginning the deployment
process. Connect to the server blade with one of the following methods:
• Through an existing network (in the rack): This method requires you to install the
server blade in its enclosure and assign it an IP address (manually or using
DHCP).
5-30 HP ProLiant BL30p Server Blade Setup and Installation Guide
 Loading...