Removal and replacement procedures 30
9.
Connect the power cord to the server.
10. Connect the power cord to the power source.
11. Install the rack rail cable ties.
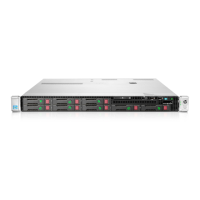
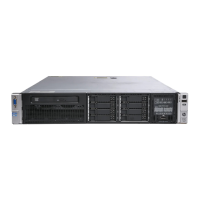
Remove the server from the rack
WARNING: This server is very heavy. To reduce the risk of personal injury or damage to the
equipment:
• Observe local occupational health and safety requirements and guidelines for manual
material handling.
• Get help to lift and stabilize the product during installation or removal, especially when the
product is not fastened to the rails. HP recommends that a minimum of two people are required
for all rack server installations. A third person may be required to help align the server if the
server is installed higher than chest level.
• Use caution when installing the server in or removing the server from the rack; it is unstable
when not fastened to the rails.
IMPORTANT: The requirement of extending or removing the server from the rack when
performing installation and maintenance procedures depends on the rail system used:
• If using a ball-bearing rail system, you can perform most installations and maintenance by
simply extending the server from the rack.
• If using a friction rail system, to perform installations or maintenance that requires access panel
removal, remove the server from the rack.
1. Power down the server (on page 28).
2. Extend the server from the rack (on page 29).
3. Remove the server from the rack. For detailed information, see the documentation that ships with the
rack mounting option.
4. Place the server on a sturdy, level surface.
Rack mount ears
To remove the component:
1. Extend the server from the rack (on page 29).
2. Remove the rack mount ears:

 Loading...