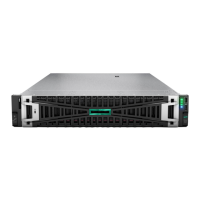
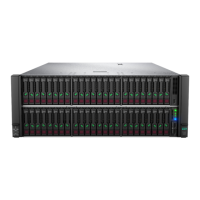
• Install the power cage into the server.
• Install power supplies into power supply bays 1—4.
• Connect AC power to power supplies 1 and 2, and then connect power supplies 3 and 4 to a separate AC
circuit for redundancy.
For power supply bay identification, see "Rear panel components on page 16."
NOTE:
HPE ProLiant Gen9 power supplies are not supported in HPE ProLiant Gen10 servers.
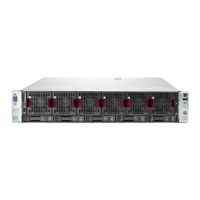
Installing a hot-plug power supply (two power supply configuration)
CAUTION:
All power supplies installed in the server must have the same output power capacity. Verify that all
power supplies have the same part number and label color. The system becomes unstable and may
shut down when it detects mismatched power supplies.
CAUTION:
To prevent improper cooling and thermal damage, do not operate the server unless all device bays are
populated with either a component or a blank.
Procedure
1. Release the cable management arm to access the rear panel ( Releasing the cable management arm
on page 39).
2. Remove the blank.
WARNING:
To reduce the risk of personal injury from hot surfaces, allow the drives and the internal system
components to cool before touching them.
3. Install the power supplies into power supply bays 1 and 2 until each click into place.
To install power supplies in a four power supply configuration, see "Installing additional redundant hot-
plug power supplies (four power supply configuration) on page 93."
92 Installing a hot-plug power supply (two power supply configuration)
 Loading...