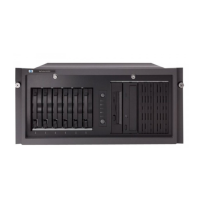
Hardware options installation 93
Online spare population guidelines
For Online Spare memory mode configurations, observe the following guidelines:
• Observe the general DIMM slot population guidelines (on page 92).
• Each channel must have a valid online spare configuration.
• Each channel can have a different valid online spare configuration.
• Each populated channel must have a spare rank. A single dual-rank DIMM is not a valid configuration.
Mirrored Memory population guidelines
For Mirrored Memory mode configurations, observe the following guidelines:
• Observe the general DIMM slot population guidelines (on page 92).
• Always install DIMMs in channels 1 and 2 for each installed processor.
• Do not install DIMMs in channel 3 for any processor.
• DIMMs installed on channel 1 and channel 2 of an installed processor must be identical.
• In multi-processor configurations, each processor must have a valid Mirrored Memory configuration.
• In multi-processor configurations, each processor may have a different valid Mirrored Memory
configuration.
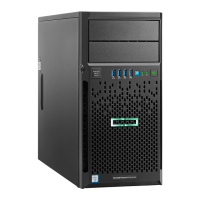
Installing a DIMM
CAUTION: To avoid damage to the hard drives, memory, and other system components, the air
baffle, drive blanks, and access panel must be installed when the server is powered up.
To install the component:
1. Do one of the following:
o For tower models, open and remove the tower bezel ("Remove the tower bezel" on page 30).
o For rack models, if installed, remove the security bezel ("Remove the security bezel (optional)" on
page 30).
2. Power down the server (on page 29).
3. Remove all power:
a. Disconnect each power cord from the power source.
b. Disconnect each power cord from the server.
4. Do one of the following:
o For tower models, place the server on a flat, level surface with the access panel facing up.
o For rack models, extend the server from the rack (on page 33).
5. Remove the access panel (on page 31).
6. Remove the air baffle (on page 33).
7. Open the DIMM slot latches.

 Loading...