MSL6000 series pass-through mechanism reference guide 23
b. Using a stubby or right-angle #2 Phillips screwdriver, remove the screws securing the cover
plate to the inside of the drive cage of each library chassis.
c. Using a #2 Phillips screwdriver, remove the screws that secure the PTM cover plate to the rear
of each library chassis (see Figure 12 on page 23).
NOTE: Do not discard the PTM cover plate or screws. If the unit ever requires shipping, the PTM
cover plate must be reinstalled.
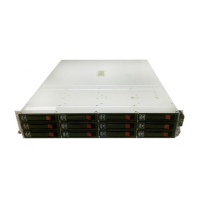
Figure 12 Removing a PTM cover plate (10U models)
Adding Extensions to a PTM Base Unit
To add extensions to a PTM base unit, you will need a clean, flat work area such as a table or work
bench. The surface should be long enough to support the full length of the PTM base unit and all
extensions.
 Loading...