5
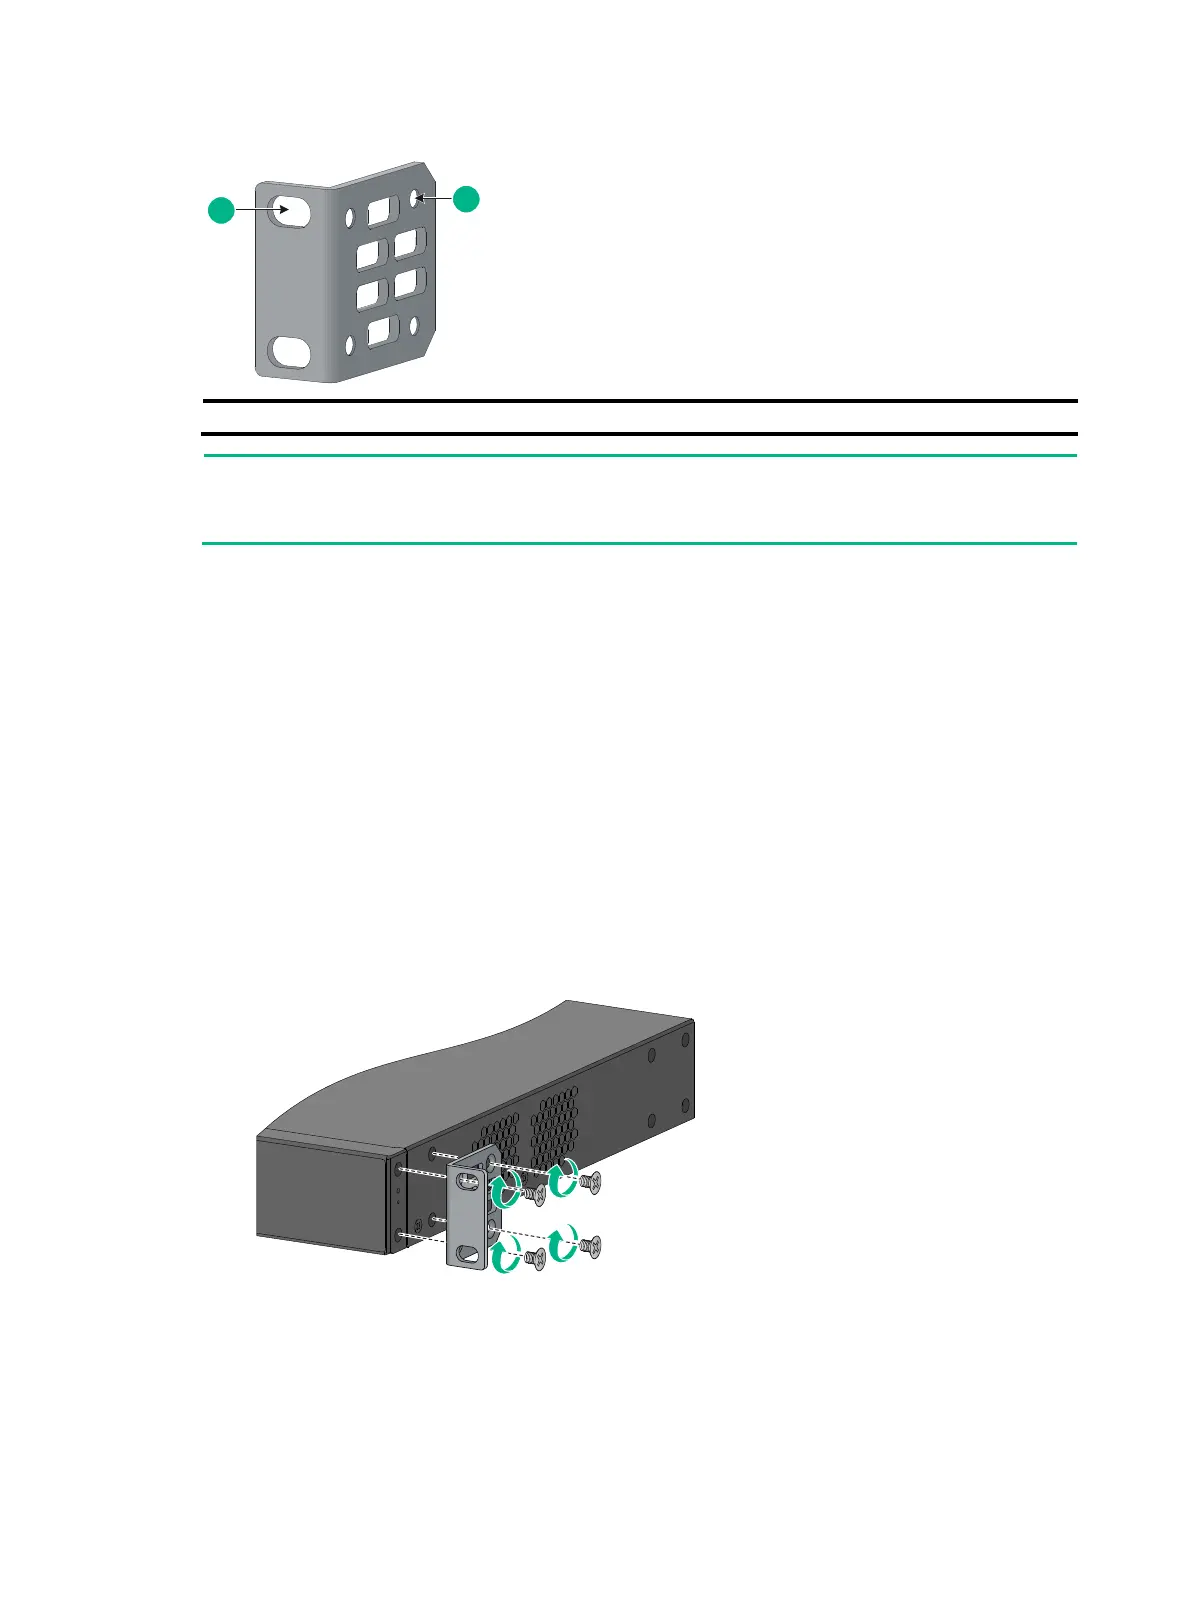
Figure 2 Front mounting bracket
(1) Hole for attaching the bracket to a rack
(2) Hole for attaching the bracket to the switch chassis
If a rack shelf is available, you can put the switch on the rack shelf, slide the switch to an appropriate
location, and attach the switch to the rack by using the mounting brackets.
This task requires two people.
To install the switch in a 19-inch rack by using the front mounting brackets:
1. Identify the mounting positions.
2. Wear an ESD wrist strap and make sure it makes good skin contact and is reliably grounded.
3. Attach the front mounting brackets to the chassis:
a. Unpack the front mounting brackets and the M4 screws (provided with the switch) for
attaching the brackets to the switch chassis.
b. Align the round holes in the wide flange of one front mounting bracket with the screw holes
in the chassis.
You can install the front mounting bracket on the port side or power module side of the
switch.
c. Use M4 screws to attach the mounting bracket to the chassis.
d. Repeat the proceeding two steps to attach the other mounting bracket to the chassis.
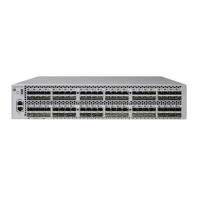
Figure 3 Attaching the front mounting bracket to the port side
 Loading...