CAUTION:CAUTION: A discharge of static electricity from a finger or other conductor might damage system boards or other static-
sensitive devices. To prevent damage, observe antistatic precautions.
Before you perform this procedure, review the Drive installation guidelines .
Before you perform this procedure, make sure that you have a T-15 Torx screwdriver available.
About this taskAbout this task
The LFF drives supported in this server do not require a drive caddy or a drive carrier to install. You only have to use the drive mounting
screws on the chassis.
ProcedureProcedure
1. Power down the server.
2. Disconnect the power cord from the AC source.
3. Remove the power adapter cord from the power cord clamp, and then disconnect the power adapter from the server.
4. Disconnect all peripheral cables from the server.
5. If installed, unlock and remove the security padlock and/or the Kensington security lock.
For more information, see the lock documentation.
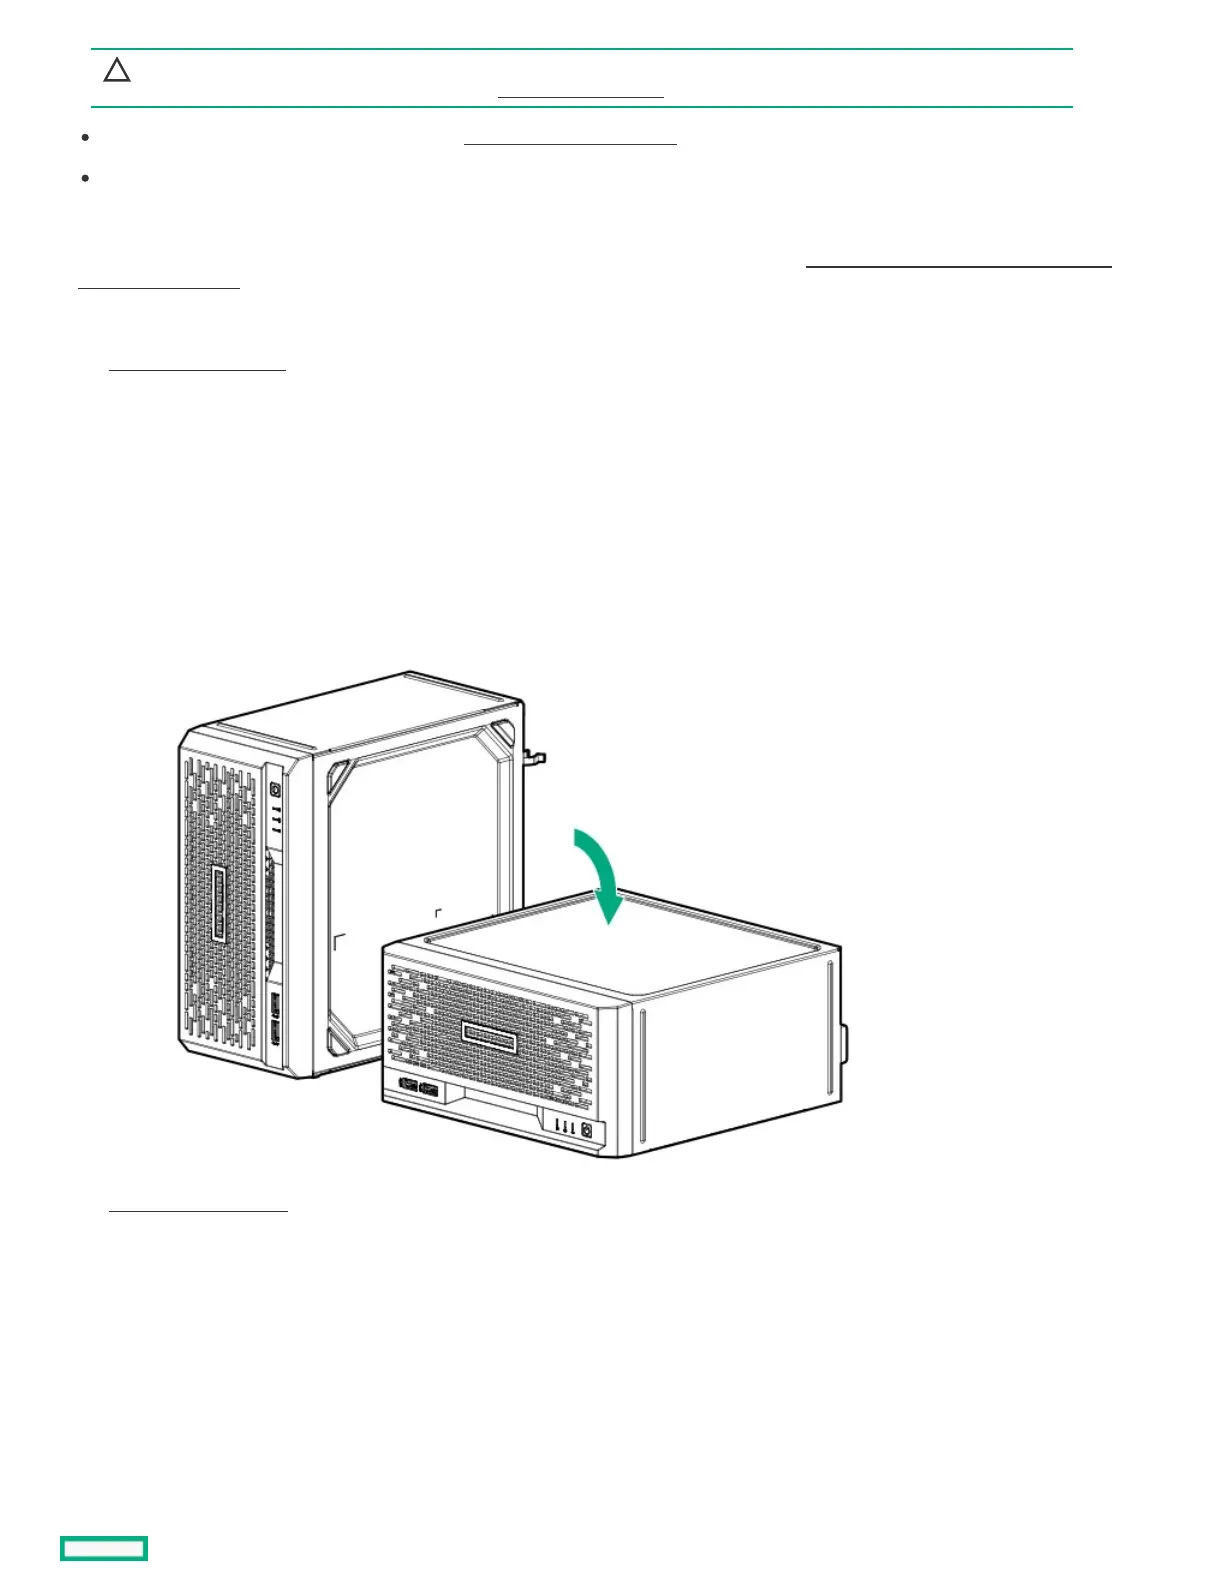
6. If the server is in a vertical orientation, position the server in a horizontal orientation.
7. Remove the front bezel .
8. Remove four drive screws from the front panel.