Do you have a question about the HPE ProLiant MicroServer Gen10 and is the answer not in the manual?
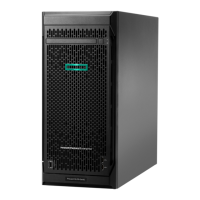
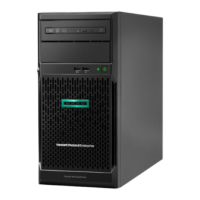
Details external components on the server's front panel, including drive bays and media bay.
Explains the status indicators and power button on the server's front panel.
Details external components located on the server's rear panel.
Explains the status indicators found on the server's rear panel.
Identifies key components and connectors on the server's main system board.
Describes the specifications, versions, and link widths of PCIe slots.
A step-by-step guide to preparing the server for initial operation.
Important safety warnings and precautions for server handling and operation.
Procedures and precautions to prevent damage from static electricity.
Various methods for properly grounding the server and its components.
Steps to turn on the server after setup is complete.
Procedures for safely shutting down and powering off the server.
Steps to ready the server before installing or removing hardware components.
Instructions for detaching the front panel cover to access drive bays.
Specific steps to remove a front bezel that is locked.
Specific steps to remove a front bezel that is not locked.
Instructions for reattaching the front panel cover.
Steps to remove the main server enclosure cover.
Instructions for reattaching the main server enclosure cover.
Procedure for installing the main server circuit board into the chassis.
Details about supported drive types, form factors, and interfaces.
Rules and best practices for installing server drives for optimal performance.
Instructions for installing a Large Form Factor drive in the server.
Instructions for installing a Small Form Factor drive, including converter.
Procedure for installing a Solid State Drive in the server's media bay.
| Product Line | HPE ProLiant |
|---|---|
| Server Type | MicroServer |
| Maximum Memory | 32 GB |
| Memory Slots | 2 |
| Expansion Slots | 1 PCIe 3.0 x8 slot |
| Form Factor | Ultra Micro Tower |
| Processor | AMD Opteron X3000 series |
| Memory Type | DDR4 ECC UDIMM |
| Storage | 4 LFF non-hot plug drive bays |
| Network | 2 x 1GbE ports |
| Power Supply | 200W Non-Hot-Plug, Non-Redundant Power Supply |
| Dimensions | 23.5 x 23 x 25.4 cm |
| Operating System Support | Microsoft Windows Server, Red Hat Enterprise Linux, SUSE Linux Enterprise Server |
| Management | HPE iLO Standard |
| RAID Support | HPE Smart Array S100i SR Gen10 (RAID 0, 1, 10) |