17. Connect all peripheral cables to the server.
18. Connect each power cord to the server.
19. Connect each power cord to the power source.
20. Power up the server.
The installation is complete.
Expansion board options
The server has five PCIe 3 expansion slots that support dierent form factor expansion boards.
For the location and description of the PCIe3 expansion slots, see System board components.
For more information on the PCIe slot specifications, see
PCIe slot description.
GPU installation requirements
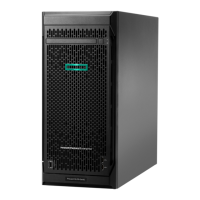
The server PCIe3 slot 1 only supports half-length GPUs, and PCIe3 slot 4 supports both half-length and full-length GPUs.
Some GPU models require the latest version of server firmware before installation.
For a list of specific GPU models supported, see the product QuickSpecs on the server website at https://www.hpe.com/
servers/ml110-gen10.
This server does not support the installation of
dierent GPU models in the same system.
GPU auxiliary power requirement
In general, 75W GPUs draw power from PCIe slots. GPUs that have a power requirement higher than 75W require an
external auxiliary power cable connection. In this server, GPUs that have a power requirement higher than 75W also
require higher wattage of power supplies. In this case, the lower wattage of ATX 350W non-hot-plug power supply does
not support. For specific information about power requirements of a GPU, see the GPU user documentation.
Installing an expansion board
Prerequisites
Before you perform this procedure, make sure that you have the following items available:
• Expansion board option kit
• Internal and external cabling required by the expansion board
• T-15 Torx screwdriver
Procedure
1. Back up all server data.
2. Power down the server.
3. Remove all power:
a. Disconnect each power cord from the power source.
b. Disconnect each power cord from the server.
4. Disconnect all peripheral cables from the server.
Hardware options installation
81
 Loading...
