19. Install the processor socket protective cover in each processor socket on the damaged system board.
CAUTION: When removing a system board, always install all processor socket covers to prevent
damage to the processor sockets and system board.
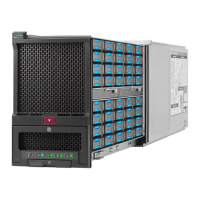
To replace the system board:
1. Install the spare system board.
NOTE: Be sure to remove the processor socket protective cover from the new system board, and install
it on the replaced system board.
2. Install all components removed from the failed system board. To install the processor heatsink assembly,
see Migrating a processor heatsink assembly to a replacement system board.
Be sure to install the DIMM and HPE Persistent Memory modules in the same DIMM slots as the failed
system board.
3. Install the access panel.
4. Install the compute module into the frame.
5. Power up the compute module.
6. Re-enter the server serial number and product ID.
7. Power down the compute module.
8. Refresh the server profile in HPE OneView to ensure the correct server serial number and product ID are
displayed.
9. Reassign the server profile if it was unassigned previously.
10. Review the persistent memory configuration of the compute module.
11. Do one of the following:
Removal and replacement procedures 59
 Loading...