17
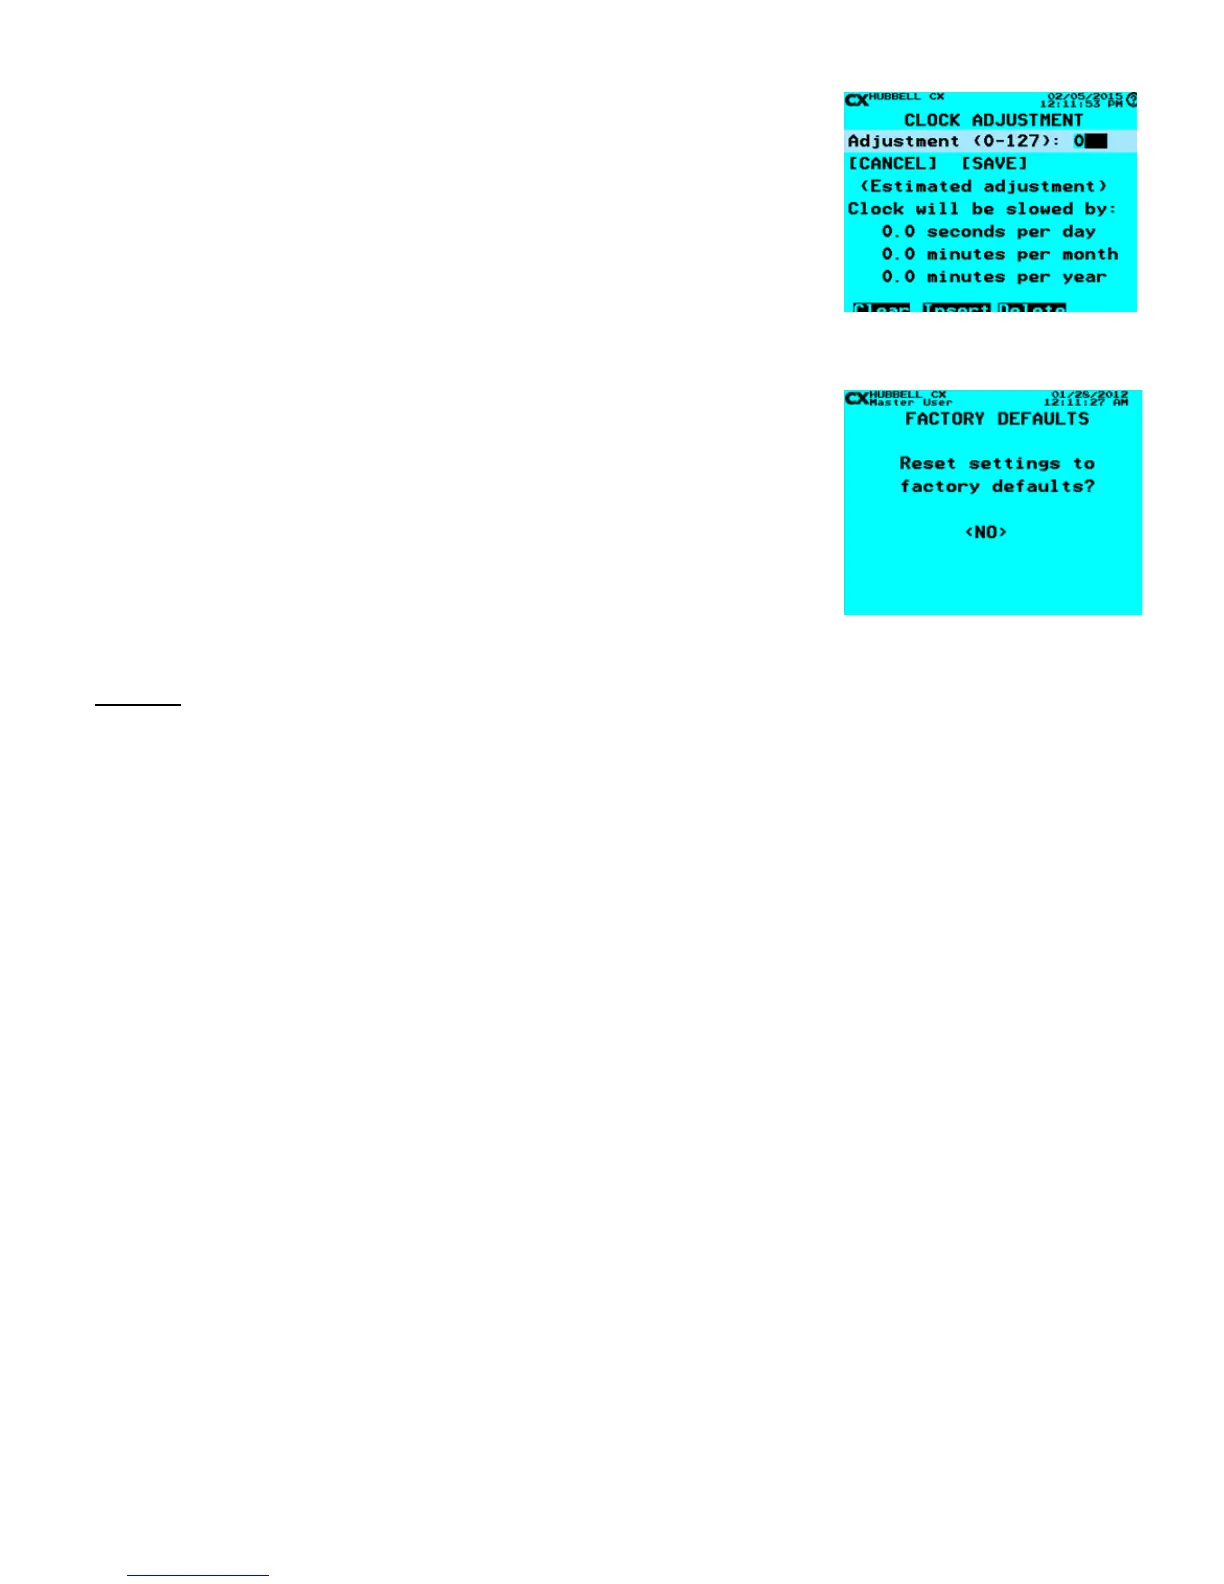
Clock Adjustment
Clock Adjustment allows for the user to adjust the real-time clock to run slower by 0-127
parts per million. The clock cannot be adjusted to run faster than normal.
• From the Main Menu, select System Settings > Clock Adjustment. Then press
ENTER.
• Enter value desired.
• The Estimated adjustment will be displayed below based on the Adjustment time
entered.
Factory Defaults
Factory Defaults allows for the clearing of all input programming to the factory default
state. This function will clear all existing programming. It is recommended that the existing
program be saved to a back-up or exported to an SD card using the ‘Save/Restore
Program’ function in the System Tools Menu prior to taking this action.
• From the Main Menu, select System Settings > Factory Defaults. Then press
ENTER.
• Use the right arrow to select <YES>, and then press ENTER.
• All System Settings have been reset to Factory Defaults
NOTE: Once the system has been set to Factory Defaults the existing programming cannot
Scenarios
The Scenarios programming feature allows a user to select from a list of pre-established control schemes to more easily assign
schedules, relays and inputs for the desired actions. The use of Scenarios will shorten programming time by only requiring specic
values unique to the Scenario selected. When selecting the Scenario desired, Priorities will automatically be assigned based on
the selected behavior. Dimming is currently not included in the scenarios section.
Notes:
If the control of a Group, (collection of relays) is desired with the scenario, then the Group can be created before starting the
Scenarios process or during the denition of the Relay/Group during the scenarios process. The Scenarios control schemes are
merely prompts, they are not saved in the Scenarios section. If a user wants to “see” what was done or change the programming
established in the scenario, the user must make those changes in the appropriate programming menu section.
An example of these automatic assignments would be a motion sensor required for the scenario. The only selection needed is to
choose which input has the motion sensor connected and what it is controlling, whether a Relay or a Group. During the Scenario
process the input selection for the input (sensor, photocell or switch) would be made automatically.
The use of Scenarios is especially benecial when selecting control schemes that require the setting of different priorities in order
to create a sequence of operation. The priority selections are made automatically and have been tested for appropriate operation
to assure proper function.
The Scenarios menu is divided into two categories – Indoor and Outdoor. Once a selection of categories is made, a number of
possible scenarios is presented that are most often used for typical project control needs. By highlighting the scenario and pressing
the HELP button a short synopsis will appear on the screen of the selected scenario. By selecting the scenario appropriate to the
application the Scenario process will begin. Note that scenaris are optional. All functionality achieved through the use of scenarios
can be implemented using descrete menu selections.
Following are all the scenarios available at this time and a short synopsis of the functionality available. Following this list are a
couple of programming examples.
Factory Defaults
 Loading...