8
Getting Started
GETTING STARTED
T
he procedures in this section describe how to get started with your control head. See your control head installation guide to
c
onfigure the unit for first time setup. Also, see Installation Information in this manual for control head configuration and network
c
onfiguration details.
N
OTE: When the SOLIX control head equipment and accessories are first installed, the Setup Guide provides the prompts to guide
you through configuring the unit. The Setup Guide includes important steps to configure the control head with the equipment,
including vessel dimensions, map source selection, and offset menus. See your control head installation guide to configure the
unit for the first time.
Power On
1. Press the POWER key.
2. Select Start Normal Mode.
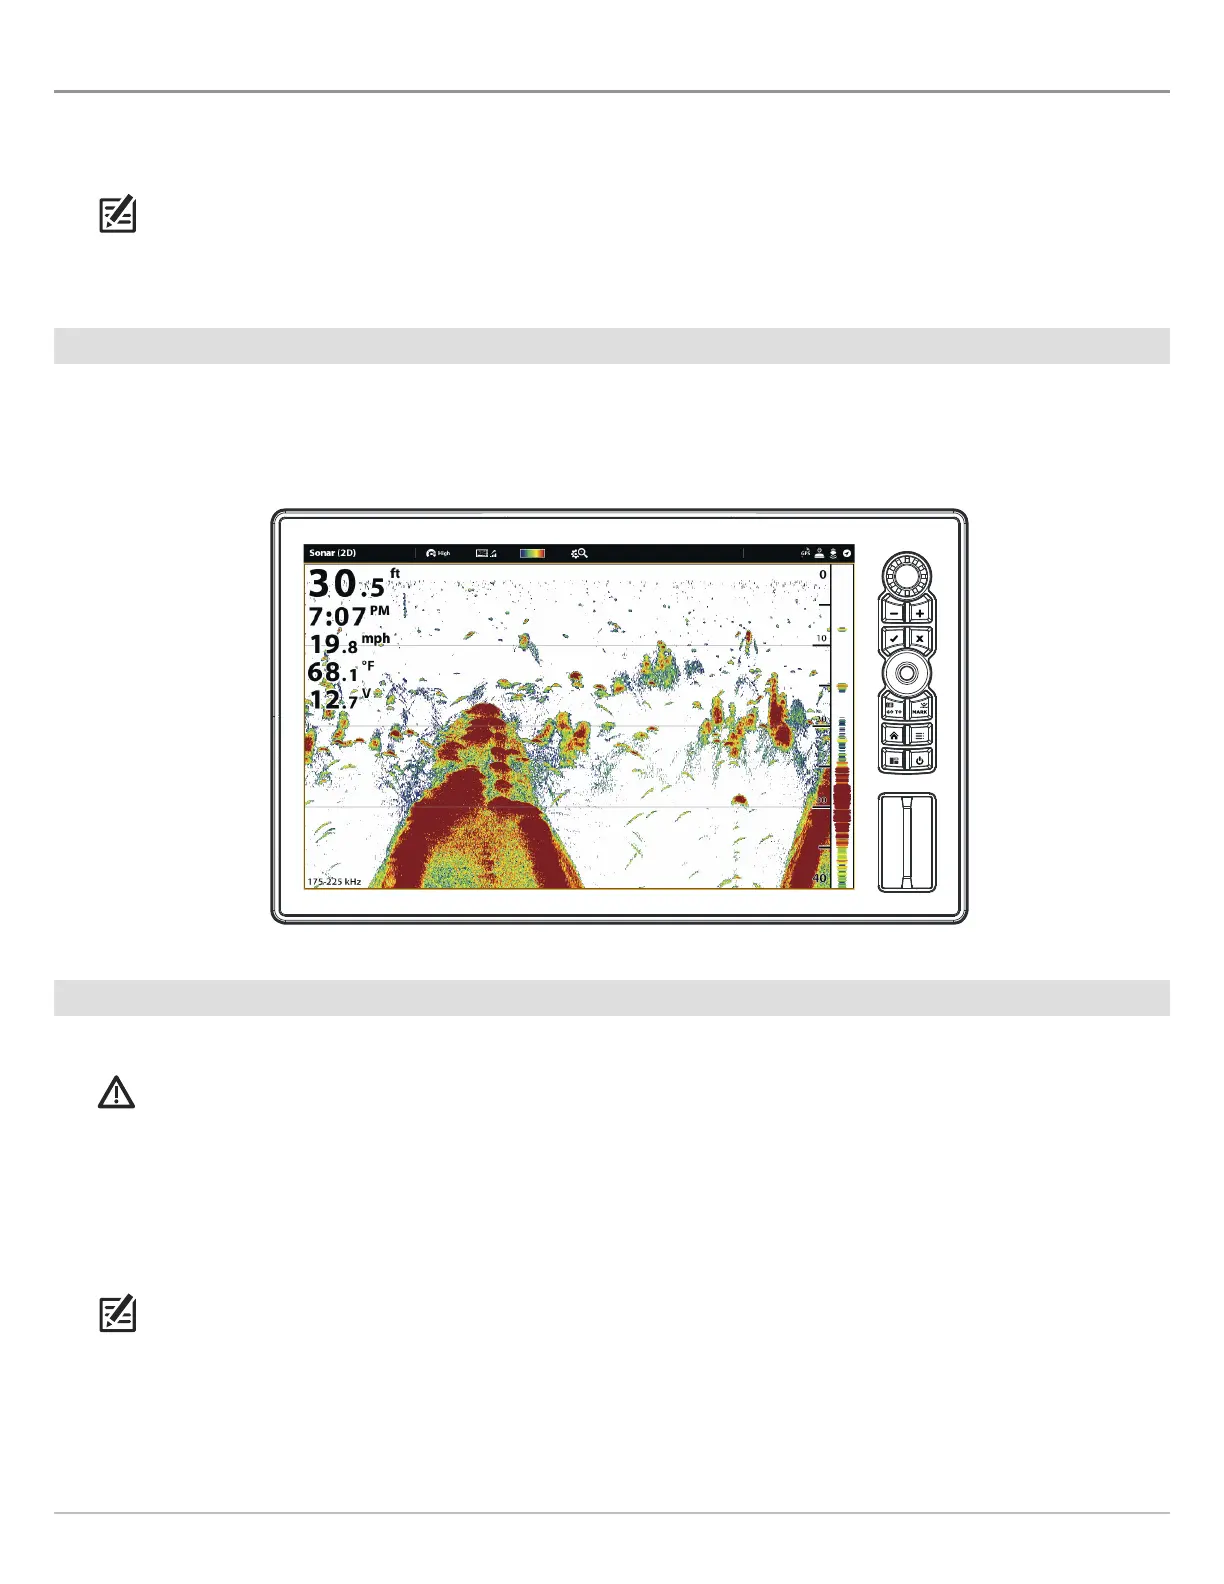
3. When the first view is displayed on the screen, the control head is ready for operation.
Start Radar Transmission
If a Radar is connected to the control head network, use the following instructions to start radar transmission.
WARNING! The radar should be configured by a qualified radar technician after installation or equipment repair. See Installation
Information: Configure Humminbird Radar.
1. Confirm the radar power source is turned on (breaker or switch).
2. Press the POWER key.
3. Humminbird CHIRP Radar: Under Radar, select Standby. Press the POWER key again, and select Transmit.
Humminbird Radar: Select Radar Transmit. Tap the on/off button, or press the ENTER key, to turn it on.
NOTE: For more information about Humminbird CHIRP Radar and Humminbird Radar, see Radar Overview.