INSTALLATION
10
Attach the Universal Cord Tensioner — EasyRise
™
Shades Only
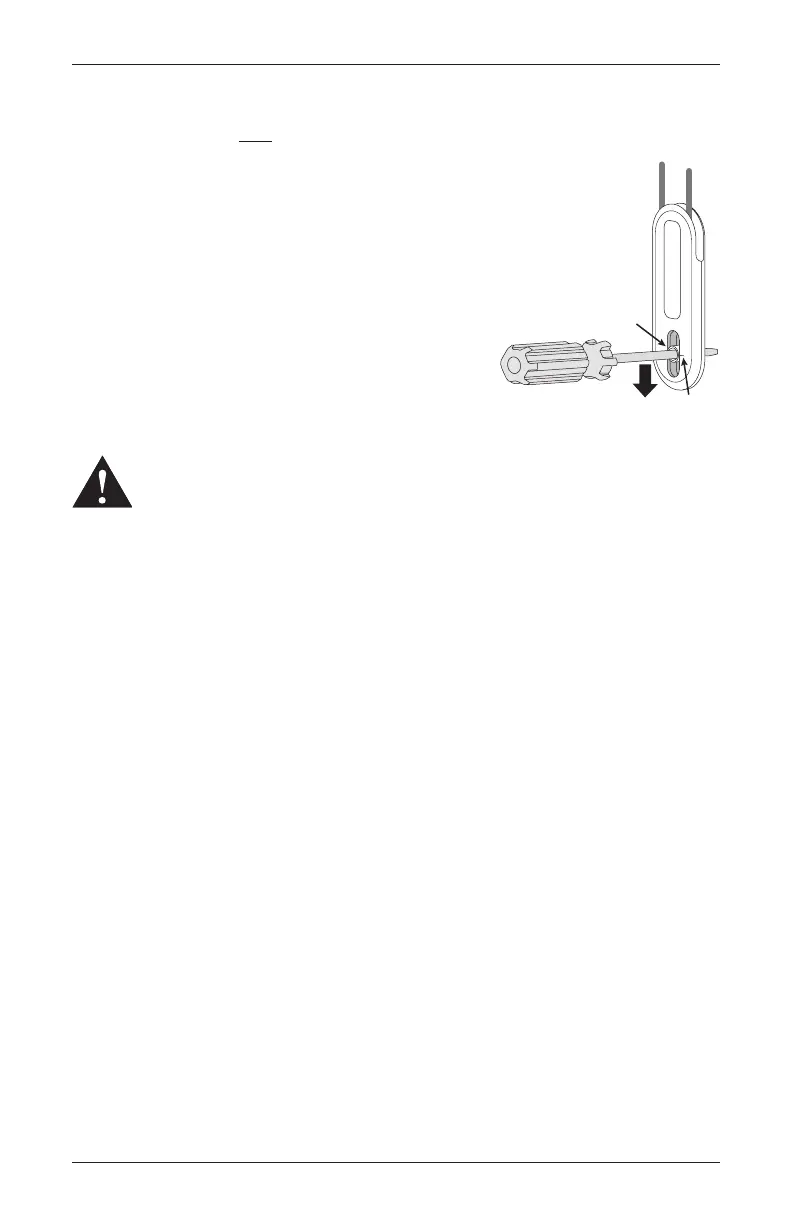
Before you proceed, you must first slide the cord tensioner(s) to the bottom of the cord loop.
■ Insert a small screwdriver, punch, or awl through
the screw hole at the bottom of the cord tensioner.
■ Move the screw hole down to the indicator line to
release the safety mechanism.
■ Slide the cord tensioner down to the bottom of the
cord loop.
■ Attach the cord tensioner(s) according to the
instructions provided with the Universal Cord
Tensioner Installation Kit.
WARNING: It is imperative that the cord tensioner(s) be properly secured to
the wall or window frame to reduce children’s access to the cord loop. Young
children can strangle in cord loops. They can also wrap cords around their
necks and strangle.
CAUTION: The shade will not operate properly unless the cord tensioner(s)
is secured. A Universal Cord Tensioner Installation Kit has been included
with your shade. Follow the instructions in the kit to correctly secure the
cordtensioner(s).
Screw
Hole
Indicator

 Loading...