Sails and Rigging
12.9
12.7.10 Main Furling Line Installation
Verify the main furling line is fully coiled around the
furling drum (accessed through the slot in the aft mast
below the gooseneck - left side Fig. 12.10).
Unwind the line 3 times and route the line through
the access slot below the boom to the boom block
located forward of the vang.
Route the line back to the mast block and continue as
described in the Running Rigging section above.
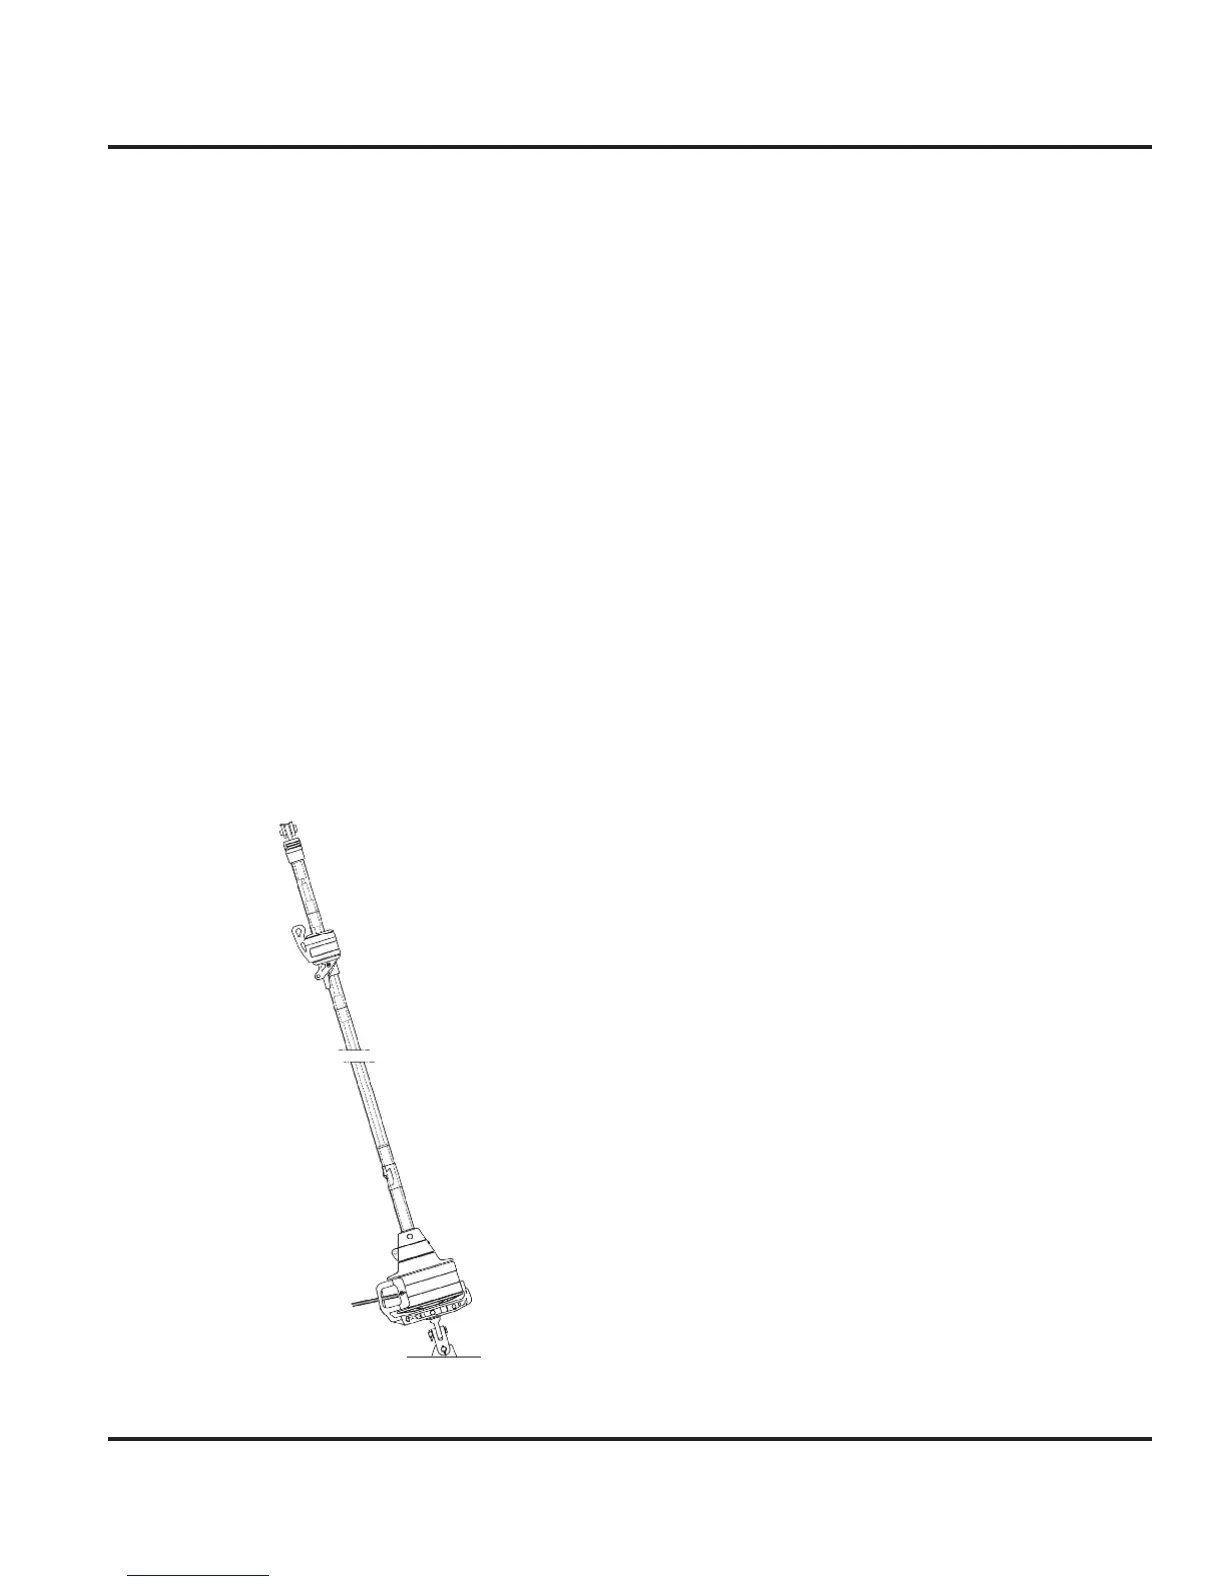
12.7.11 Jib Furler And Sail Installation
The jib furler (Fig. 12.8) will be assembled by your dealer
during the commissioning process. Depending on you
purpose, removing or reinstalling the jib furler simply
involves detaching it from the upper mast and stem plate
(see Stepping the Mast above for details on stepping the
mast with the jib furler attached).
Please refer to the jib furler manufacturer’s OEM manual
for details on assembling, disassembling, adjusting and
maintaining the furling system as well as jib installation.
Figure 12.8
1.
2.
3.
Once the furler and jib are assembled, raised and furled,
verify or route the jib sheets as described in the Running
Rigging section above (see Fig. 12.24 for overall layout).
Finally, verify or route the jib furling line as described in
the Running Rigging section above.
12.7.12 Spinnaker Installation
Refer to Fig. 12.25 for the spinnaker layout.
Shackle the tack of the spinnaker to the forward fac-
ing eye on the stem plate.
Attach the halyard to the head ring of the sail.
Attach a sheet to the clew ring of the spinnaker and
ensure the line is led aft outside the shroud and life-
lines to a stand-up block just aft of the arch legs.
Run it to the helm winch allowing total slack in the
sheet.
The sheet that is not being used, the lazy sheet,
should also be attached to the clew of the spinnaker
and led forward in front of the headstay, and then
back on the other side of the boat, outside the shroud
and lifelines, to another stand-up block positioned
just aft of the arch legs.
Take that sheet and lead it to a winch, leaving some
slack.
12.7.13 Retuning the Mast
The final step is to check your settings by sailing in 10-
15 knot winds (see the Getting Started chapter in this
manual for details on an initial excursion):
Sail upwind and check if the shrouds on the leeward
side are slack. If so, tighten them to remove approxi-
mately half the slack - keep track of the number of
turns.
Tack and repeat for the other side.
Continue until you are satisfied with the tension where
the leeward side does not get loose when the boat is
heeled.
Sight up the mast and verify it is still straight from side
to side and adjust the appropriate rigging to correct,
if necessary. (Keep in mind it is possible to over-
tighten.)
1.
2.
3.
4.
5.
6.
1.
2.
3.
4.