www.hysecurity.com © 2019 Display & Menu Options MX3630-01 Rev. J 51
Initial Setup
Once you have completed the installation of the HySecurity operator and attached the wired accessories,
you’re ready to program the operator. Two different approaches exist:
• Connect a laptop computer to the serial RS-232 connector and set the operator menu congurations
via the S.T.A.R.T. software. Refer to the START User Guide.
NOTICE: Use a laptop computer at your place of business to conveniently download the free START software from
www.hysecurity.com before heading out into the eld. This makes it easy to adjust and congure operator settings
using a laptop in the eld.
• Manually navigate through the User and Installer Menus using the four Menu Mode buttons located on
the Smart Touch Controller Keypad. The instructions for performing this second option are provided in
this section.
After installing a new operator, an initial sequence of set up prompts appears when you rst turn ON the
Control Box power switch. You need to answer the prompts before the gate operator will run. The operator is
in “MENU” mode.
For example:
In the SwingRiser operator, you must set usage class and address 3
sensor inputs.
UC = Usage Class. Set the usage class to 1, 2, 3, or 4 depending on
the site.
Four different vehicular usage classes are dened by UL 325.
Information about the classes can be found online through DASMA
Technical Data Sheets www.dasma.com or UL 325 www.ul.com
S1, S2, and S3 = Contact and non-contact external entrapment protection sensor inputs that require
monitoring per installation site and UL 325 Standard of Safety requirements.
For more information, refer to UL 325 - 2016 Monitored Entrapment Wiring Diagrams online.
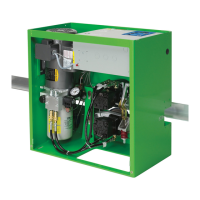
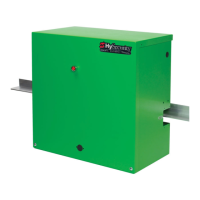
Power switch on a
SlideDriver control box
UC 2
USAGE CLASS
S3 1 (NOT USED)
SENSOR #3 TYPE
Selection: Usage Class
Select between: 1,2,3, or 4