MXT+ Hydraulic Torque Wrench Basic Operations Manual
10
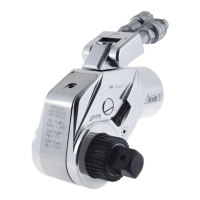
INSTALLING REACTION ARM DRIVE SPLINE
• Slide reaction arm over drive spline while aligning the
Allen Set Screw with the flat on the Reaction Spline.
• Tighten Allen Set Screw to firmly attach the reaction
arm to the spline.
• Challenge the reaction arm to make sure it is firmly
secured onto the tool.
INSTALLING REACTION ARM REAR SPLINE
• Push the catch lever on the back of the reaction arm.
• Slide reaction arm over rear spline until seated.
• Release the catch lever.
• Challenge the reaction arm to make sure it is firmly
secured onto the tool.
• Use rear spline cover to protect tool when not in use.
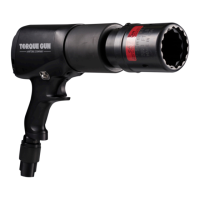
INSTALL SOCKET
NOTE: Make sure the rubber O-ring is installed on the
socket before installation.
• Insert the retaining pin part-way into the socket as
shown.
• Slide socket over square drive while aligning hole in
the socket with hole in the square drive.
• Insert the retaining pin into the socket as shown.
• Push the pin through both socket and square drive
until the pin is flush against the socket.
• Slide the O-ring over the pin to retain pin while
operating the tool.
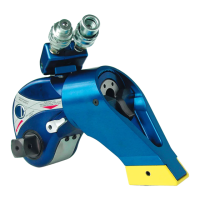
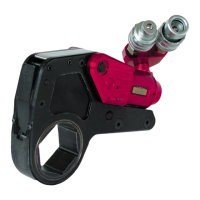
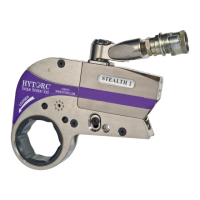
The tool is configured for conventional bolting by installing a socket and either a drive spline reaction arm or a rear
spline reaction arm. IMPORTANT: Do not place any part of your body between reaction arm and reaction point to avoid
injury. Never modify a reaction arm! Changes in reaction arm may lead to personal injury or damage tool.
. BOLTING WITH SOCKET AND REACTION ARM