13
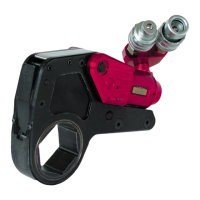
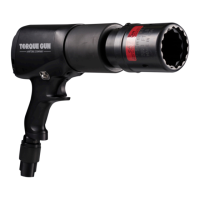
MOUNT TOOL ONTO THE APPLICATION
• Make sure tool is set up appropriately for TIGHTEN or LOOSEN with appropriate socket.
• Place the driver onto the socket, making sure socket is fully engaged.
• Position the reaction arm against an adjacent nut, flange or other solid reaction point.
IMPORTANT: Follow all safety instructions regarding reaction arms.
NOTE: If using rear-spline reaction arm, adjust arm as necessary to align with reaction surface.
• Make sure that hose connections are clear of obstructions and out of harm’s way.
• If needed, install back wrench or apply back wrench fixture.
• THEN, AND ONLY THEN, apply momentary pressure to the system to ensure proper tool placement. If it doesn’t
look or act right, STOP and re-adjust the reaction arm.
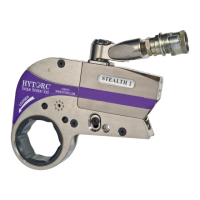
CONVENTIONAL TORQUE TIGHTENING
• Press and hold the advance button on the pump control until you hear a click – the piston is fully extended, and
the square drive will no longer turn.
• Release advance button to retract piston until you hear a click to signify tool is reset.
• Continue push-advance-click-release cycle until tool stalls and nut no longer visibly turns.
IMPORTANT: Always attempt one final cycle to ensure that “stall” point has been reached.
CONVENTIONAL TORQUE LOOSENING
• Set pump to the maximum pressure (10,000 PSI, 700 bar).
• Reverse the square drive and mount tool onto nut or bolt with “LOOSEN” visible.
• Repeat the same push-advance-click-release cycle outlined above until you can loosen the nut by hand.
RELEASING A LOCKEDON TOOL
• The MXT+ Tool has an automated release feature and does not require manual release.
• Continue advancing the pump until the tool loosens and frees itself from the application. Remove tool.
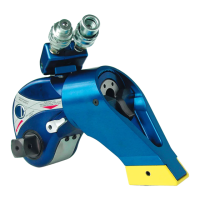
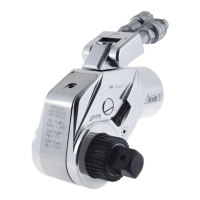
Bolting With Drive Spline Reaction Arm Bolting With Rear Spline Reaction Arm