15
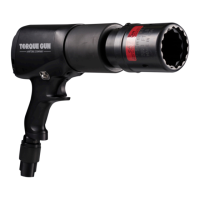
INSTALLING THE HYTORC NUT DRIVER
• Push button on drive retainer and remove square drive.
• Slide the HYTORC Nut Direct Drive into the tool
housing. Insert the special drive retainer on the
opposite side and twist clockwise to tighten.
• Place the tool onto the HYTORC Nut, making sure that
the driver is fully engaged.
TIGHTENING THE HYTORC NUT
• Connect hydraulic hoses and set pump to desired torque output (refer to pages 11-12).
• Push and hold the advance button on the pump remote until the tool fully advances, then release.
• Continue successive cycles of “PUSH-ADVANCE-CLICK-RELEASE” until the outer sleeve no longer turns and the
tool stalls at the specified pressure.
LOOSENING THE HYTORC NUT
• Configure the HYTORC Nut Direct Drive so that LOOSEN is visible when tool is mounted on the application.
• Turn up the pump pressure or torque value to the maximum or peak value.
• Engage the Driver and the HYTORC Nut.
• Apply pressure until the out sleeve moves freely.
• Loosen gradually in reverse order of tightening, to prevent misalignment.
• Remove the HYTORC Nut by hand.
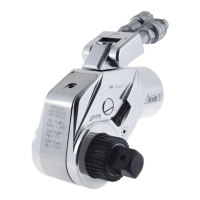
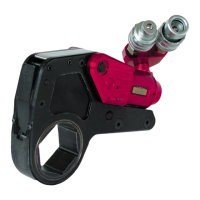
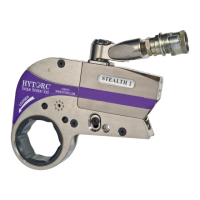
The HYTORC Nut is a dual spline mechanical tensioning device that replaces regular hex nuts on an application. The tool
is configured for bolting with the HYTORC Nut by installing the HYTORC Nut Driver. NOTE: No reaction arm is required
when bolting with the HYTORC Nut. Installation of the rear spline cover is recommended.
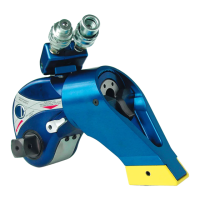
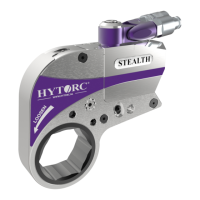
HYTORC Nut HYTORC Nut Direct Drive
. BOLTING WITH THE HYTORC NUT