User Controls
42
• Touch Area Boundary Fine-tuning
Step 1: Click on P1, use mouse to drag P1 to upper left corner. Align adjustable green zone with
projected white frame.
Step 2: Adjust P2 to P4 accordingly; adjustable green zone should completely overlaps the
projected white frame.
Step 3: Finally, check again if the green frame completely overlaps the projected white frame. If
not, fine-adjust again.
• When the Touch Area is correctly located click to exit.
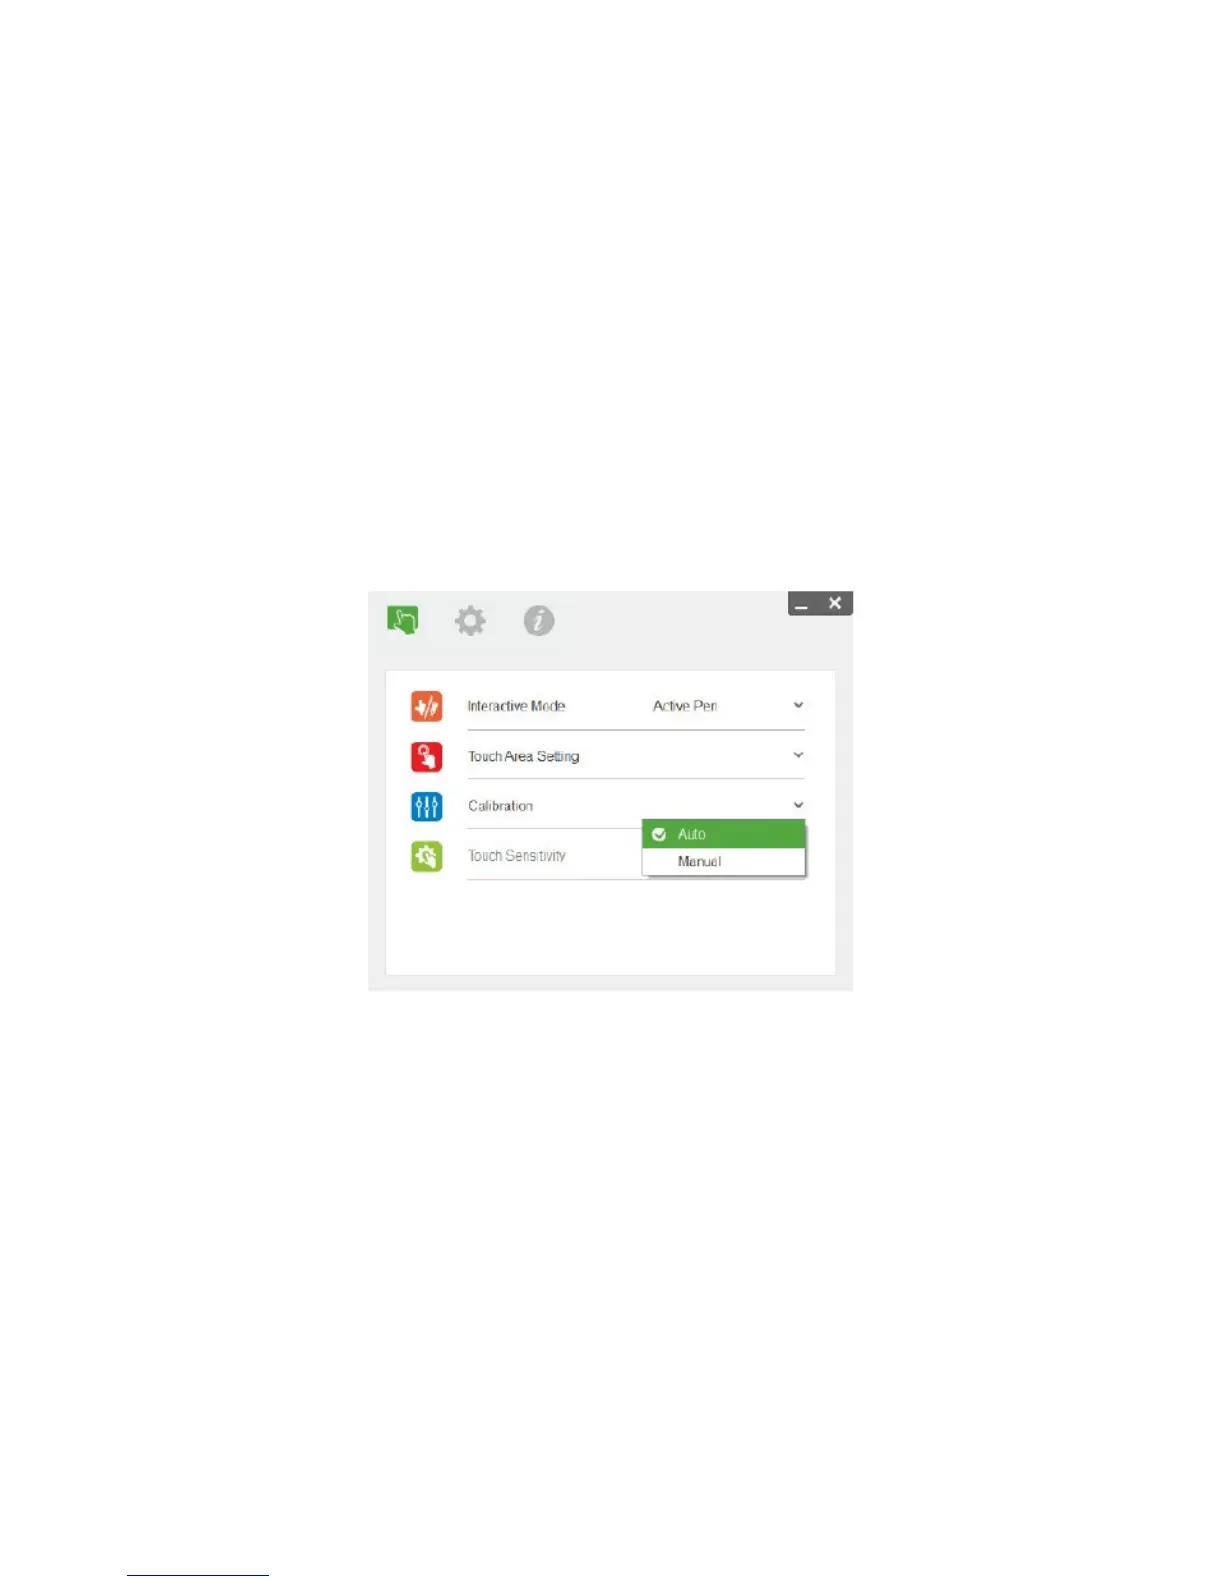
STEP 4: CALIBRATION
a) Select Auto Calibration
Note:
If the fail message pops up, follow below steps to trouble-shoot and do Auto Calibration again.
Close all software application
• Reduce ambient light
• Do not obstruct or shake lens during calibration
• Check if projection image is clear. If not, adjust focus to sharpen the image
• If the Auto Calibration fail message still pops up on screen, switch to Manual Calibration.
 Loading...