Procedure
1. Read the safety information that begins on “Safety” on page v and
“Installation guidelines” on page 43.
2. Turn off the server and peripheral devices and disconnect the power cords.
3. Remove the cover (see “Removing the cover” on page 51).
4. Remove the hard disk drives and filler panels from the hard disk drive bays.
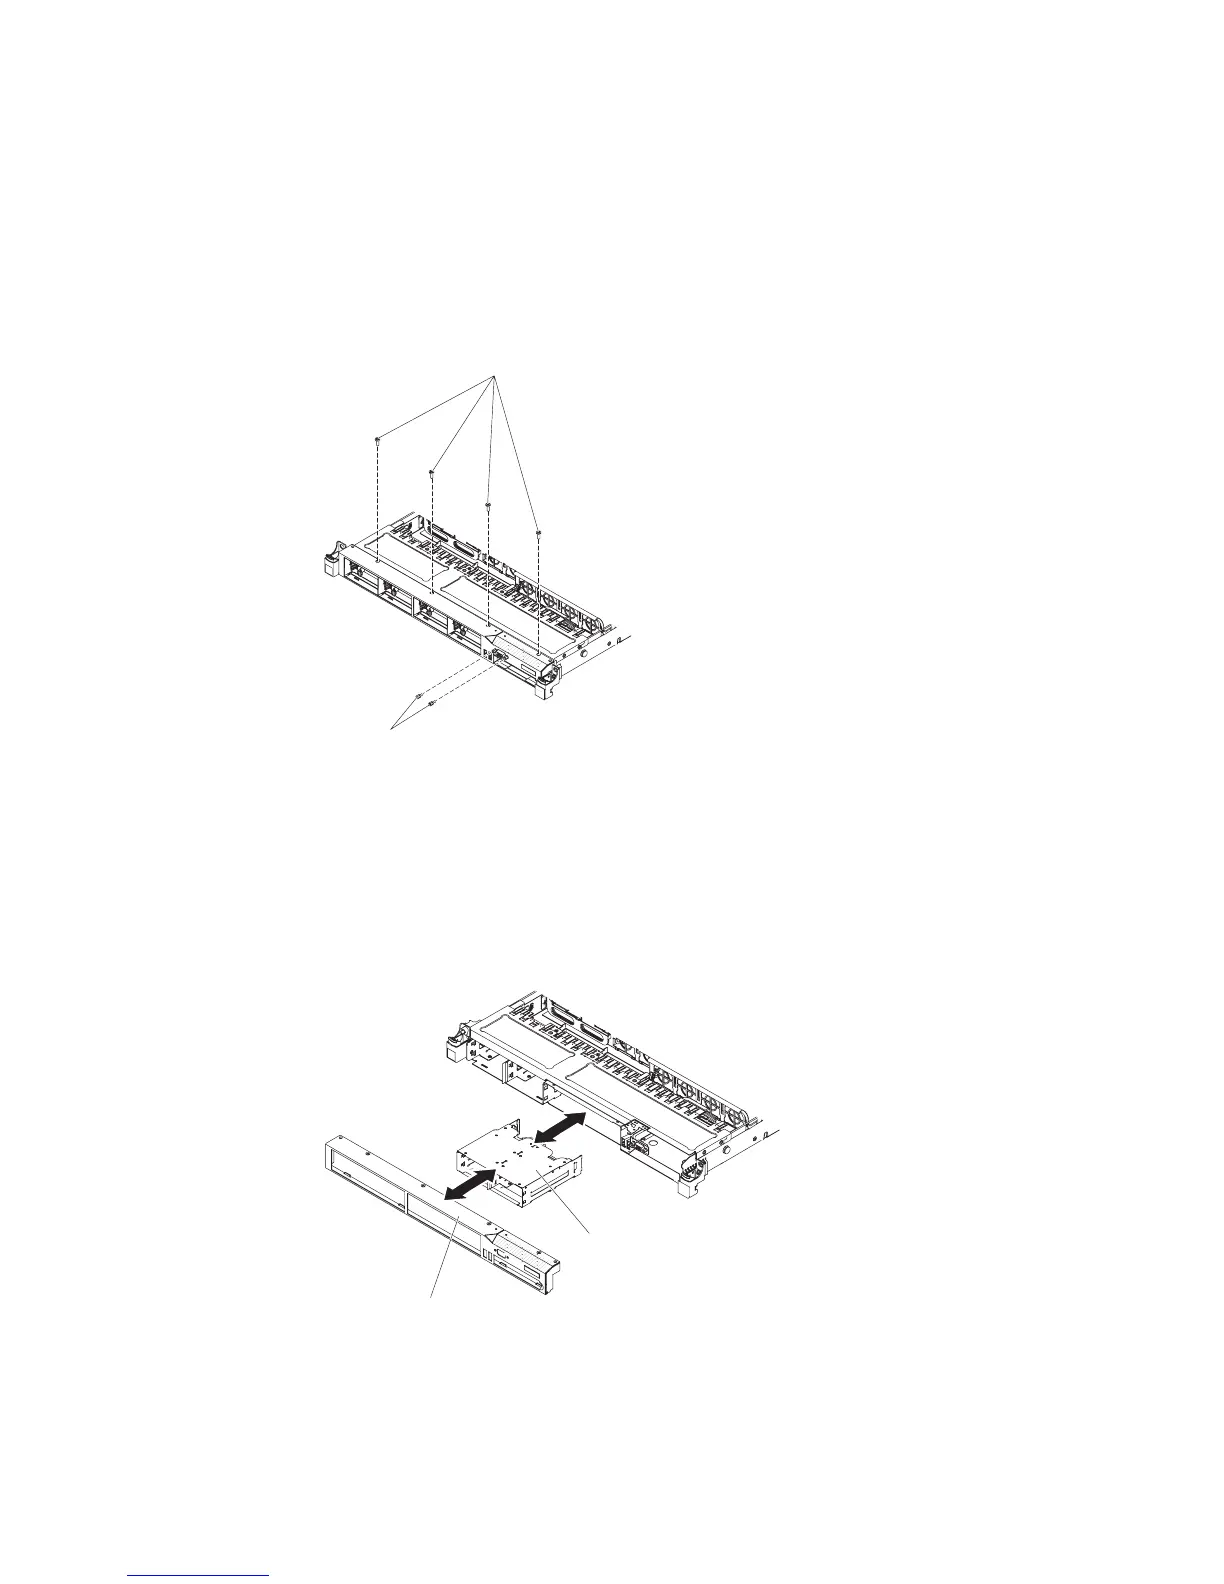
5. Remove the screws from the bezel.
6. Remove the screws from the video connector.
7. Pull the top of the bezel out slightly; then, rotate it downward until the tabs
on the bottom of the bezel disengages from the chassis and set it aside.
8. Slide the hot-swap hard disk drive cage forward into the server until the
screw holes on the drive cage align with the screw holes on the chassis.
9. Insert the tabs on the bottom of the bezel into the holes on the chassis.
10. Reinstall the bezel screws and the video connector screws.
Bezel screws
Video connector
screws
Figure 75. Screws removal
Bezel
Hard disk drive cage
Figure 76. Hard disk drive cage installation
98 IBM System x3550 M3 Type 4254 and 7944: Installation and User's Guide

 Loading...


