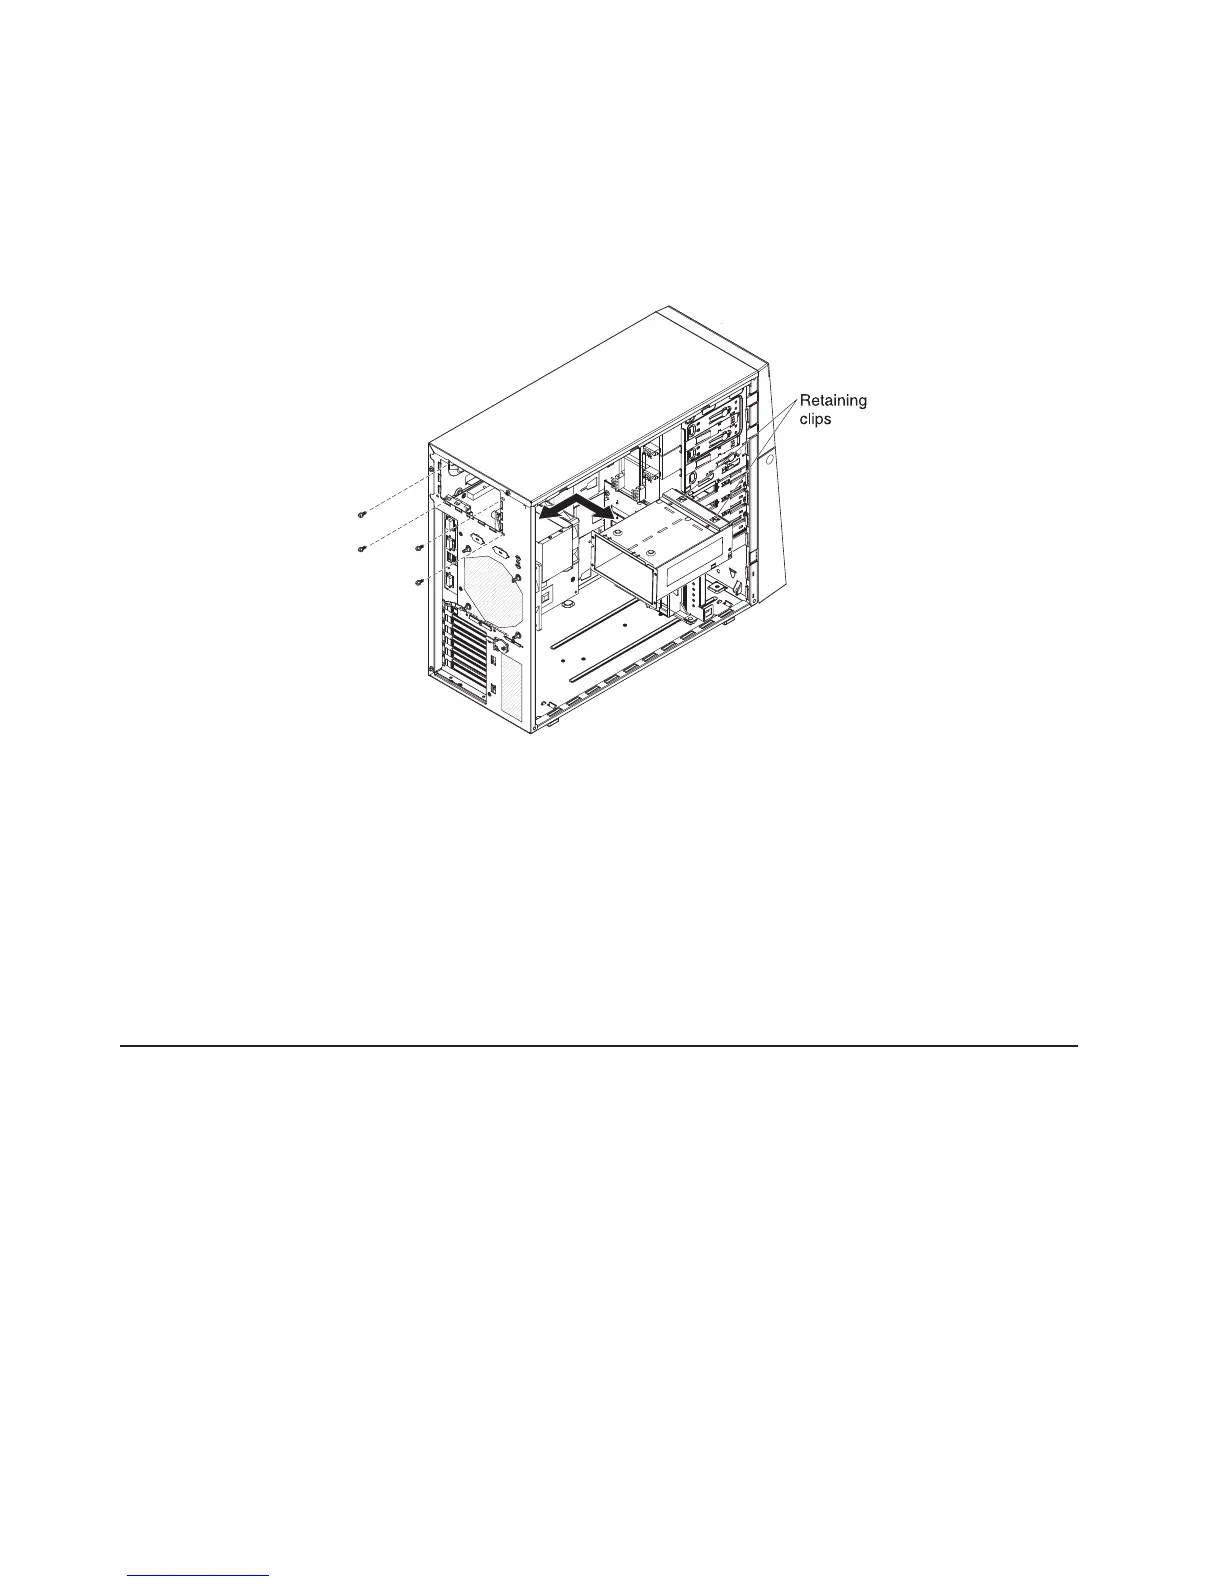
Installing the hot-swap power supply cage
This procedure applies only to server models that have hot-swap power-supplies.
To install the hot-swap power supply cage, complete the following steps:
1. Place the power-supply cage into the chassis and slide it toward the rear of the
server until the retaining clips engage the top of the chassis.
2. Install the four screws that secure the power-supply cage to the chassis.
3. Connect the cables from the power-supply cage to the system board and all
internal components (see “System-board internal connectors” on page 16 for the
locations of the internal connectors).
4. Reinstall both hot-swap power supplies (see “Installing a hot-swap power
supply” on page 167).
5. Install the side cover (see “Installing the side cover” on page 146).
6. Lock the side cover if you unlocked it during removal.
7. Reconnect the external cables and power cords; then, turn on the attached
devices and turn on the server.
Removing and replacing FRUs
Field replaceable units (FRUs) must be installed only by trained service technicians.
Removing a ServeRAID-BR10il v2 SAS/SATA controller
To remove the mini-SAS/SATA RAID controller, complete the following steps:
1. Read the safety information that begins on page vii and “Installation guidelines”
on page 141.
2. Turn off the server and all attached devices; then, disconnect all power cords
and external cables.
Note: When you disconnect the power source from the server, you lose the
ability to view the LEDs because the LEDs are not lit when the power source is
removed. Before you disconnect the power source, make a note of which LEDs
are lit, including the LEDs that are lit on the operation information panel and
LEDs inside the server on the system board.
204 System x3200 M3 Types 7327 and 7328: Problem Determination and Service Guide

 Loading...


