39
WORK
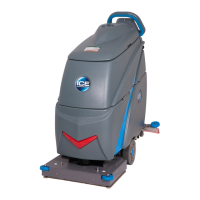
REGULATING THE DETERGENT SOLUTION
To adjust the amount of detergent solution on the brush, proceed
as follows:
1. Fully open the ow from the tap on the back of the appliance
by pulling the knob (1) on the back of the appliance downwards
(Fig.1).
2. By pushing the dead man's lever (2) the brush motor will start
operating and the solenoid valve will distribute detergent solution
to the brush (Fig.2).
3. During the rst few meters, check that the quantity of solution is
enough to wet the oor, but not so much as to come out of the
splash guard; the detergent disposal quantity can be adjusted by
means of the knob (1) on the appliance's rear.
ATTENTION: If the water system does not work, see the
paragraph “CHECKING AND CLEANING THE DETERGENT
SOLUTION FILTER-CAP”.
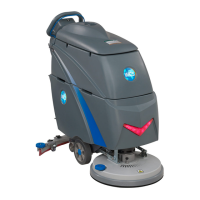
FORWARD SPEED REGULATION (50D versions)
ADJUSTING THE FORWARD SPEED (traction version)
The traction of this appliance is obtained by means of the brush
which, working with the right weight distribution, is able to pull the
appliance forwards. To regulate the forward speed, proceed as
follows:
1. Adjust the forward speed by turning the knob (1) on the front of
the appliance (Fig.1).
ATTENTION: turning the knob (1) clockwise tilts the brush
forward, thus increasing the friction with the oor and thereby
increasing the speed of the appliance.
ATTENTION: turning the knob (1) counter-clockwise tilts the
brush backward, thus decreasing the friction with the oor and
thereby decreasing the speed of the appliance.
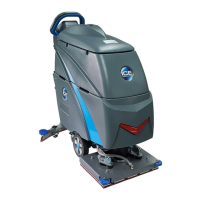
This machine is equipped with electronically controlled traction. To
regulate the potentiometer, proceed as follows:
1. Check that the knob (1) is set to minimum, if not, turn it counter-
clockwise(Fig.1).
2. Turn the main machine switch (2) to "I", turning the key a quarter
turn to the right (Fig.2).
3. Press the dead man's levers (3), positioned under the control
handlebar (Fig.3).
4. Adjust the forward speed by gradually turning the knob (1)
clockwise (Fig.4).
ATTENTION: the device will not start to move (either forward
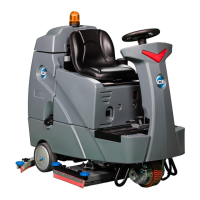
2. Get in the driving seat, behind the machine.
3. Press the main system control button (2) so it is in the “work”
position (Fig.2).
ATTENTION: when the main system control button is
functioning, the LED inside it is activated.
4. Press the dead man's levers (3), positioned under the control
handlebars (Fig.3).
5. Check that the adjustment carried out is as required, otherwise
adjust the knob again (1).
or backward) if the potentiometer adjustment knob (1) is set to
minimum.
ATTENTION: Forward speed can be increased by turning the
potentiometer's knob (1) clockwise.
ATTENTION: The appliance has two forward speeds. By
pushing the dead man's levers beyond the rst CLICK the
“SLOW” speed is activated, continuing to push the levers
beyond the second CLICK the “FAST” speed is activated.
ATTENTION: Adjusting a speed, slow or fast, will imply the
automatic modication of the other.
1
2
21
1 1
2
2
3
3
1
21 4
3
3
2
2
ON