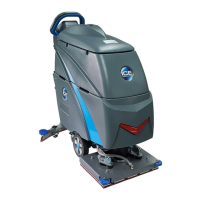
52
MAINTENANCE
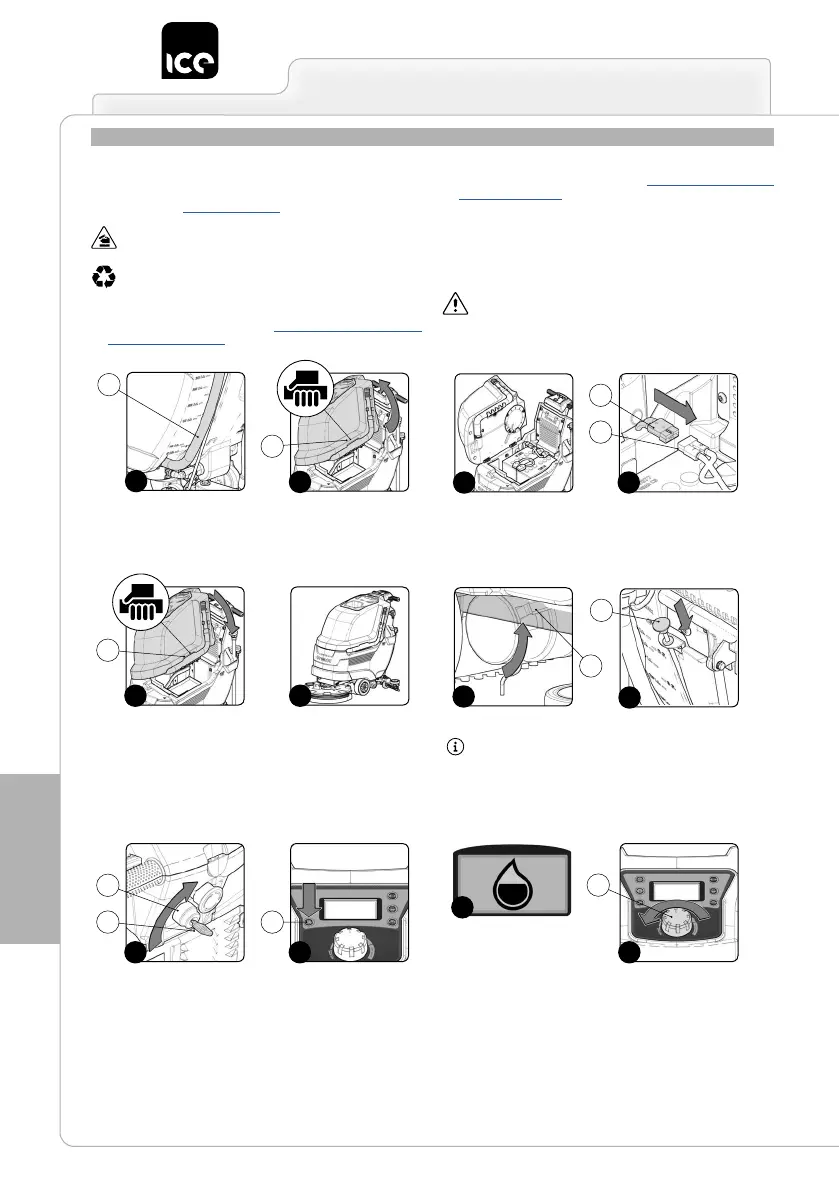
CLEANING THE WATER SYSTEM (traction versions)
Prior to any extended periods of disuse, do the following:
1. Take the device to the dedicated maintenance area.
2. Take all necessary steps to ensure that the device is in a safe
condition (see "MACHINE SAFETY’”).
ATTENTION: users are advised to always wear protective
gloves, to avoid the risk of serious injury to hands.
ATTENTION: the place designated for this operation must
comply with current environmental protection regulations.
3. Make sure that the recovery tank is empty, if not, empty it
completely (see the paragraph “CHECKING AND CLEANING
THE RECOVERY TANK”).
4. Verify that the quantity of detergent solution in the solution tank
is suitable for the type of work you wish to carry out, otherwise ll
the solution tank (see the paragraph "FILLING THE SOLUTION
TANK WITH WATER”). View the level tube (1) in the rear of the
machine (Fig.1).
5. Grip the handle (1) on the left side of the recovery tank (Fig.2) and
turn the tank as far as it will go, until it reaches the maintenance
position (Fig.3).
6. Connect the battery connector (3) to the main system connector
(2) (Fig.4).
ATTENTION: This process must be carried out by qualied
personnel.
7. Grip the handle (2) on the side of the recovery tank (Fig.5).
8. Turn the recovery tank as far as it will go, to the work position
(Fig.6).
9. Make sure the electronic brake is engaged. If it isn't, turn the lever
(4) in the direction indicated by the arrow. The traction gearmotor
is located on the left side of the device (Fig.7).
10. Make sure the water tap is fully open: the water adjustment knob
(5) should be completely down (Fig.8).
11. Turn on the appliance: bring the main switch (6) to its "I" position
by turning the key (7) a quarter turn to the right Fig.9)).
12. When the work screen appears on the control display, press the
water ow adjustment button (8) (Fig.10).
ATTENTION: Set the amount of water present in the dosing
system to maximum by pressing the button (8) until the
“WATER LEVEL ADJUSTMENT” symbol is completely lled
(Fig.11).
13. Check that the potentiometer knob (9) is set to minimum. If it isn't,
turn it completely counter-clockwise (Fig.12).
1
1
3
2
2
4
3
2
2
65
7
4
8
5
7
6
9
8
10
11
9
12