15
BASIC OPERATION
■ Checking the installation
Before turning ON the power, be sure all the connec-
tions are complete. The checklist to the right may be
helpful for necessary confirmation.
CAUTION: Connect the scanner unit before turning
ON the power. Otherwise the magnetron inside the
scanner unit might be damaged.
D Checklist
q The four bolts securing the scanner unit must be
firmly tightened.
w Cabling must be securely attached to a mast or
mounting material, and must not interfere with the
rigging.
e Be sure waterproofing procedures are completed
on the system cable.
r The power connections to the battery must be of the
correct polarity.
t Be sure that the plugs at the rear of the display unit
have been connected correctly and securely.
(See page 42 for details.)
■ Turning power ON/OFF
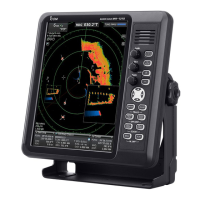
q Push [ ] to turn ON the power.
• The opening screen is displayed.
• The initial screen is displayed and the magnetron warm
up time is counted down on the screen.
• The magnetron inside the scanner unit warms up for 90
seconds.
w When the countdown is completed, the Standby
screen is displayed.
e Push [TX (SAVE)]/[ ] to start scanning and
select the Plan Position Indicator (PPI) screen.
• Targets and heading markers are displayed.
• The screen is displayed approximately 2 seconds after
turning ON the power, when “Auto” is selected in the
“TUNE” item of the Video menu.
r Push [ ] to turn OFF the power.
At the first turning ON the radar or after executing
Factory Reset, the Initial Setting screen (p. 58) is dis-
played before the opening screen is displayed.
3
Warm-up time is displayed
Standby indicator

 Loading...