Installation Procedures – Main Boom & Dipper Stick Calibration
• If possible, remove the bucket before starting this procedure. Re-attach the bucket when completed.
• Once the Sensor sides have been determined, you will now begin the main boom and dipper stick calibration.
• This will be done by placing the Magnetic Pivot Target in the center of the bucket pivot pin and directing the Laser Pointer
onto this target.
• Then you will move the main boom and dipper stick through a series of movements placing the tube onto the laser beam
each time. Do NOT rotate the cab during this process. You may rotate the laser pointer to hit the Magnetic Pivot Target.
• Make sure to achieve the extreme positions of fully extended and fully tucked in by the machine.
• This process is repeated again by raising the height of the Laser Pointer using the Extension Poles provided.
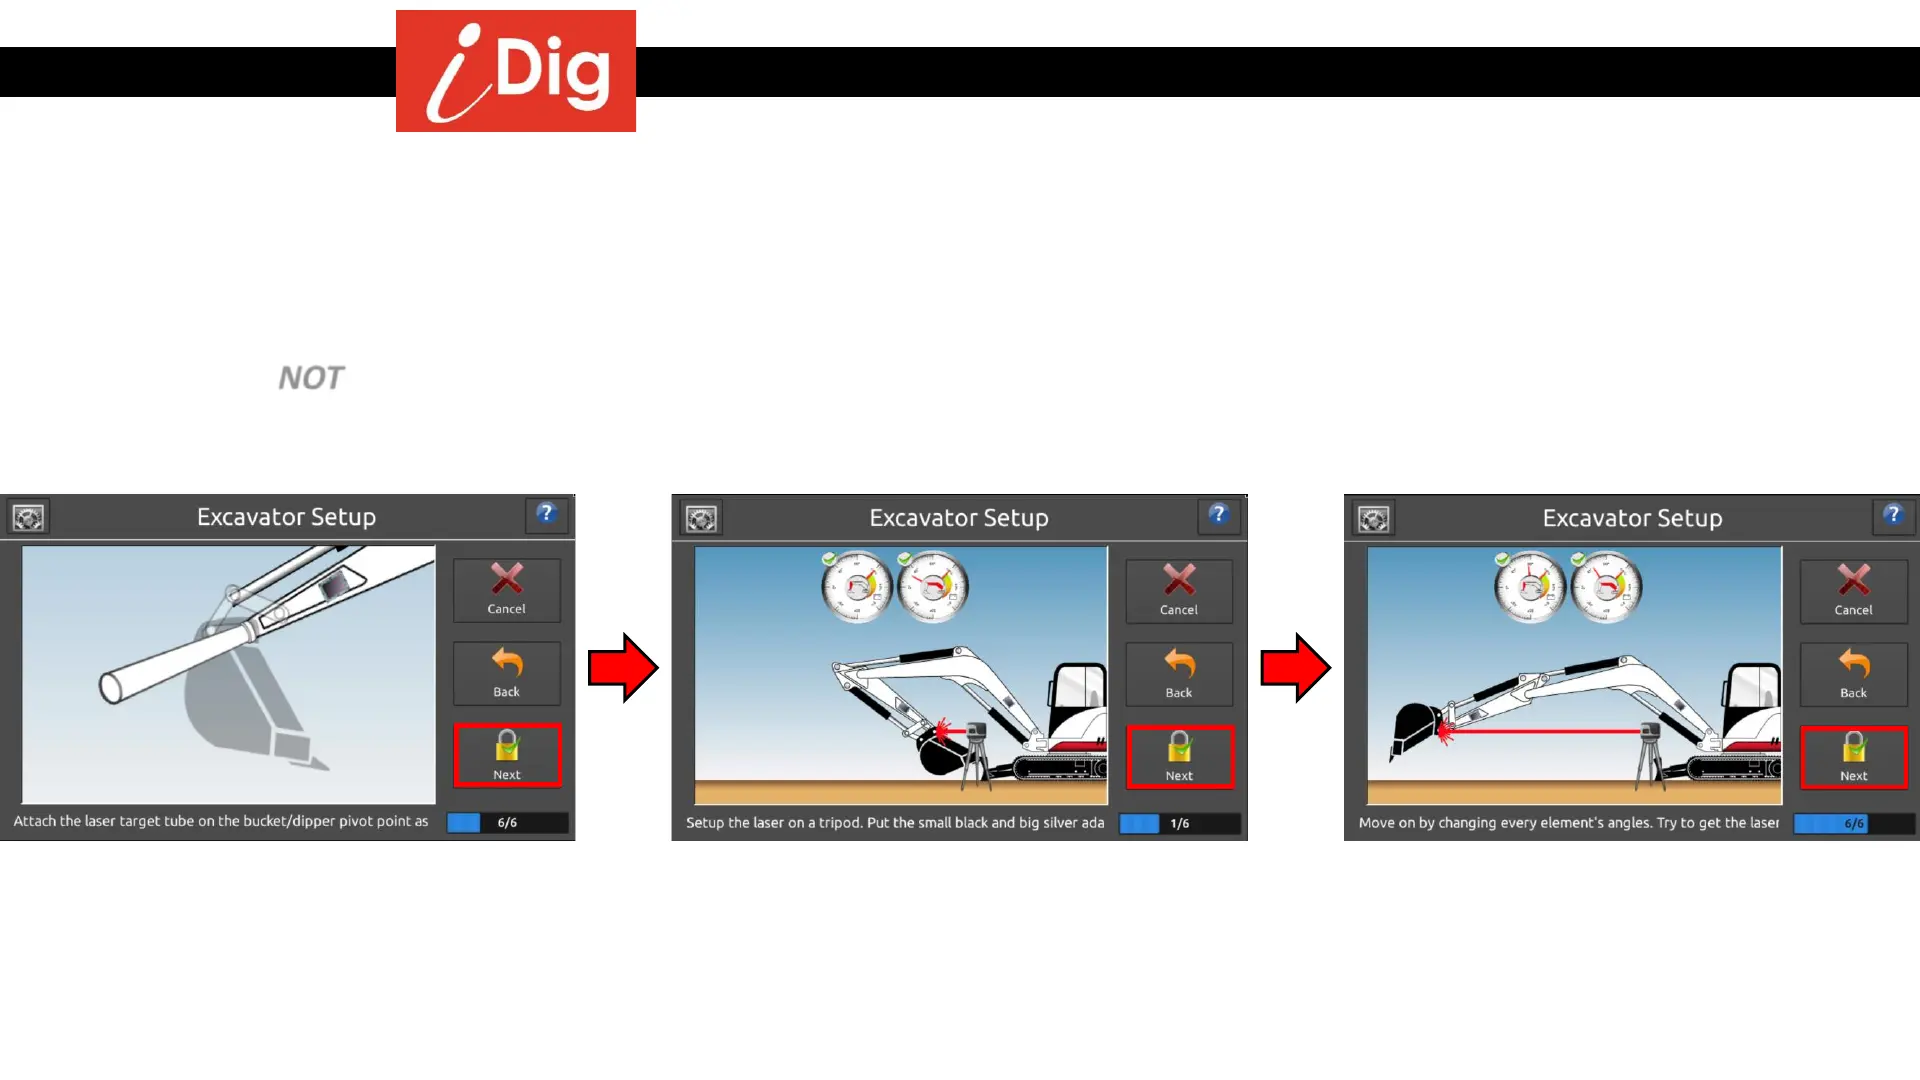
• Attach the Magnetic Pivot Target on the
bucket pivot point. Press “Next”.
• Place the Laser Pointer onto the tripod in front of
the machine. Ensure that the tripod is level and the
Laser Pointer is clear of the boom when being raised
and lowered, both when the Laser Pointer is in a low
and high position. Keep the legs of the tripod clear
of the machine to avoid vibration. Press “Next”.
• Repeat this process 6 times in total (10 if
using 2
nd
boom) bringing the laser beam
onto the Pivot Target each time. For
maximum accuracy try to keep the laser
point on the same spot on the tube each
step. Press “Next”.
20