Installation Procedures – Main Boom & Dipper Stick Calibration
• Raise the Laser Pointer to a new, higher elevation using the extension tubes provided. Do NOT move the tripod while
unscrewing and replacing the laser pointer on the tubes!
• Move the main boom and dipper stick through a series of movements placing the laser beam onto the tube each time.
• Make sure to achieve the extreme positions of fully extended and fully tucked in by the machine.
• For maximum accuracy ensure that the laser point is hitting the same spot on the tube at each step.
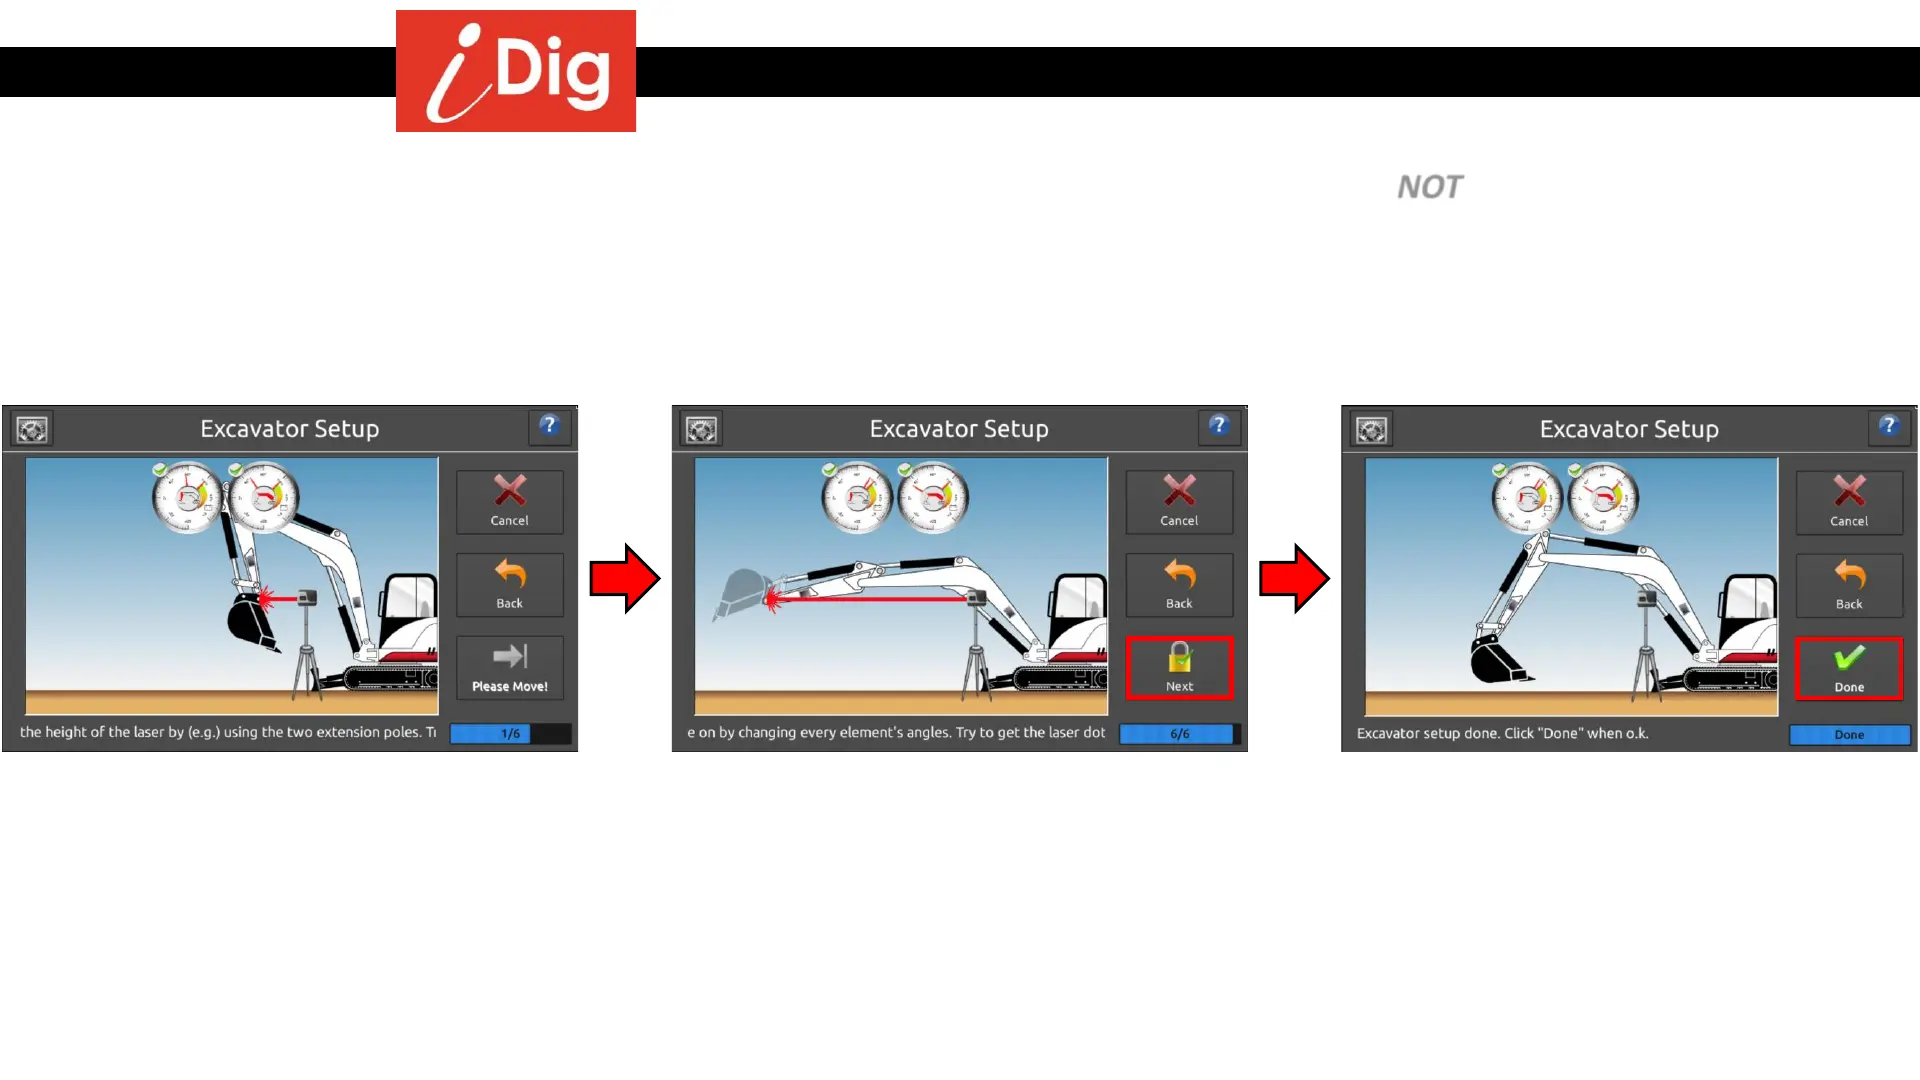
• Increase the Laser Pointer height by
attaching the Extension Tubes. The next
steps are a repeat of the previous steps,
except now the Laser Pointer is raised to a
new, pre-determined elevation.
• Repeat this process 6 times bringing the
laser beam onto the target tube each time.
Press “Next” after each step when the
green check mark appears on the screen.
• This completes the main boom and dipper
stick calibration! Press “Done” to continue.
21