29
28
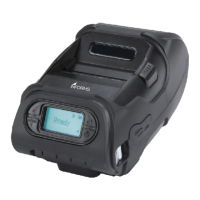
Depending on your supply, set the sensor mode accordingly:
Gap Use for die cut (no black mark) supplies. If your supply
is die cut, with black marks, select BM Upper.
BM Lower Use for supplies with black marks on the front
(printing side) of the supply.
BM Upper Use for supplies with black marks on the back
(non-printing side) of the supply.
Non-indexed Use for receipt paper.
1. Select Setup Menu – Printer – Sensor Mode.
2. Select one of four sensor modes of Gap, BM Lower, BM Upper, Non-indexed.
3. You see:.
4. Exit from the screen by pressing any key. The set value is saved.
This Menu sets sensor according to presently loaded paperstock (Gap, BlackMark).
**Setting the Sensor Mode
NOTE
Our supplies are usually black mark on the back (non-printing side), so
select BM Upper.
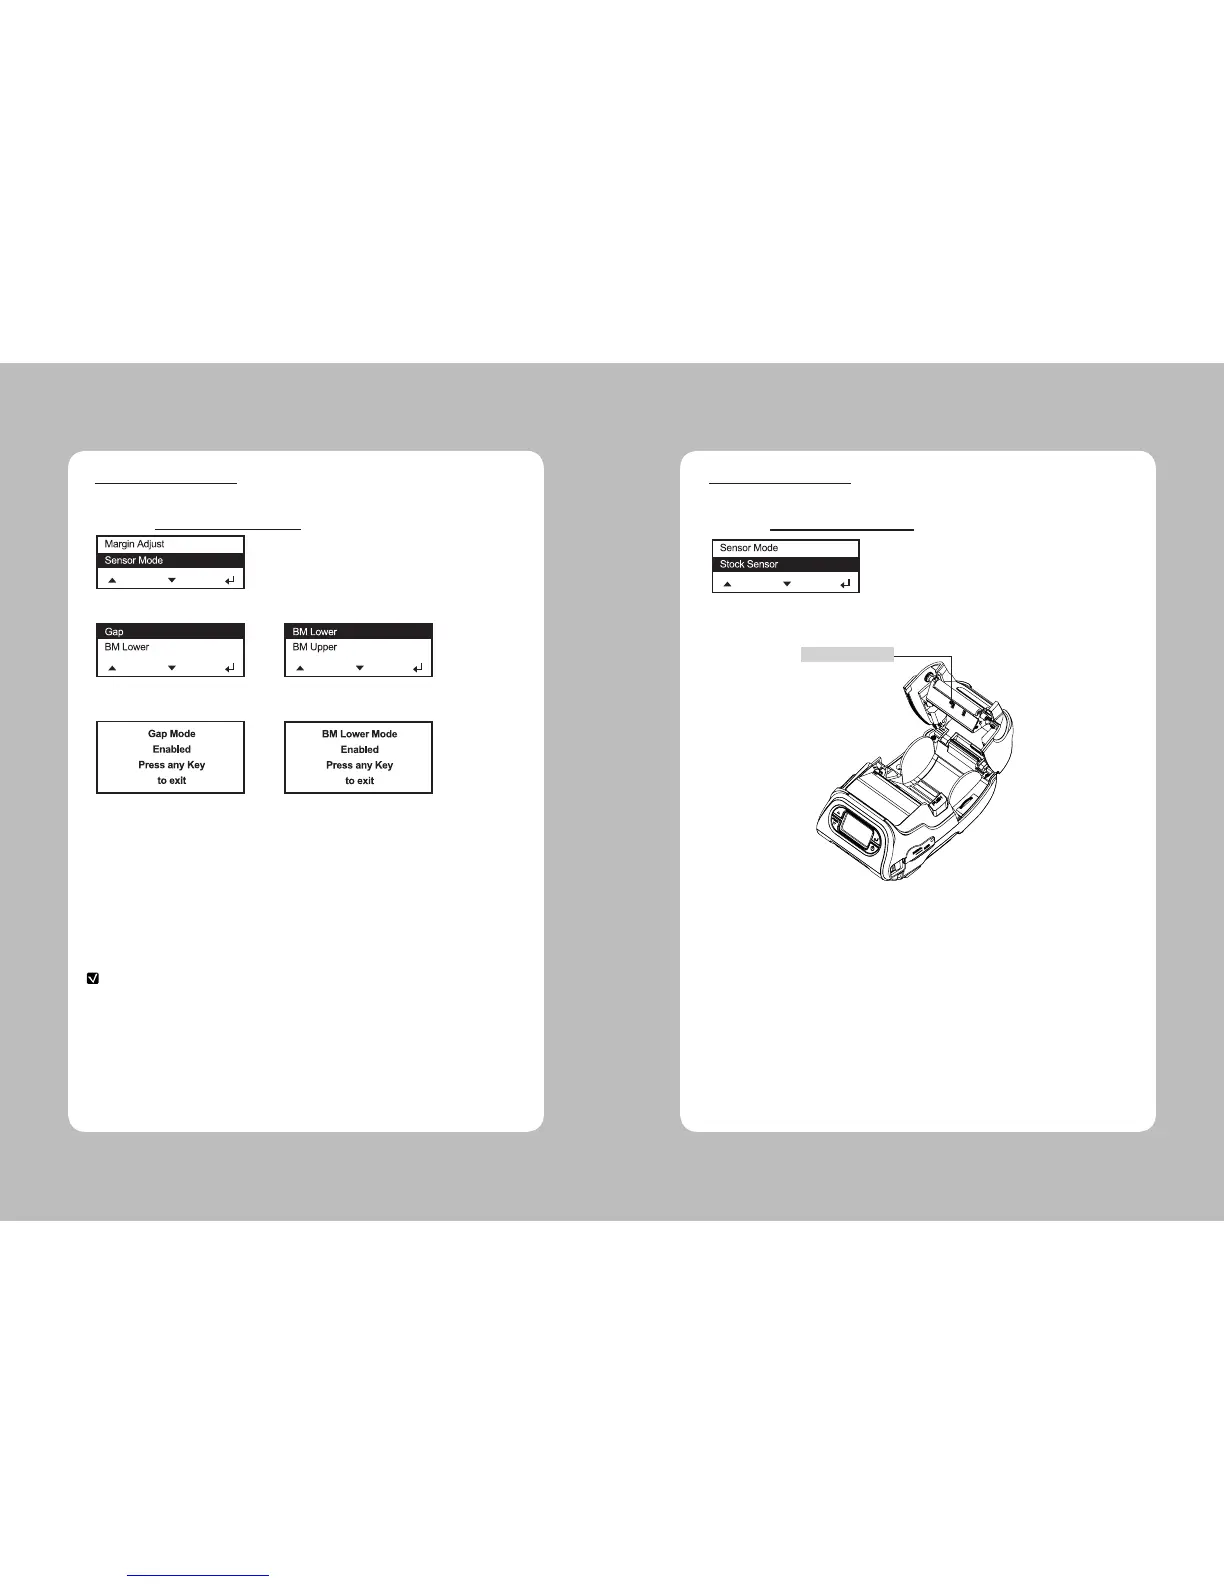
1. Select Setup Menu- Printer – Stock Sensor.
2. Conduct testing referring to following picture.
This Menu sets DAC value per for each sensor (Gap, BlackMark).
**Setting the Stock Sensor
B/M & GAP SENSOR