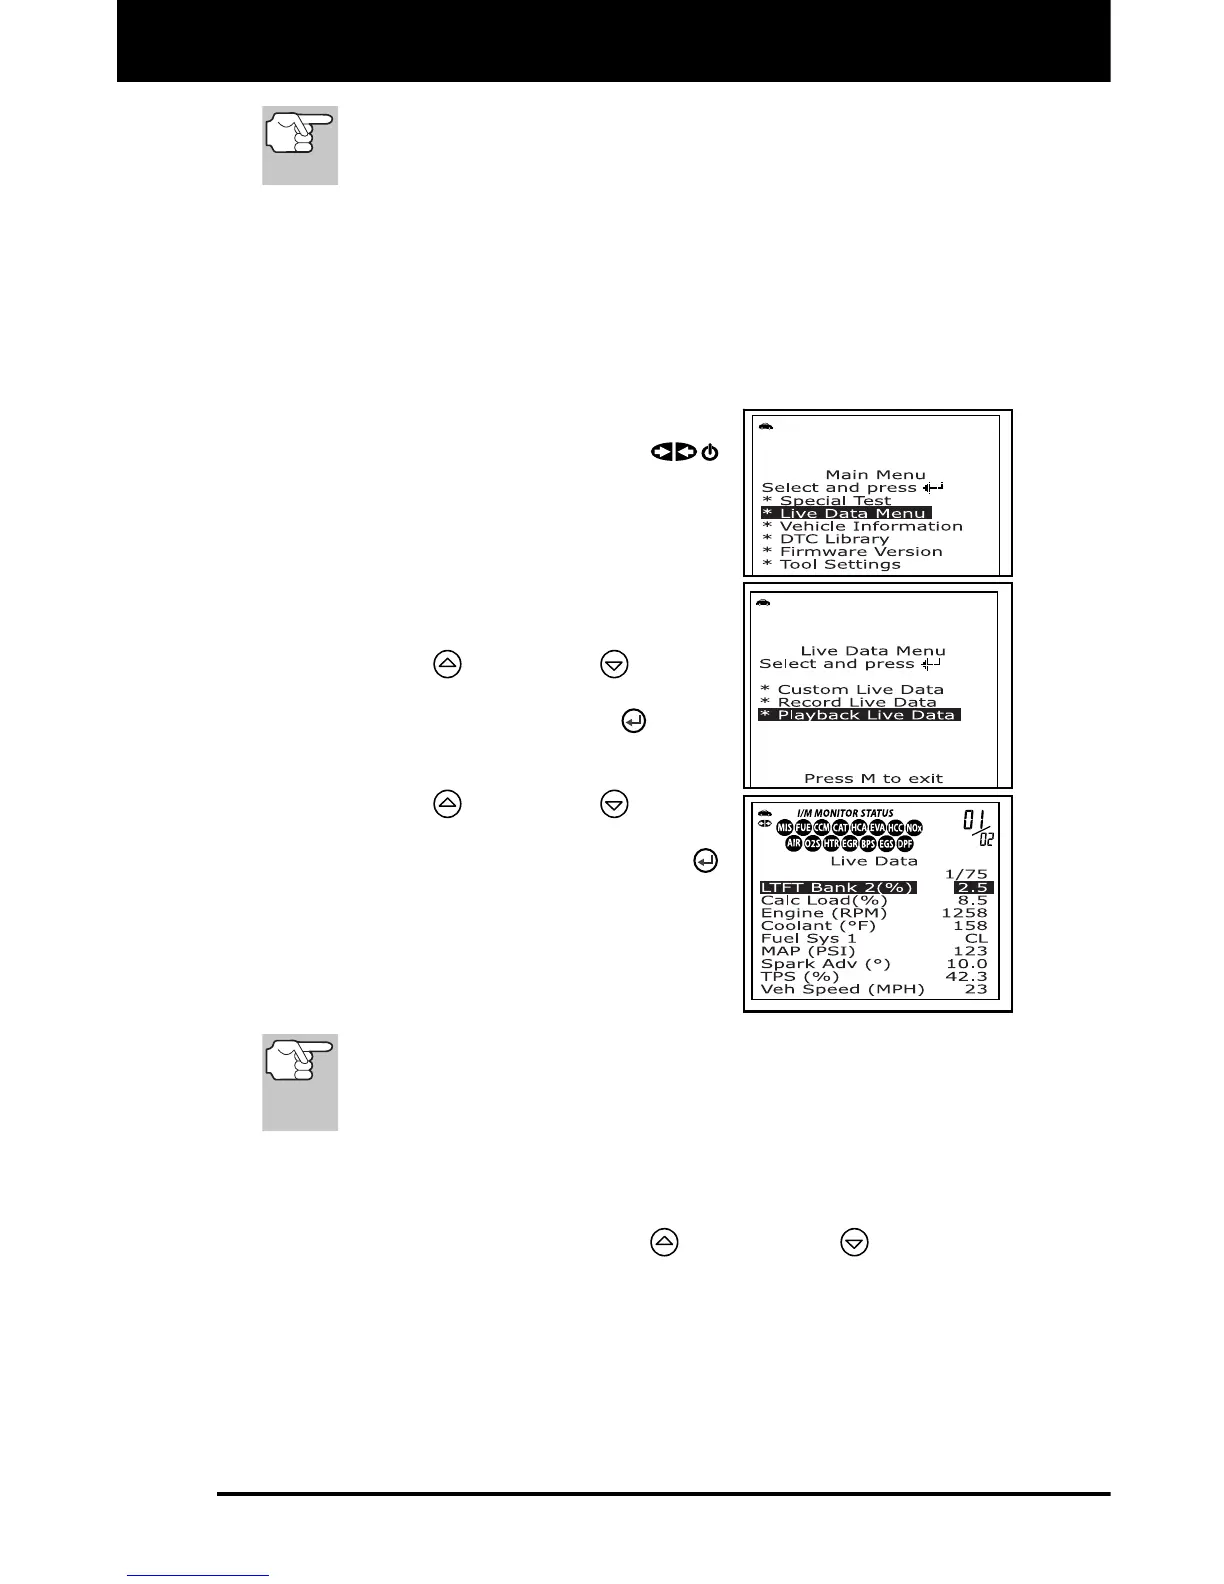
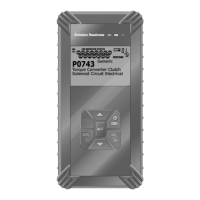
Live Data Mode
LIVE DATA PLAYBACK
3140d 111
If desired, you can transfer the recorded Live Data information
to a personal computer with the use of optional software (see
instructions included with the software for more information).
LIVE DATA PLAYBACK
Once Live Data has been recorded, it is saved in the scan tool's
memory. You can view recorded Live Data immediately after recording
by selecting Yes from the Record Live Data confirmation screen (see
RECORDING (CAPTURING) LIVE DATA on page 106 for more
information), or you can view it later using the "Playback" function.
1. With the scan tool not connected to a
vehicle, press the POWER/LINK
button.
The "To Link" screen shows on the
scan tool's display.
2. Press and release the M button.
The Main Menu displays.
3. Use the UP
and DOWN buttons,
as necessary, to highlight Live Data
Menu, then press the ENTER
button.
The “Live Data” menu displays.
4. Use the UP
and DOWN buttons,
as necessary, to highlight Playback
Live Data, then press the ENTER
button to place the scan tool in “Live
Data Playback” mode.
The display shows the recorded Live
Data, beginning with the “trigger”
frame.
When you select Yes from the Record Live Data confirmation
screen, the scan tool enters the "Live Data Playback" mode,
and the display shows the recorded Live Data, beginning with
the "trigger" frame.
A vehicle usually supports several PIDs, however, only a limited
amount of PID data can be displayed on the screen at one time.
If additional PID data is available, a small arrow will be shown on
the display. Use the UP
and DOWN buttons, as
necessary, to scroll up or down to view all available PID data.
When viewing recorded Live Data, look for any irregularities in any
of the PID values/signal information (LTFT %, RPM, MAP, TEMP,
etc.). If any PIDs are not within specification, or irregularities are
detected, follow the procedures in the vehicle's service repair
manual to perform additional troubleshooting and repair.