Minimate Pro Operator Manual 8–3
NOTE: A Charging Status LED is mounted next to the Down Arrow key and indicates
the following:
a. The light is not on - the charger is not connected to a power outlet, or
the charger is not functioning properly.
b. The light is Yellow - the charger is connected to a power outlet and is
charging.
c. The light is Green - the batteries are fully charged.
d. The light is flashing Red/Yellow – the power source is not sufficient (i.e.
battery, solar panel, or malfunctioning charger).
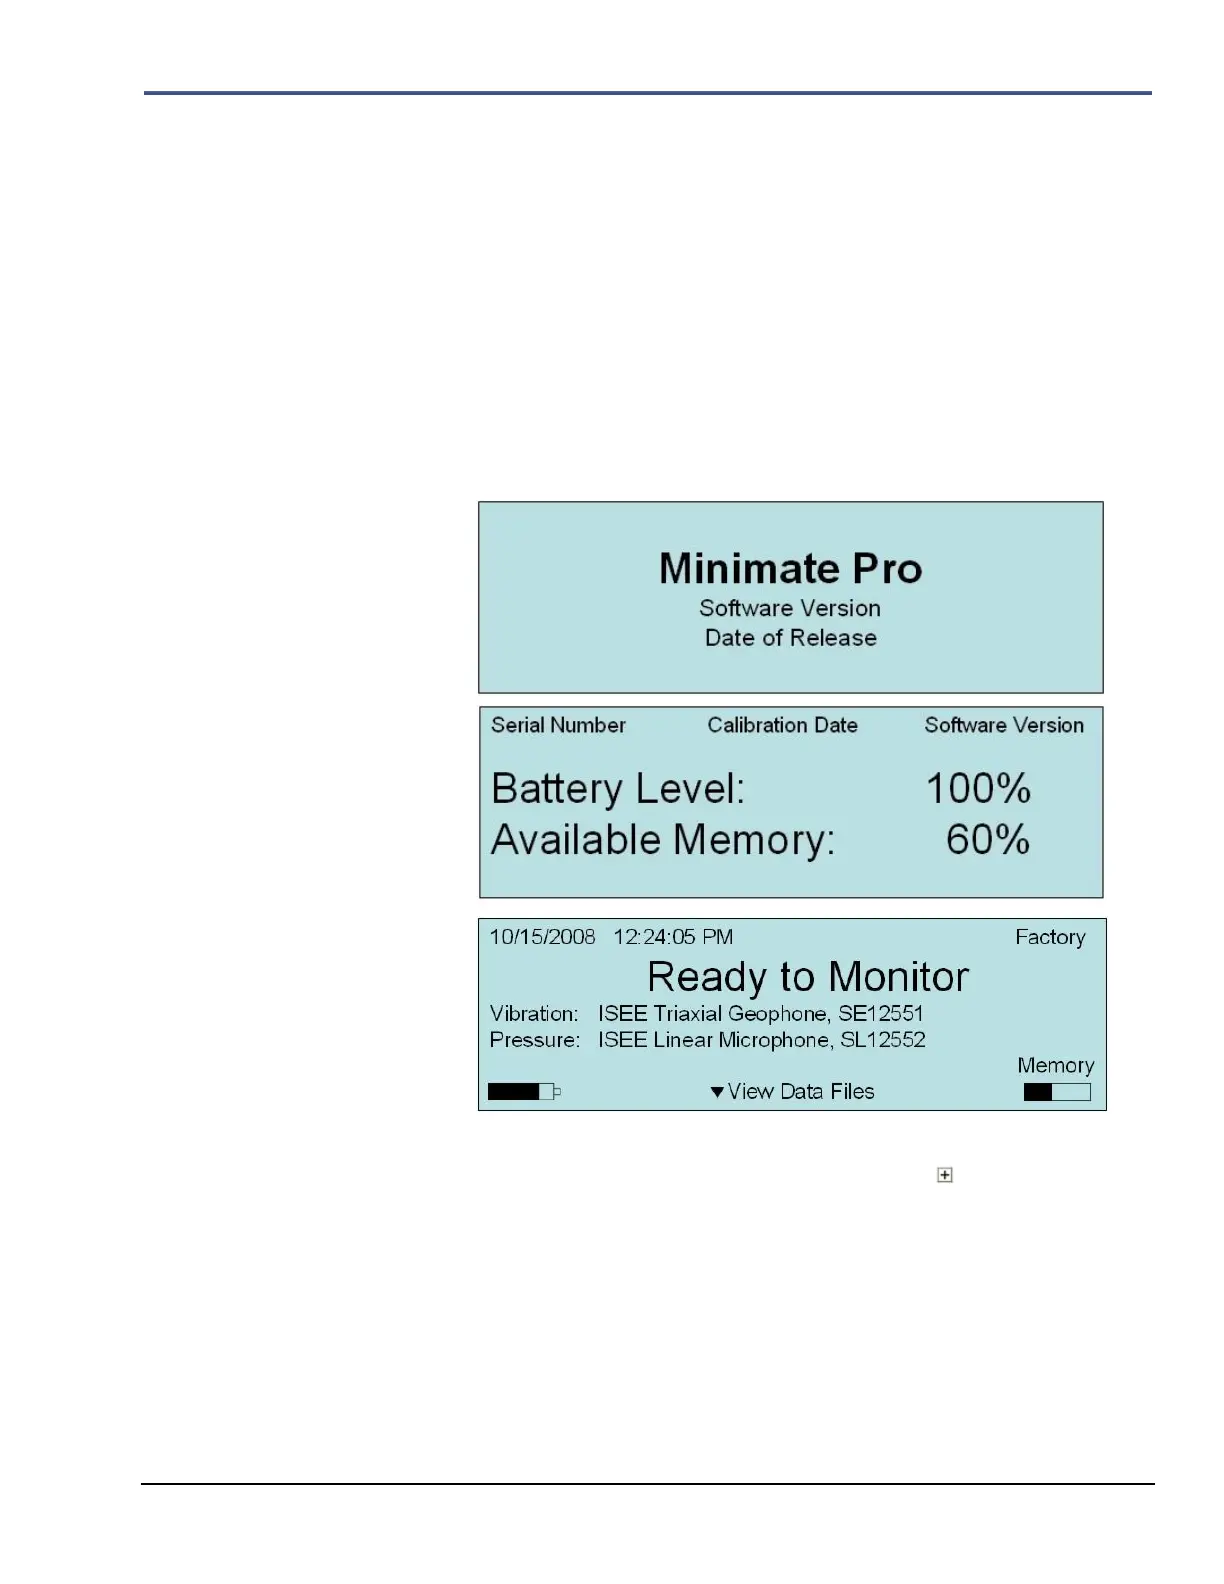
1. After the introductory, battery and memory screens display, the main display screen will
appear showing that the Geophone and Linear Microphone, if attached, (or additional
Geophone, if you have purchased the Minimate Pro6) have been recognized during the initial
Sensor Check. The Serial Number (e.g. SE12551) follows after each sensor type.
2. Determine the COM Port number that your Windows® software automatically assigns to the
unit. Do this by using the USB Serial Communication Connector, by selecting Start –>
Control Panel –> Device Manager. Scroll down and click on the icon next to Ports
(COM * LPT). In the example below, it is COM3 – write this number down as it will be
used in a later Step 6 to help determine the communication settings.
 Loading...