100
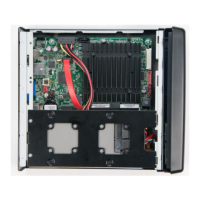
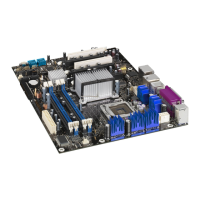
Figure 27. Install Motherboard
4. Connect the ON/OFF and Power LED cables (J3 in Figure 28) to the motherboard using
the cable harness provided with the enclosure, see Figure 28. Also, you can connect the
USB header (J2 in Figure 28), if needed. Connect the ON/OFF and Power LED cables (J3
in Figure 28) to the motherboard using the cable harness provided with the enclosure.
Also, you can connect the USB header, if needed.
Figure 28. J2 (USB Header) and J3 (2x3) pin header, view from the back of
Enclosure
6.4 Installing USB devices under the front plate
The front plate is designed to conceal USB flash drives, Bluetooth, USB WIFI modules or
other USB devices. To add a USB device under the front plate, remove it by carefully
pressing outwards and gently pushing, one by one, the plastic lids from the sides (see
Figure 29).