CW250, Users
Rev M, April 2018
Page 22 of 31
Calibration
Calibration Preparation
The CW250 scale is calibrated at the factory prior to shipment. The Calibration Enable
Jumper will be set in the "RUN" position. Prior to attempting a calibration of the CW250
scale, the jumper will need to be moved to the "CAL" position.
Calibration Enable Jumper
The Calibration Enable Jumper is used to prevent unauthorized or inadvertent
adjustment of settings controlled by the calibration process. Prior to commencing a
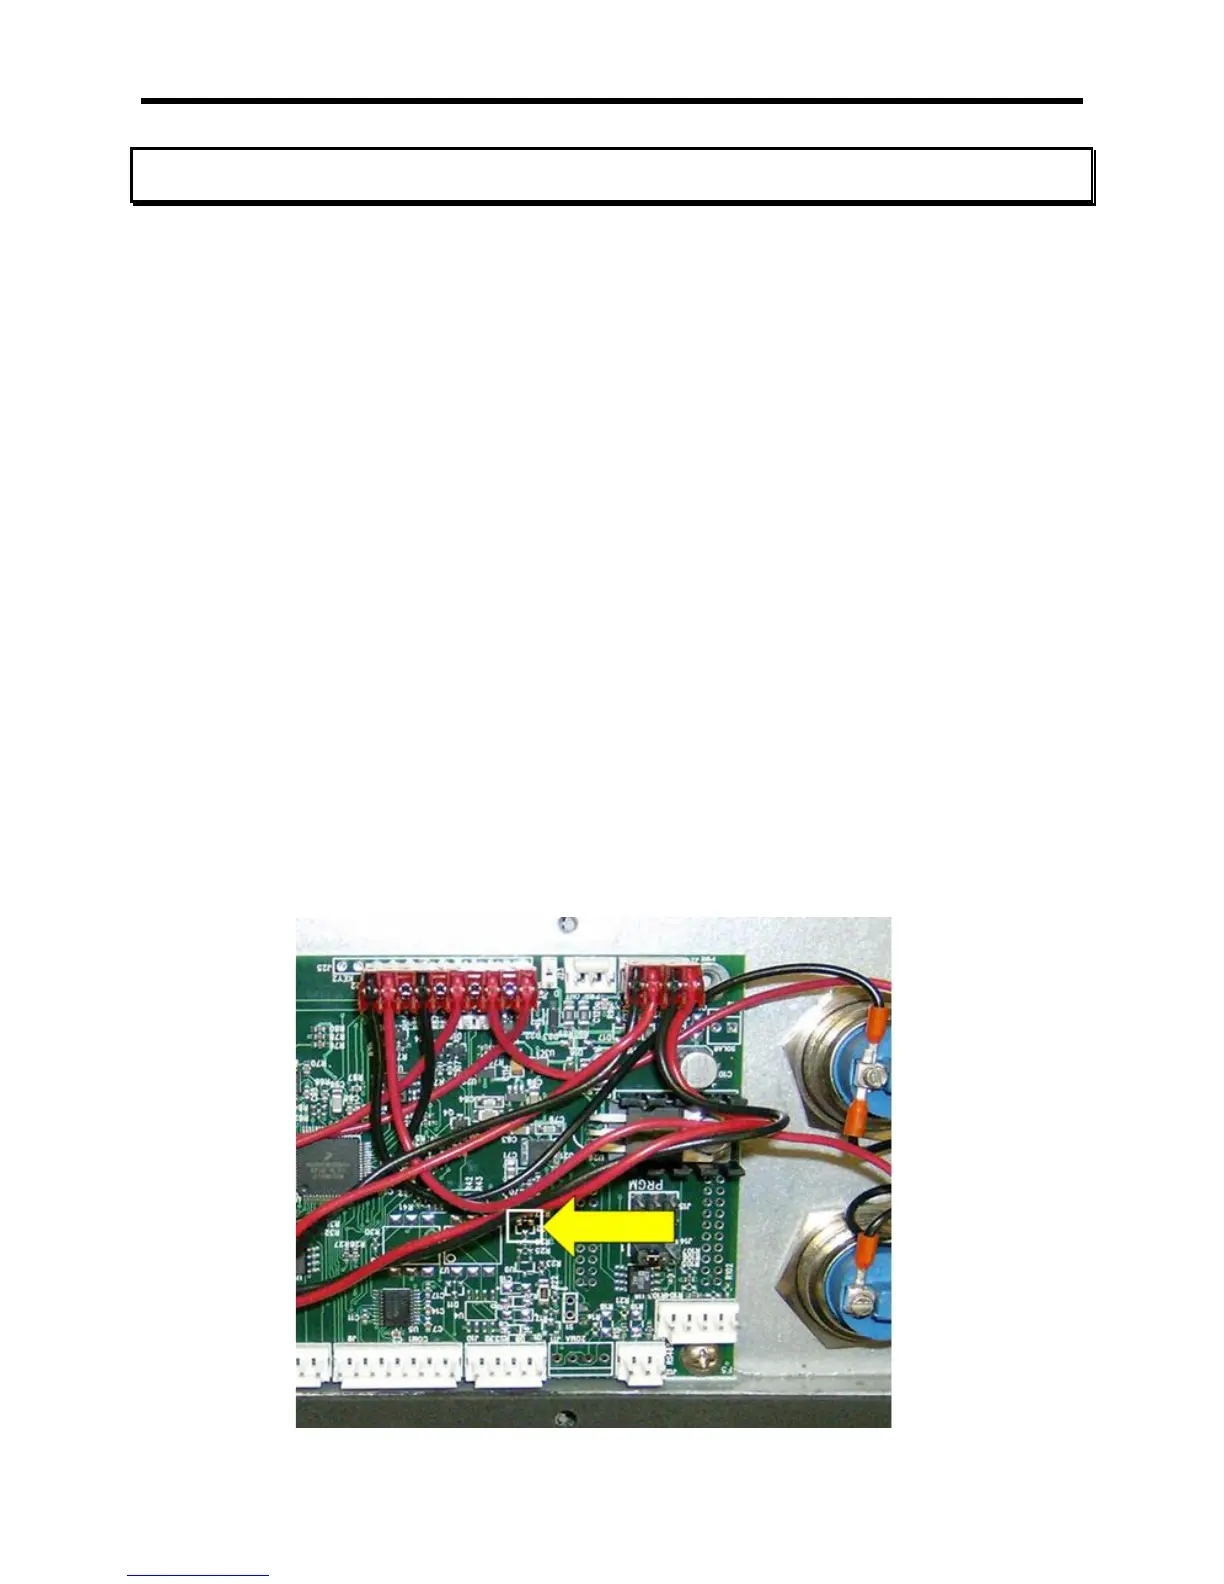
calibration, the jumper must be moved to the "CAL" position. The jumper is a shorting
strap labeled "RUN/CAL" and is located near the right-middle of circuit board,
Intercomp, A/D 20 BIT rev E (shown below). The jumper must be moved from shorting
pins 2 and 3 (RUN position) to shorting pins 1 and 2 (CAL position). The shorting strap
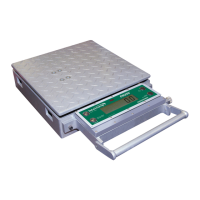
is accessed by removing the 10 screws along the outside edge of the display assembly.
When the screws are removed, carefully lift the display assembly up and then place the
assembly, display side down, on top of the weighing platform.
Following calibration, replace the strap to shorting pins 2 and 3 (RUN). Place the
assembly back into the housing and reattach the assembly with the 10 screws
previously removed. The scale can now be operated without danger of the calibration
settings being altered.
Care must be taken to ensure the wire harness is seated properly to prevent
the harness from being pinched between the display assembly and the scale
casing.