CW250, Users
Rev M, April 2018
Page 27 of 31
18. The display shows "". Press the PRINT/ACCUMULATE button. The display
will show "" with the far right digit flashing. Use the LOCAL/TOTAL button to
advance the number and the ZERO button to move the flashing number to the left.
Enter the value of the fourth load and press the PRINT/ACCUMULATE button when
the value of the fourth load is displayed.
19. The display shows "". Apply the fourth load to the scale. When the fourth load
is applied to the scale, press PRINT/ACCUMULATE button.
Repeat step 12 and 13 for each additional calibration point ("" to "" and
"" to "") combination. If the scale is turned off at any time during the
calibration, all data acquired to that point will be retained. When the last calibration
point ("") is completed, press the PRINT/ACCUMULATE button and the display
will return to normal weighing mode.
Calibration Completion
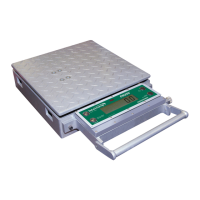
When calibration has been completed, set the "Calibration Enable Jumper" to the
"RUN" position (shorting pins 2 and 3). Reassemble the display assembly and housing.
Secure the display assembly in the housing using the 10 screws initially removed from
the display. The calibrations settings are now secure from inadvertent or unauthorized
changes or modification.
Care must be taken to ensure the wire harness is seated properly to prevent
damage to the harness due to pinching between the display assembly and
the scale casing.