34 Installation Guide
The visible IR range may vary due to multiple factors such as
weather, IR reflection level of objects in frame, lens
adjustment, and camera settings. Please refer to the camera
datasheet for the standard IR range.
Note: Avoid installing the IR camera closely facing a solid
object such as a tree or wall. The reflection will cause over-
exposure and loss of visibility of detail in field of view.
Accessing the Micro SD card
Insert a Micro SD card with up to 128GB to use the camera as
an additional recording device, or as a backup in case of
failure of communication with the network video recorder (see
Figure 1 on page 25). The card is not supplied with the
camera.
Recorded video and log files can be accessed via the web
browser or via TruVision Navigator.
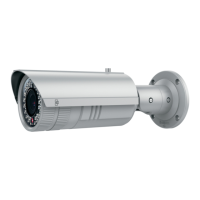
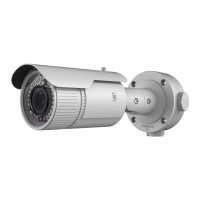
Mounting the bullet camera
Mount the camera on a ceiling or wall.
To mount the IP fixed lens bullet camera:
1. Use the supplied template to mark out the mounting area.
Drill the screw holes on the ceiling or wall. If you need to
route the cables from the camera base, drill a cable hole
in the ceiling or wall.
2. Secure the mounting base to the ceiling or wall using the
three mounting screws and drywall anchors.

 Loading...