Installation Guide 57
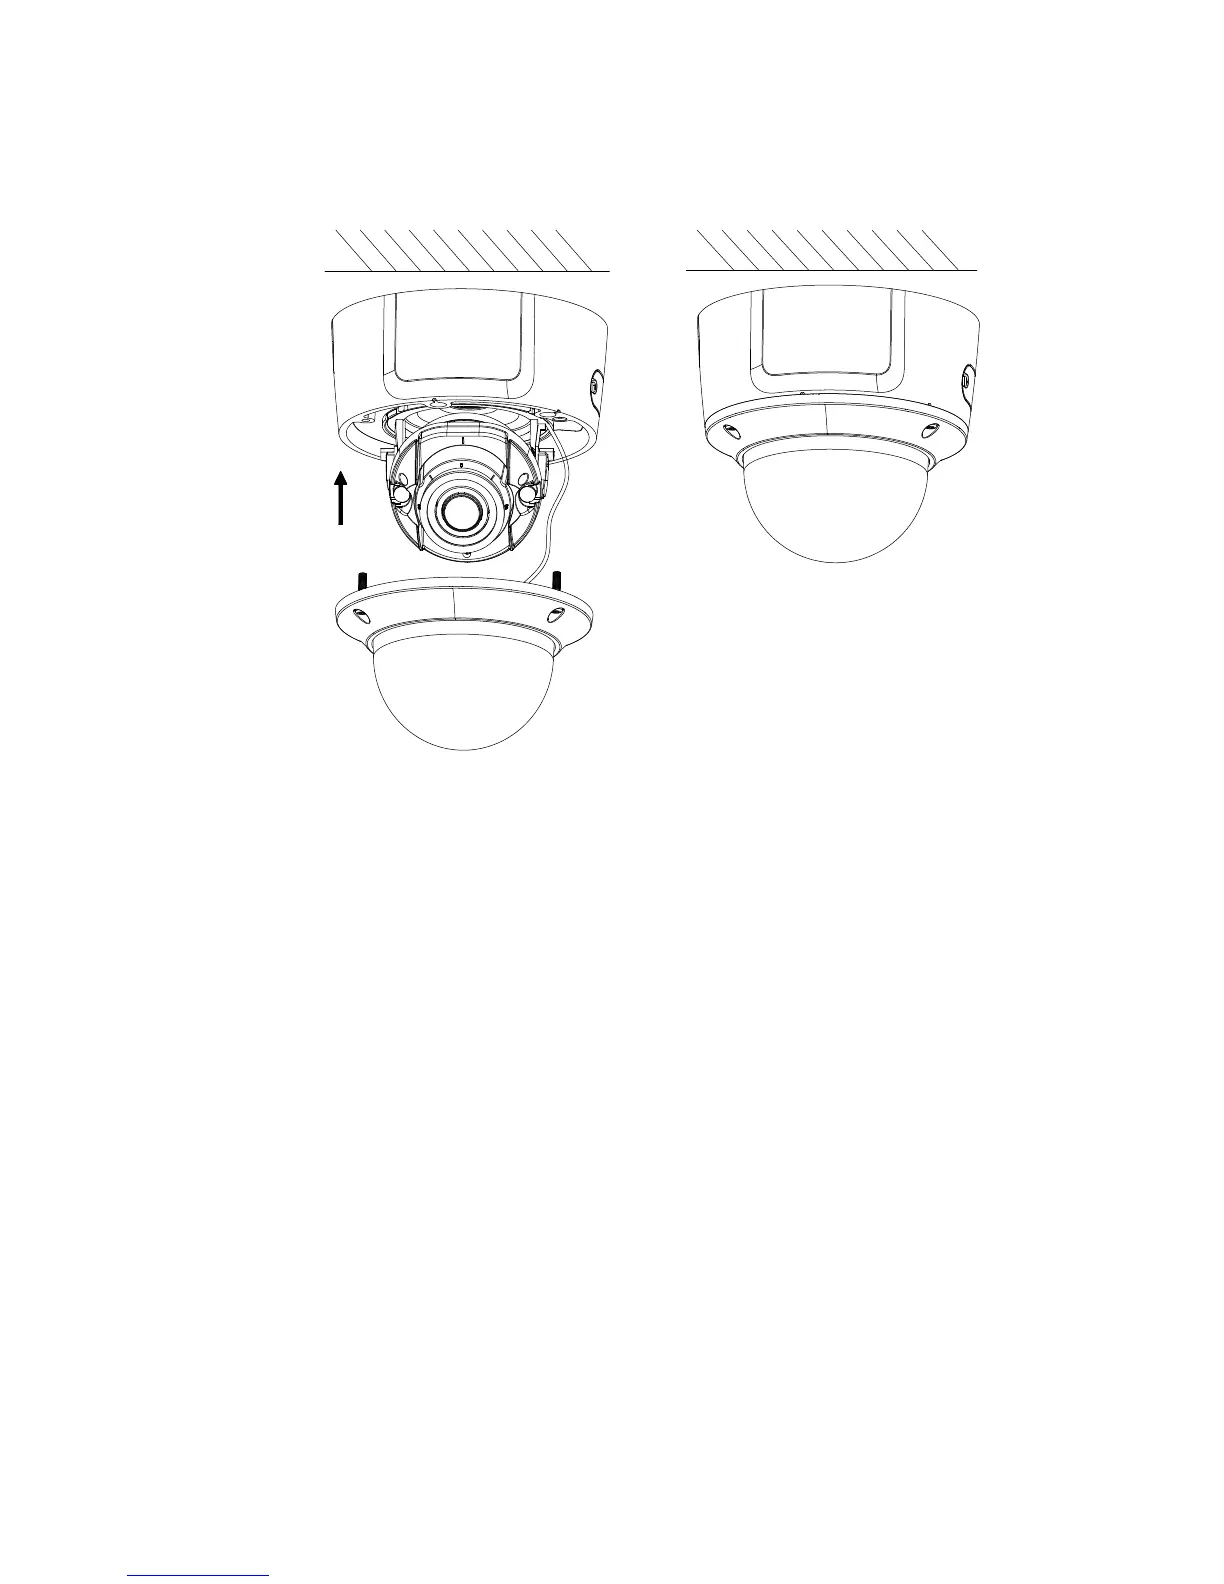
12. Reattach the bubble back to the camera body and tighten
the Torx screw
To mount the motorized lens dome camera on a wall:
Please refer to the installation guide provided with the TVD-
CB7 mounting kit for instructions on mounting the motorized
lens dome camera to the wall.
Mounting the wedge camera
To mount the fixed lens wedge camera on a surface:
1. Use the supplied template to mark out the mounting area.
Drill mounting holes in the surface using the holes
labeled number “1” on the drill template.
To route the cable harness through the mounting surface,
cut a cable access hole in the mounting surface,
referencing the letter “A” on the drill template. Skip this
step if you want to route the cables on the surface.

 Loading...