Chapter 12: Recording
TruVision DVR 15HD User Manual 95
Note: You can schedule up to eight time periods in a day.
6. Click Apply to save the settings and Exit to return live view.
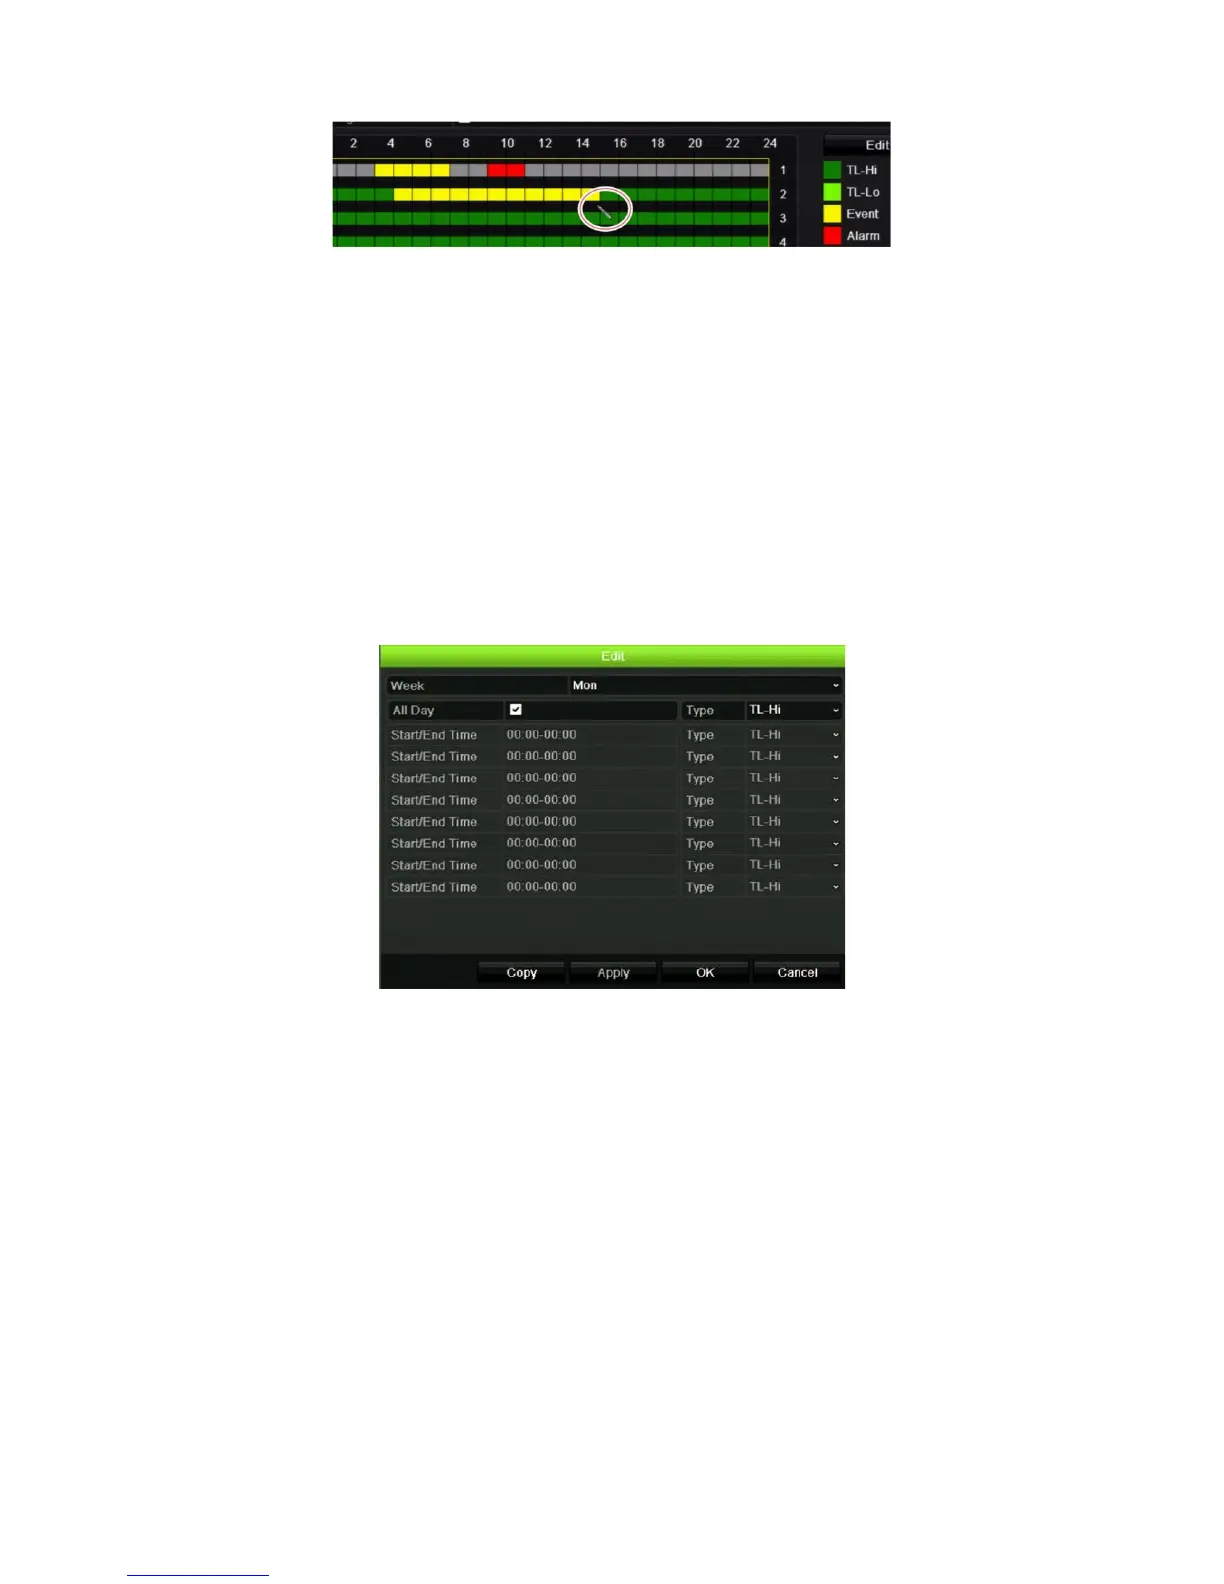
Define a schedule from the Edit menu
To set up a daily recording schedule:
1. From the menu toolbar, click Recording > Recording Schedule.
2. Select a camera.
3. Check the Enable Recording box.
4. Click Edit. The following window is displayed:
5. Select the day of the week for which you want to set up the schedule.
You can define a different schedule for each day of the week.
6. Set the start and end time for recording.
Define a time period by entering a start (left column) and end (right column) time.
You can schedule up to eight time periods. Click All Day to record all day.
Note: Time periods defined cannot overlap.
7. Select a recording type.
The recording type can be based on time and triggered by motion detection and/or
an alarm. If set to TimeLapse (TL-Hi or TL-Lo), the recorder records continuously.
8. Click Apply to save settings.
9. Repeat steps 4 to 8 for other days of the week or to copy the schedule settings to
another day.