xGenConnect Installation and Programming Guide 39
Method 2: Web Server
xGenConnect has a built-in web server which makes it easy and simple to set up
your system from a web browser instead of the keypad. This features:
• Simple forms to set up most commonly used features
• View system and zone status
• Arm and disarm partitions
• Bypass/Un-bypass zones
• Turn chime mode on and off
• Add, remove and edit users
• Access to the advanced programming menu
Connect to xGenConnect Web Server over LAN
1. Turn on power to your system
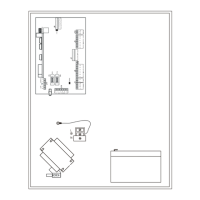
2. Connect an Ethernet cable to the J13 Ethernet port on the xGenConnect and
wait 10 seconds for the local router to assign the xGenConnect an IP address
if DHCP is available.
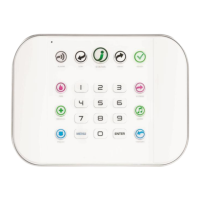
3. On the keypad press Menu, PIN, ENTER, go to Installer > Communicator > IP
Configuration > IP Address and note the IP address displayed.
4. Open your web browser
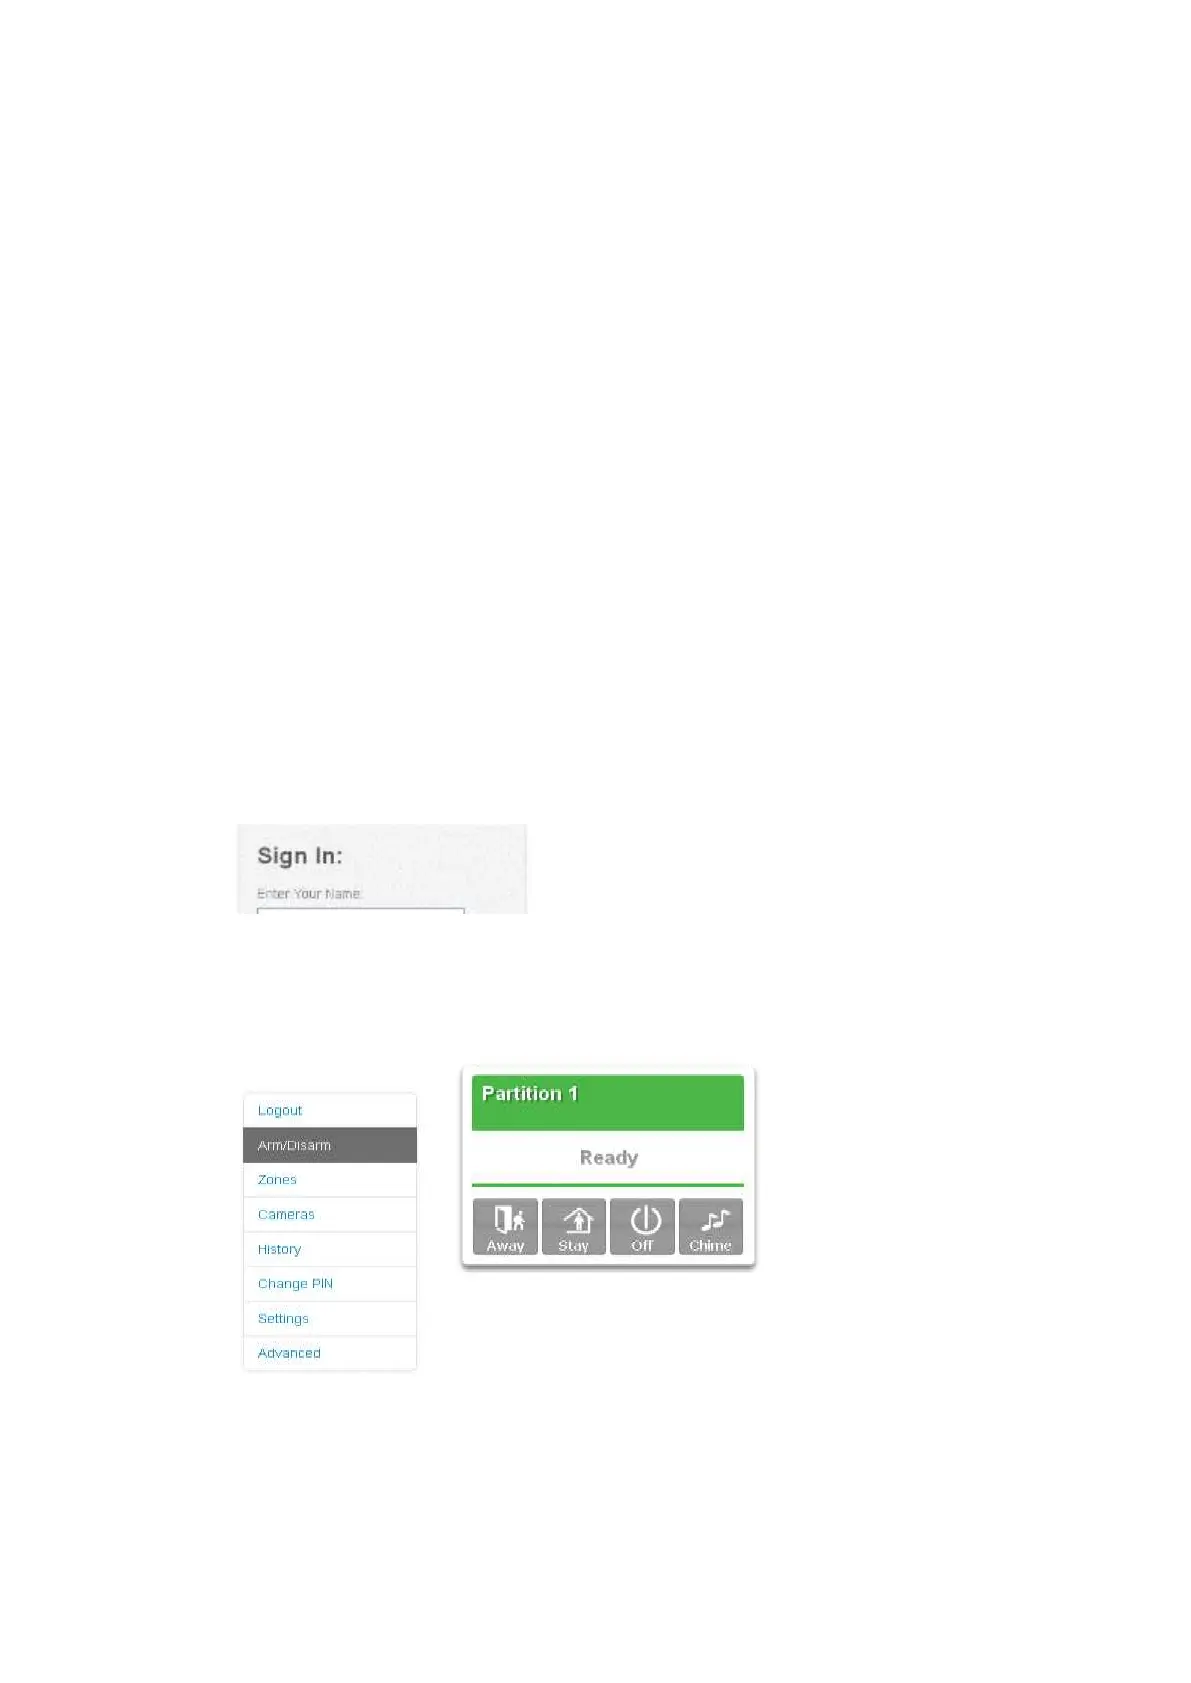
5. Enter the IP address from step 3 and the xGenConnect login screen should
appear. Some browsers may require you to enter http://
6. Enter your username and password, by default this is installer and 9713.
Note: On EN Grade 3 panels all PIN codes are 6 digits, use installer 971300.
You should now see a screen similar to:

 Loading...