82 xGenConnect Installation and Programming Guide
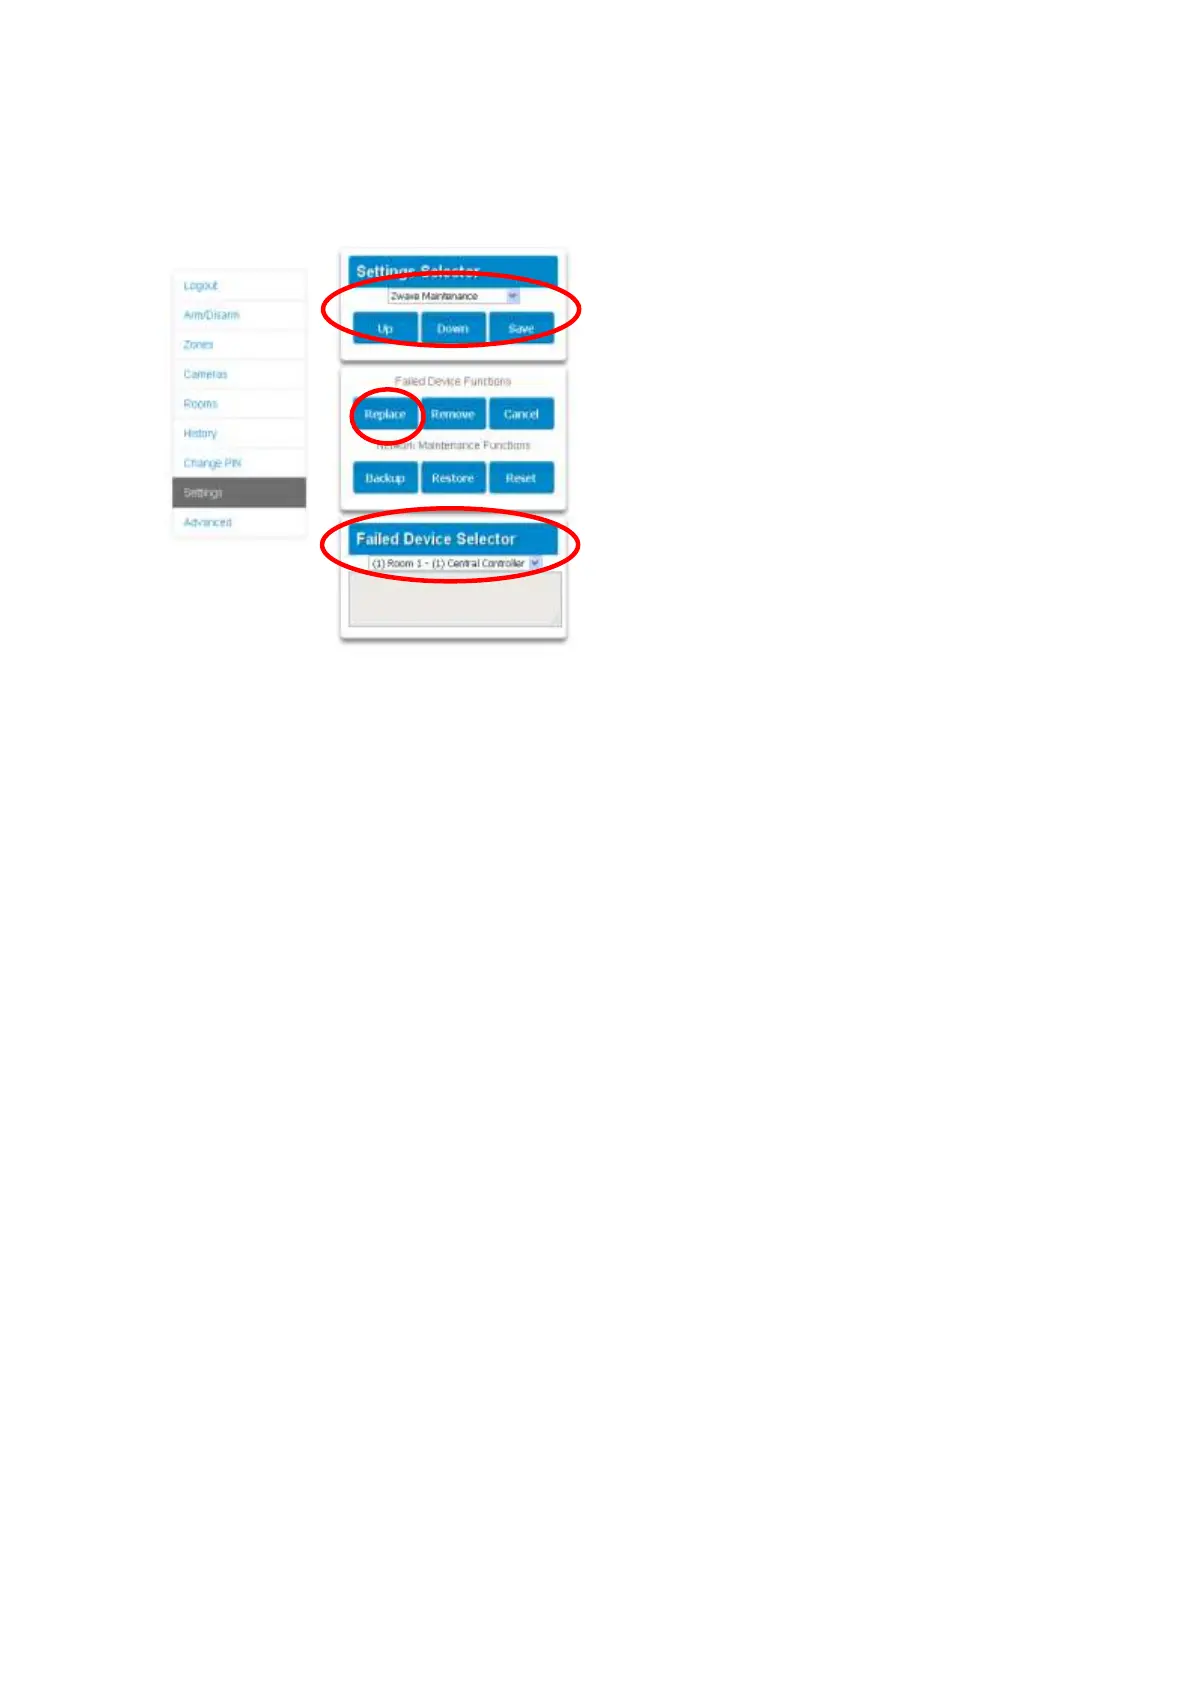
Replacing a Failed Node
1. Click Settings > Zwave Maintenance
2. On the Failed Device Selector, click the node to be replaced.
3. Click the Replace button.
Status will show “Device Not found in failed list” if the device is working.
4. Press the include button on the new node. The old device has now been
replaced with the new device.
Creating a Device Association
1. Z-Wave supports a feature called “association”. This allows you to control
multiple Z-Wave devices such as lights or a scene from a single Z-Wave
on/off switch.
2. Click Settings > Zwave Device Association
3. Select the Z-Wave device from the drop-down menu.
4. Select an Association Group. Check the Z-Wave device’s manual for
supported groups.
5. Select one or more devices to associate. These are the devices that will
change state when the device in step 2 is triggered.
6. Click Add.
7. Trigger the device in step 2.
8. Check that the devices in step 4 respond and turn on or off.
Removing a Failed Node
1. Click Settings > Zwave Maintenance
2. On the Failed Device Selector, click the node to be removed.

 Loading...