Intermec EasyCoder F2 – Installation & Operation Ed. 212
Chapter 2 Print a Label
The label we will design in Intermec Fingerprint will contain a box,
an image, a bar code, and a line of text. Note that the illustrations
are not reproductions of the label, but are merely intended to show
the principles of label editing .
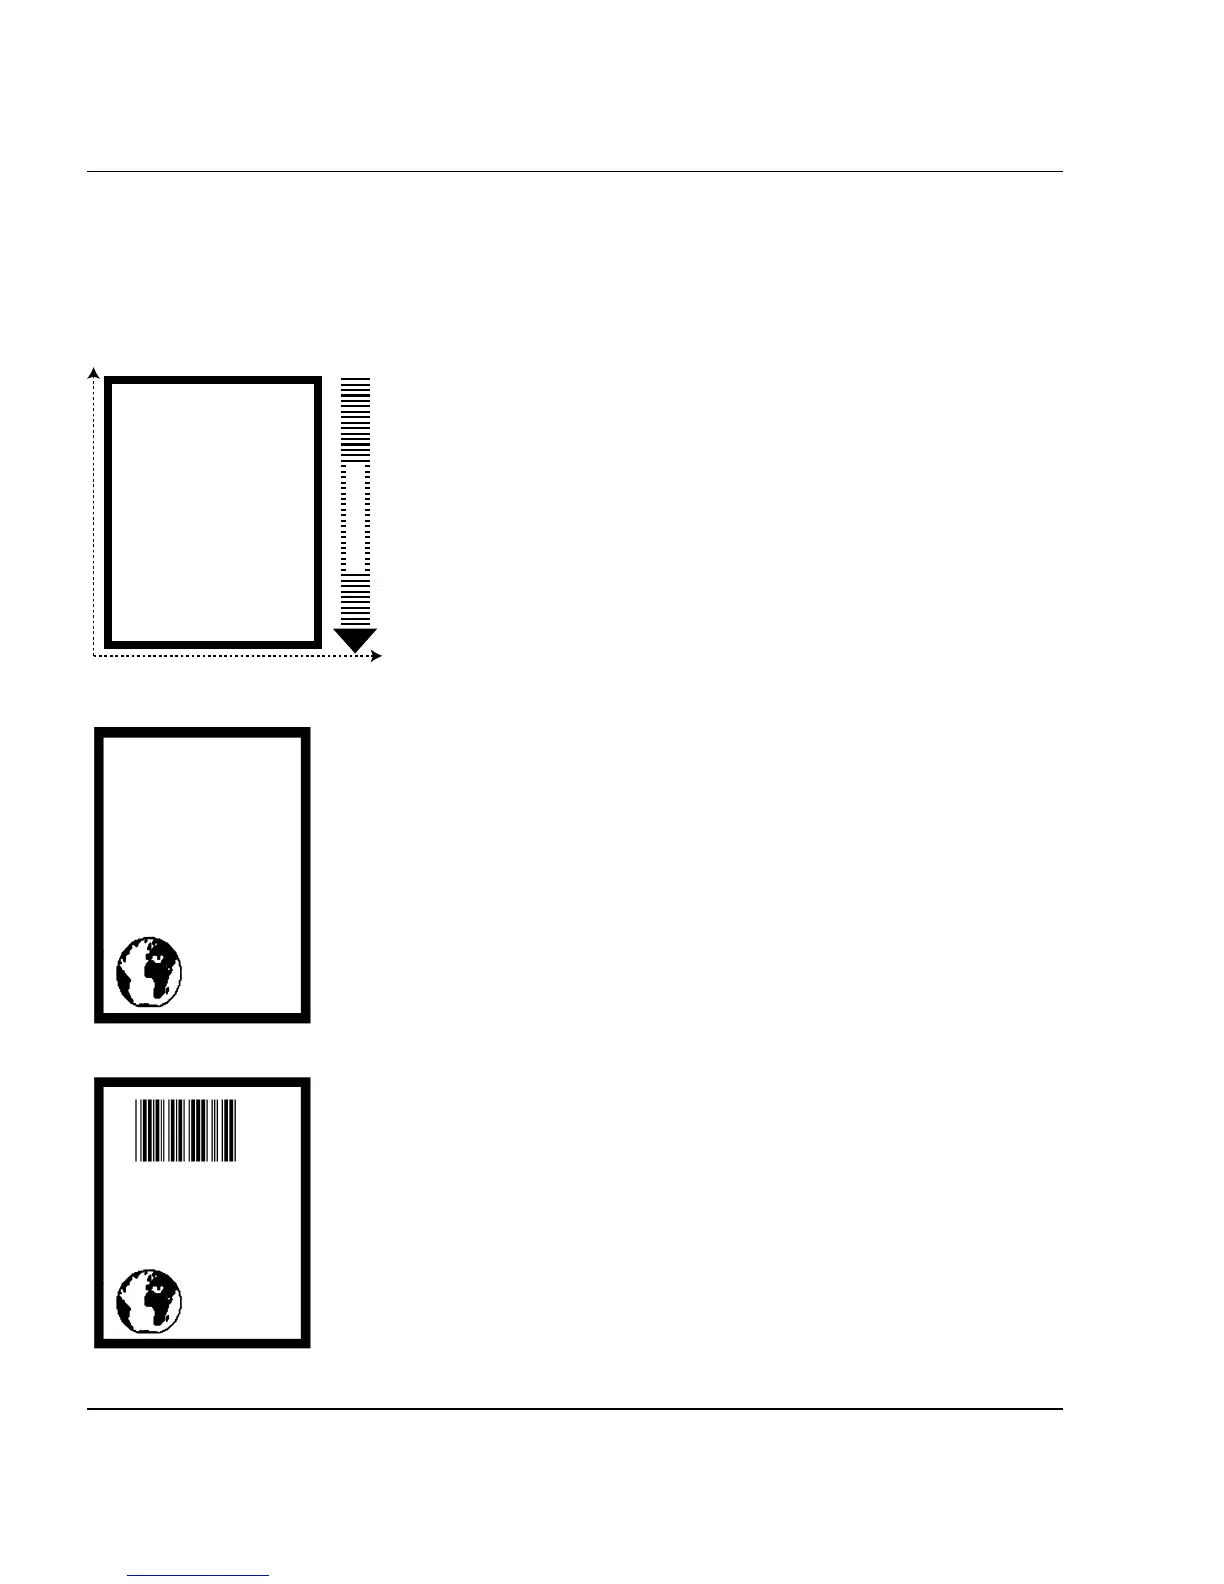
Printing a Box
Let us start by printing a box 430 dots high and 340 dots wide
with a 15 dot line thickness. The box is inserted at position X=10,
Y=10:
NEW
10 PRPOS 10, 10 ↵
20 PRBOX 430,340,15 ↵
200 PRINTFEED ↵
300 END ↵
RUN ↵
Note: The printer does not execute the program until you have
typed RUN ↵.
Printing an Image
Now we add the image “GLOBE.1” after changing the print
coordinates to X=30,Y=30.
30 PRPOS 30,30 ↵
40 PRIMAGE "GLOBE.1" ↵
RUN ↵
Printing a Bar Code
To print a bar code, you need to choose a bar code type before
you print the bar code. Note there is no blank space in the bartype
name.
50 PRPOS 75,270 ↵
60 BARTYPE "CODE39" ↵
70 PRBAR "ABC" ↵
RUN ↵
Intermec
Fingerprint
Y
X
PAPER FEED
 Loading...