19
7.5 Seatframe, seat shell and padding
Complete disassembly
• Remove backframe and backshell. See chapter 7.3.
• Secure frame (1) with sockets and remove padding (3) from seat shell (2) (velcro fasteners).
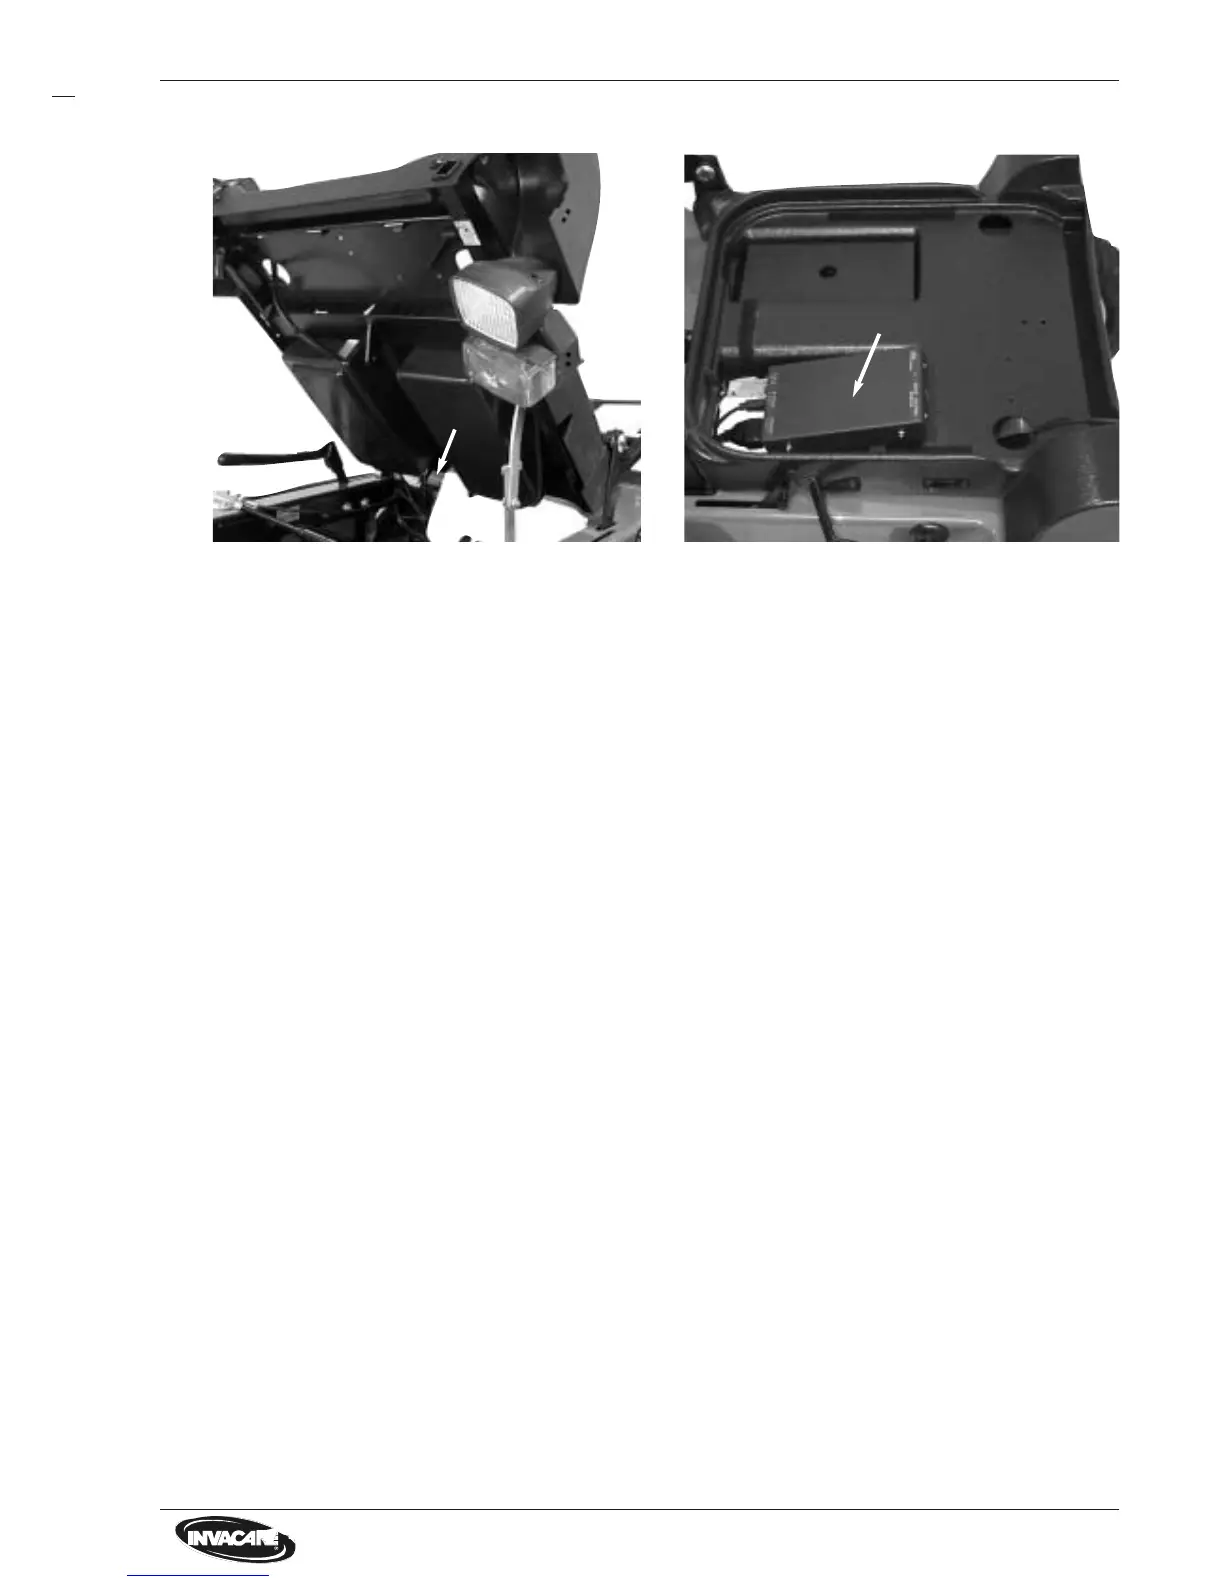
• Release plug from light-/servomodule and take module out of seat shell (2).
• Bring seat in service position and fix it.
• Take off gas spring from seat frame and release bowden wire from gas spring.
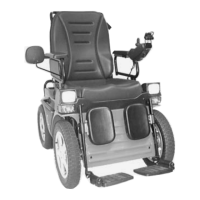
• Remove plastic rivets with a screw driver and take off the front lighting carefully out of seat shell down-
wards.
• Draw off plug from connector row (6), remove cable connector, disengage lighting cable carefully and
remove lamps completely.
• Release screws from seat support and remove both parts of support from seatframe (1).
• Remove securing socket again and take off frame (1) with seat shell (2) from chassis.
• Press seat shell (2) at front and sides carefully outwards and take off from frame (1).
Assembly
• Assembly is carried out in reverse order.
• Padding damaged?
• Seat shell damaged?
• Seatframe warped or
welded joints defective?
• Screwed connections of lat-
ching mechanism loose?
• Latching mechanism warped
or defective?
> Replace padding.
> Replace seat shell.
> Straighten frame.
> Replace frame.
> Tighten screws.
> Straighten or replace.
Check Action
NOTE:
• Take care during disassembly / assembly that the cable forms to the front lighting,
to light-/servomodule and to remote run freely and aren´t damaged.
• Before disassembly of seatframe and seat shell you first have to remove backframe and backshell.
After that secure seatframe with fitting sockets at chassis.
Seatframe
Seat shell
1 Seatframe 2 Seat shell
3 Padding (not shown) 4 Latching mechanism
5 Front lighting equipment, compl. 6 Connector row for lighting system
2
2
1
1
4
5
Light-/servo module
6