33
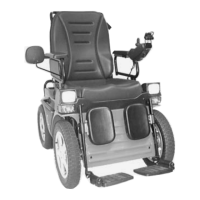
11.2 Lighting system back
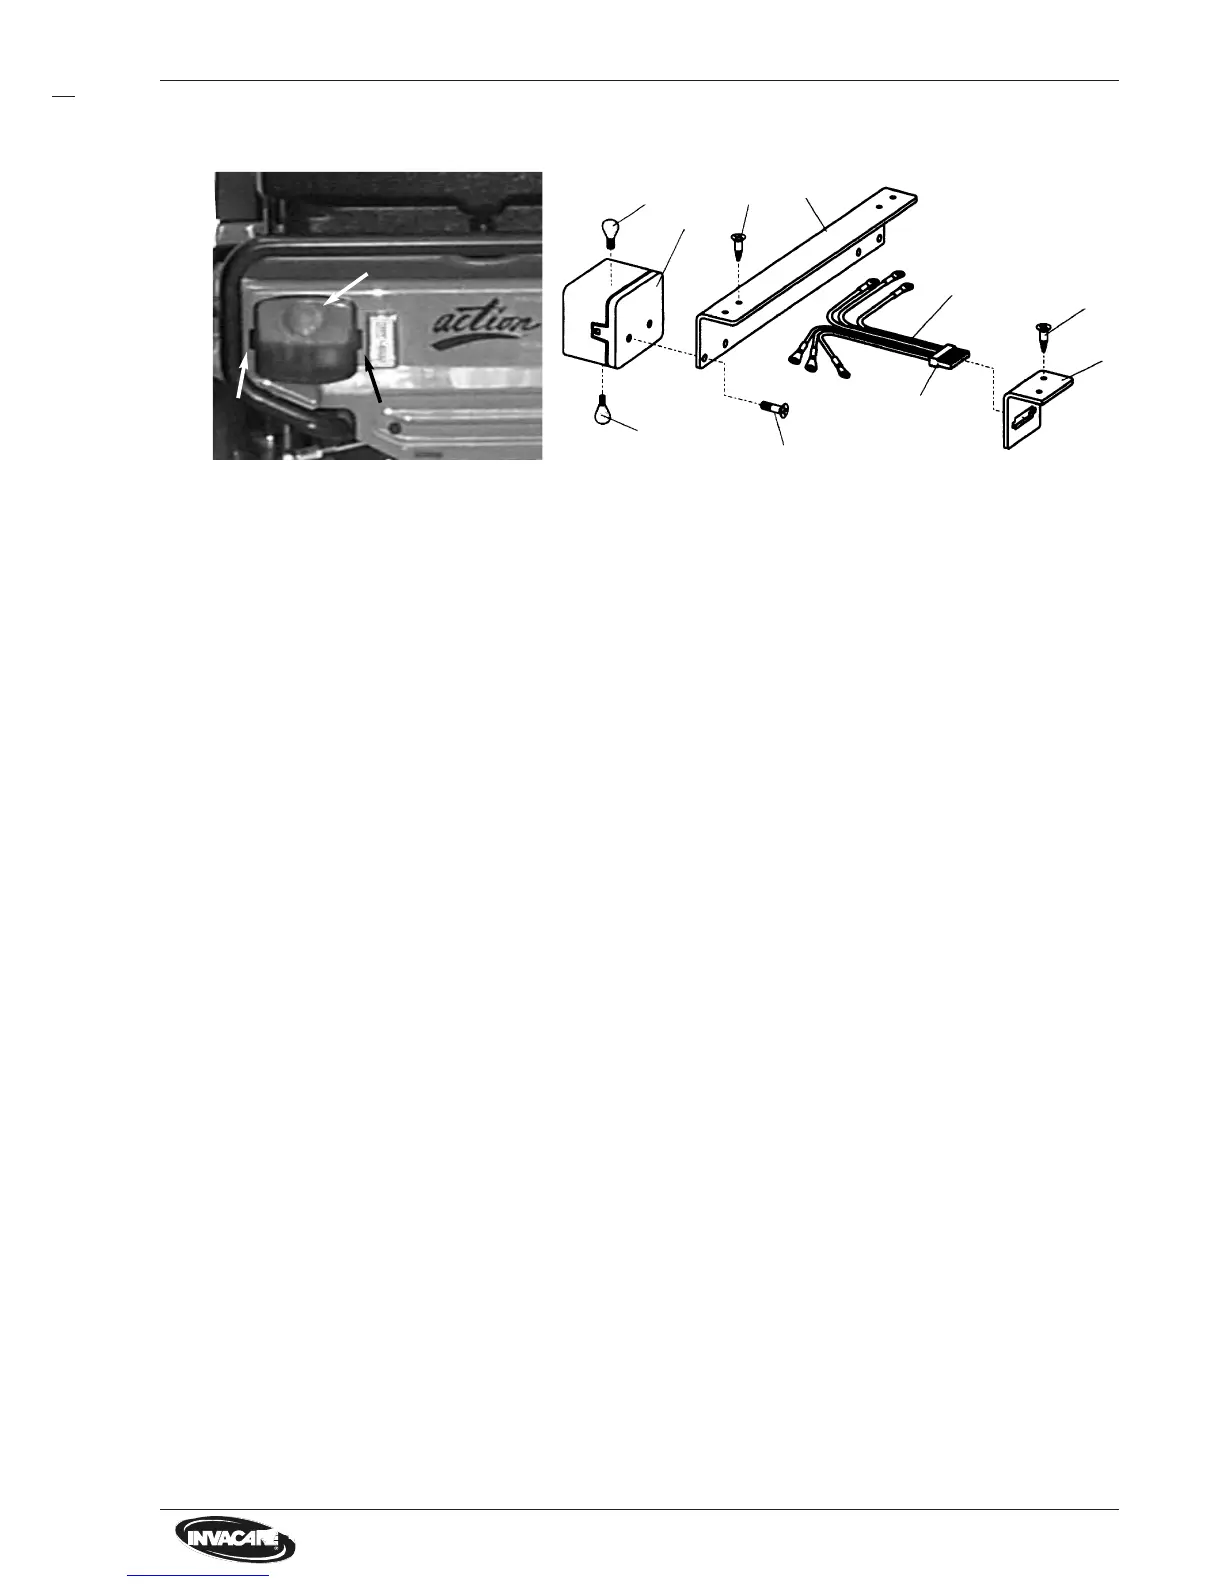
1 Backlightholder 2 Backlight compl.
3 Indicator bulb 12V/21W 4 Backlight bulb 12V/5W
5 Holding square for plug 6 Cable form with plug 7
8 Countersunk screw M5x20 9 Fillister-head screw M4x15
2
NOTE:
• Before controlling the lighting
system secure that batteries are
loaded.
• For control switch on lights at
remote.
• Back lighting failured
completely?
• One indicator defective?
• One backlight defective?
> Replace light-/servo
module.
> Replace bulb.
> Replace bulb.
Check Action
Back lighting
Back lighting, single parts
Replace indicator bulb
• Insert a flat screwdriver into recess at side of light (see arrows), push away clicking lever softly from light and
draw off simultaneously backlight cap backwards.
• Repeat operation on the other side and take off backlight cap.
• Remove indicator bulb out of bayonet socket and replace.
Replace backlight
• Remove backlight as described above.
• Remove backlight bulb out of bayonet socket and replace.
Complete disassembly of backlight
• Remove backlight cap like above.
• Remove lamps like above.
• Flachsteckhül?????????????????????????
• Remove two screws (9) and take off backlight (2) from backlightholder.
Disassemble cable form
• Remove backlight like above.
• Prop up wheelchair that it is accessible from below.
• Draw off plug (7), pull cable form carefully out of holder (1) and remove.
Assembly
• Assembly is carried out in reverse order.
NOTE:
• Note connecting order.
1
2
3
4
9
7
5
8
6
8