2. Use the up/down navigation buttons to highlight Network and press Enter.
3. Select Network setup and press Enter.
4. Note the IP address assigned to the ScreenPlay DX.
5. Using a PC connected to the Network, right click on the Computer (Vista) or My Computer
(XP) icon and select Map Network Drive.
6. Select the drive letter you want to use for the ScreenPlay DX, then enter the IP address for
the ScreenPlay DX in the field next to Folder (for example, \\192.168.1.151).
7. You can now use My Computer or Windows Explorer to browse the ScreenPlay DX and copy
files from your network volumes onto the ScreenPlay DX.
Connecting to the ScreenPlay DX from a Mac
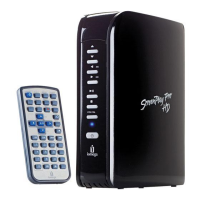
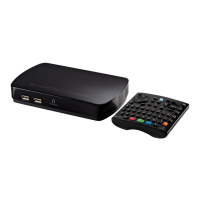
1. Select the Settings icon on the ScreenPlay home screen:
2. Use the up/down navigation buttons to highlight Network and press Enter.
3. Select Network setup and press Enter.
4. Note the IP address assigned to the ScreenPlay DX.
5. On a Mac connected to the network, select Connect to Server from Finder’s Go menu.
6. Under Server Address, enter “smb://” followed by the IP address for the ScreenPlay DX
(for example, smb://192.168.1.151).
7. Click Connect.
8. Select the ScreenPlay public share to mount it on your desktop.
| top of page |