Getting Started
Turning the POWER Switch On / Off
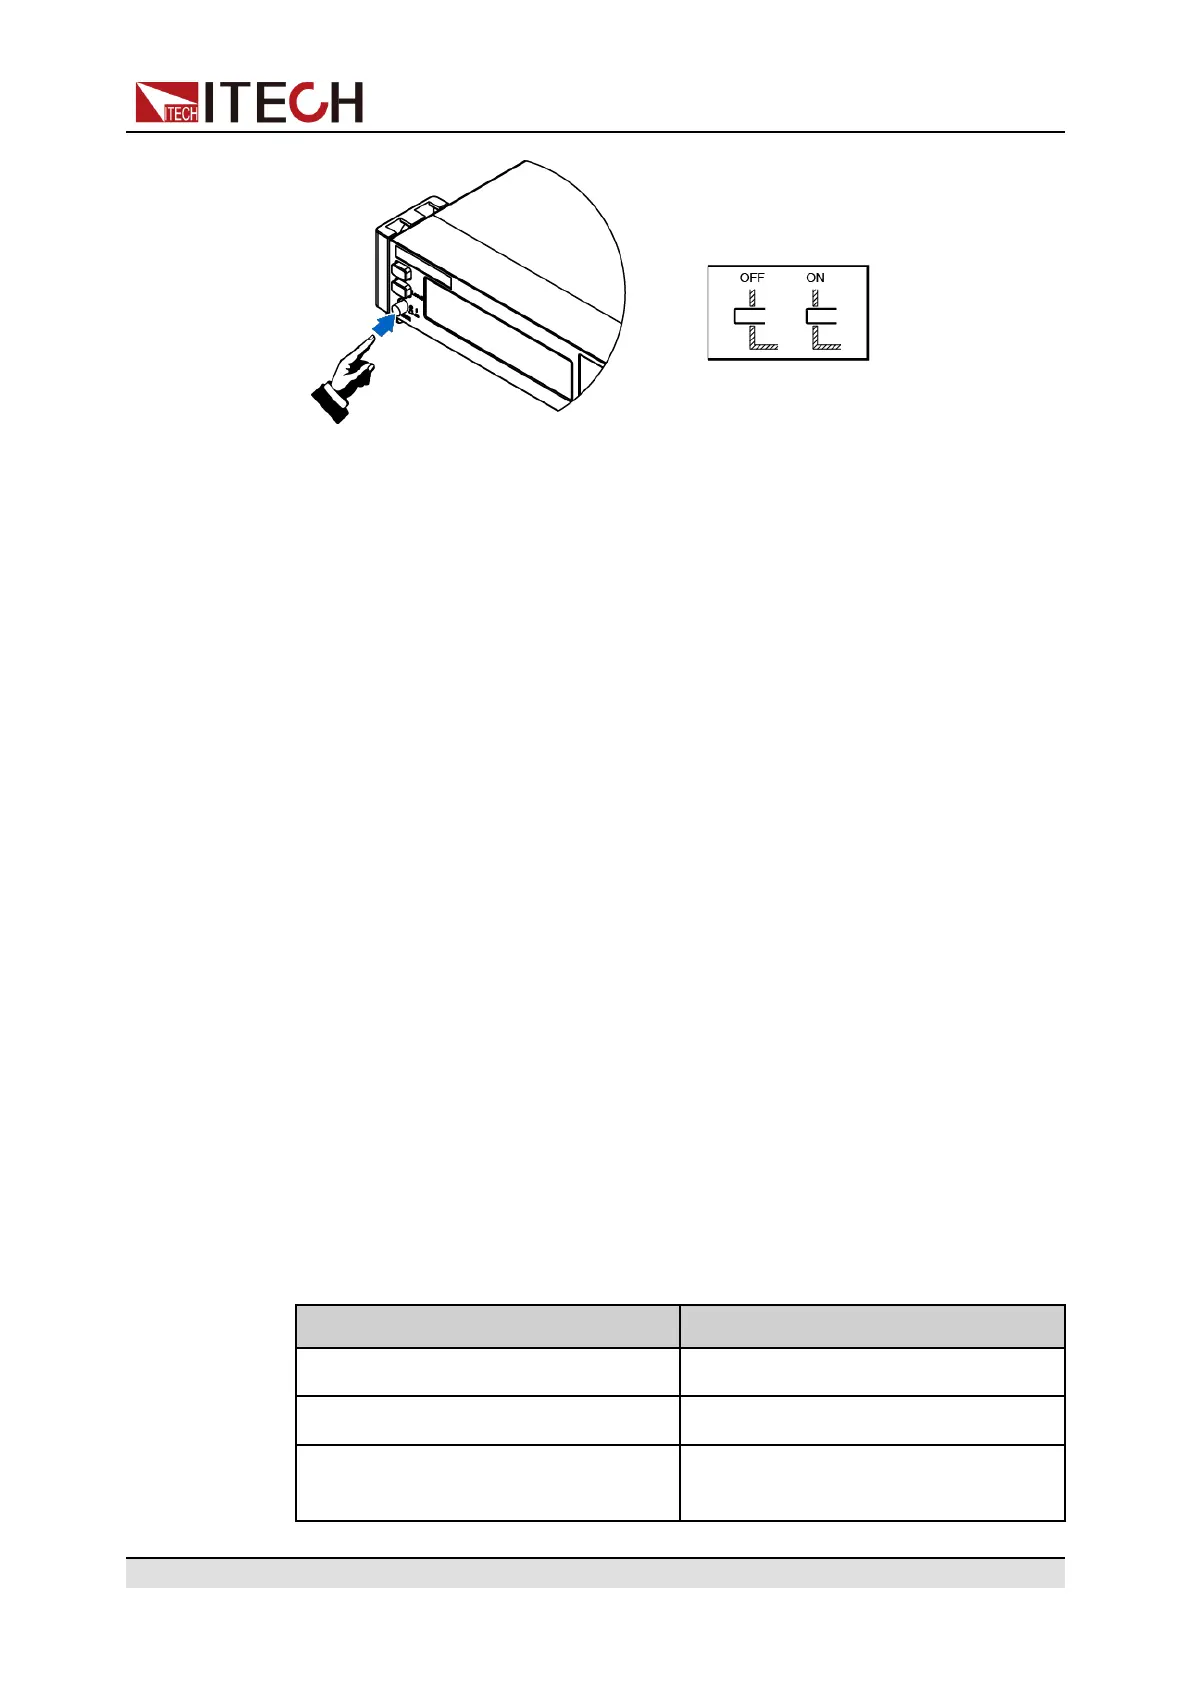
• Turning the POWER Switch On
Check that the power cord is connected properly.
Flip the POWER switch to the ( | ) side to turn the instrument on. The front
panel display will light up after a few seconds. It may take about 30 seconds
or so for the power supply to initialize before it is ready for use.
• Turning the POWER Switch Off
Flip the POWER switch to the ( O ) side to turn the instrument off. After you
turn the POWER switch off, wait at least 10 seconds after the fan stops be-
fore you turn the POWER switch back on. Turning the instrument on too
soon after you turn it off can cause damage to the inrush current limiter cir-
cuit, as well as reduce the life of components such as the POWER switch
and the internal input fuses.
Self-Test Procedures
A successful self-test indicates that the purchased product meets delivery
standards and it is available for normal usage. Normal self-test procedures:
1. Correctly connect the power cord and power on the instrument.
The instrument starts the self-test.
2. After the instrument is self-tested normally, the VFD shows the output volt-
age, current, power and other information (CV mode).
If an error occurs during the self-test, an error message is displayed. The follow-
ing table lists the error messages you might see.
Error message Error Description
Eeprom Failure The EEPROM is damaged.
Main FrameInitializeLost The system setting data is lost.
Calibration Data Lost The factory calibration data in EE-
PROM is lost.
Copyright © Itech Electronic Co., Ltd.
43
 Loading...