Page 36
Section7.PowerCenterPCBDIP
Switch Settings
7.1 DIPSwitchFunctions
DIP #1 ON- AUX 1 Controls Pool Cleaner
If you installed a booster pump for a pool cleaner,
the relay coil for the booster pump must be plugged
into the AUX 1 relay socket. If a non-booster
pump cleaner is installed, plug the JVA into the
cleaner JVA socket. Turn ON DIP Switch #1.
• Mainlterpumpturnsonwhenevercleaner
turns on.
• Cleanerwillnotturnonuntillterpump
has been on for three (3) minutes (to ensure
priming of system).
• Cleaner turns off when water circulation is
to spa.
• Cleaner turns off when spa spillover feature
is activated.
• Cleaner turns off for three (3) minutes when
solar is activated (to ensure air is purged
from the system).
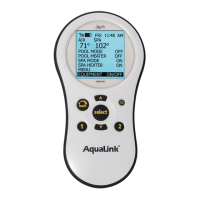
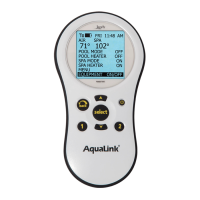
• AquaLink RS Control Panel display reads
"CLEANER" rather than "AUX 1".
DIP #2 ON- AUX 2 Controls Low Speed of Filter
Pump
Turn this switch ON if you want to control both
speeds of a two-speed filter pump. With this switch
on, the filter pump button on the AquaLink RS
Control Panel will control high speed and the AUX
2 button will control low speed.
IMPORTANT You must also install a Jandy Two-
Speed Relay.
DIP #3 ON- AUX 3 Controls Spa Spillover
(Operates with Pool/Spa Combination)
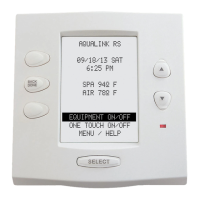
Turn this switch ON, and when the AUX 3 button
on the AquaLink RS Control Panel (or Spa Side
Switch) is pressed, the Return Valve Actuator will
rotate to spa circulation. Because the Intake Valve
Actuator does not rotate, the spa will fill with water
and overflow into the pool.
NOTE Leave AUX 3 relay socket empty.
CAUTION
Turn this DIP Switch ON only if you are using
an electric heater or a heat pump that does
not retain residual heat. If you are turning this
switch ON for service purposes, be sure to turn
it back off.
DIP #4 ON- Heater Cool Down Disabled
Turn this switch ON to disable the heater cool
down safety feature on the AquaLink RS.
DIP #5 ON- Factory Use Only
This switch is used for calibration by Jandy
certified technicians only (will momentarily
display the solar temperature and if installed, actual
FlowLink water pressure). Please leave this switch
in the OFF position.
DIP #6 ON
Change Spare AUX to activate when Filter
Pump is on and system is in spa mode (pool/spa
combination units only). Spare AUX socket is on
the back side of the Power Center PCB.
DIP #7 ON- Not Used
Dip #8 ON- Heat Pump Instead of Gas Heater
Turn this switch ON if you have installed a heat
pump instead of a gas heater. After thermostat
setting has been reached, heater will remain OFF
for 5 minutes.

 Loading...