Page 24
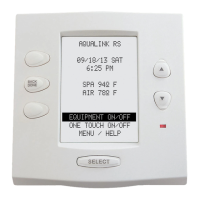
3. At the Outdoor Transceiver J-box, remove
the cover to expose the Transceiver PCB
(see Figure 33). Set the DIP switches
(except #8) to the same settings as the
Control Panel Transceiver PCB that is in
the house. Important- Before installing the
J-box cover, press the reset button (SW1).
Close the cover and test the system.
Section 4. System Startup
4.1 All Button Programming
4.1.1 Basic Programming
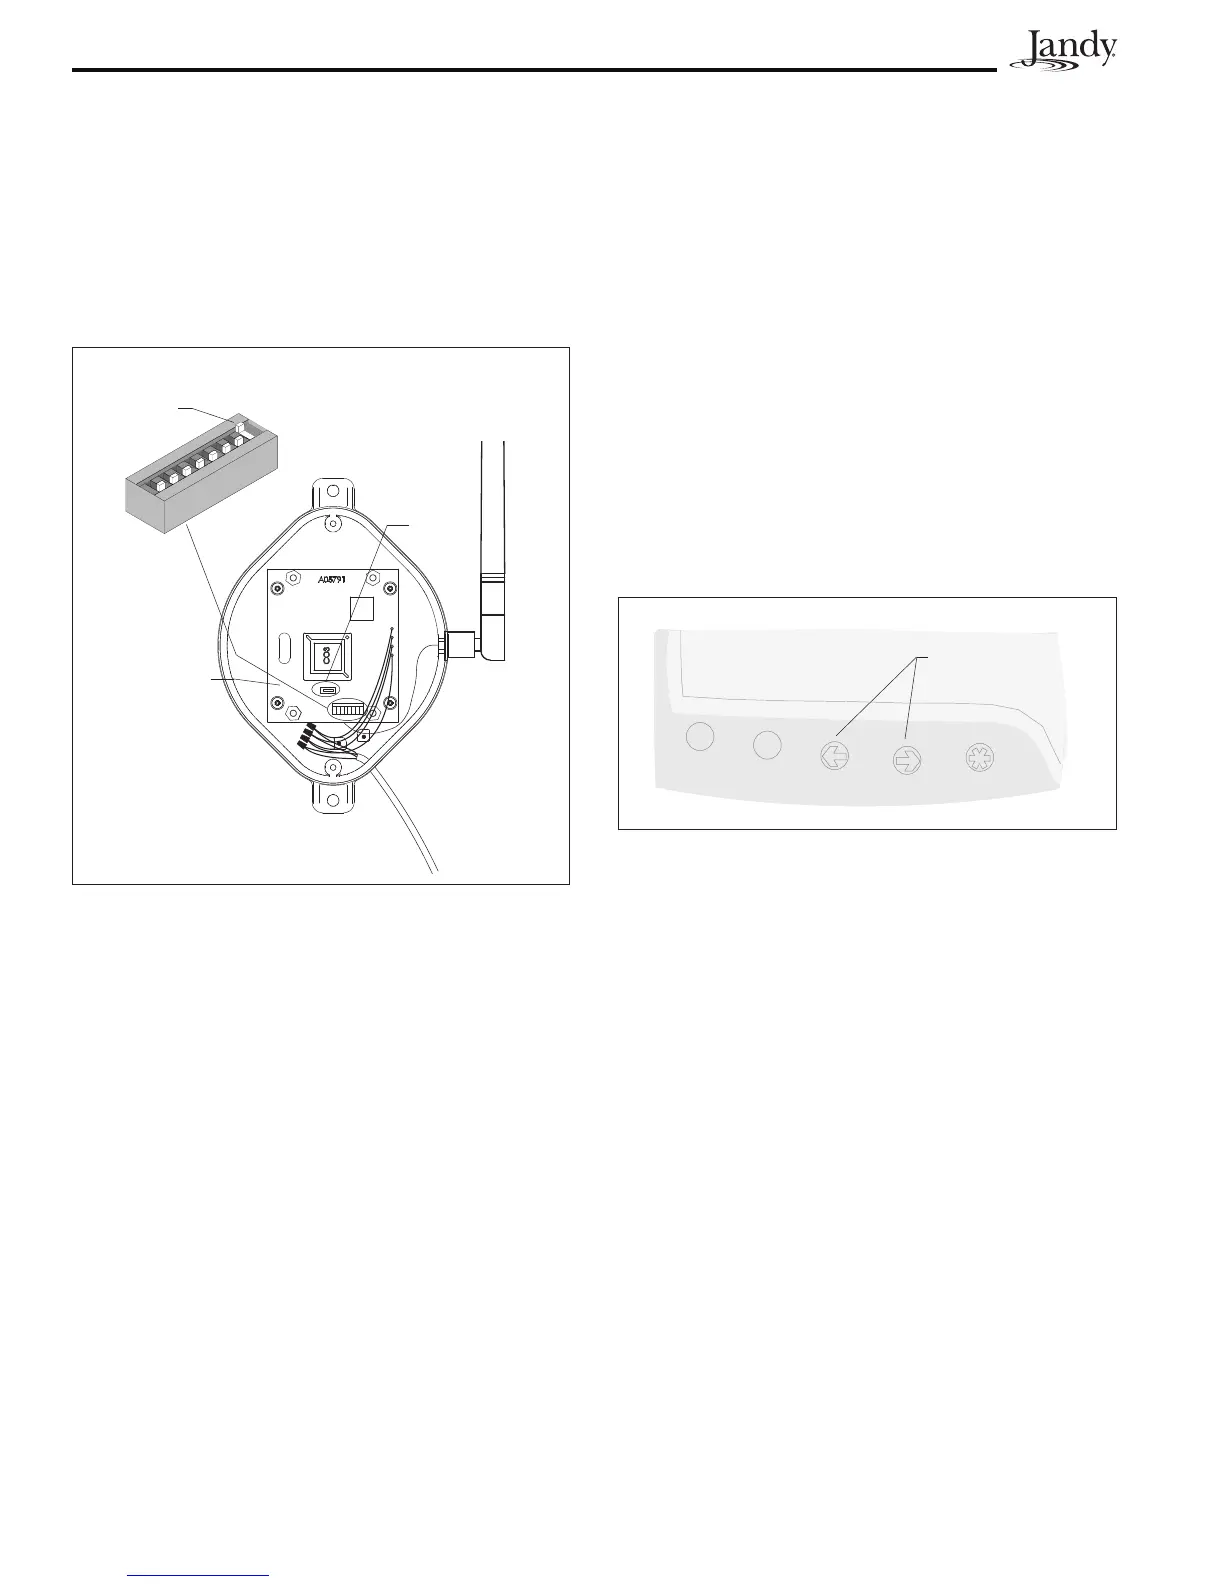
To set a particular piece of equipment to turn on
and off at predetermined times, press the MENU
button (see Figure 34), scroll to the PROGRAM
MENU, press ENTER, and then press the button
for the equipment that you want to program. The
Control Panel Display will ask you to enter the day.
Use the arrow keys to select, and press ENTER.
The display will now prompt you for the starting
time and ending time. Repeat this process for each
piece of equipment that you wish to program. You
may enter as many programs as needed for each
piece of equipment.
4.1.2 Set the Time
MENU > SET TIME > YEAR > MONTH > DAY > HOUR > MINUTE
To set the time, press the MENU button. Use the
arrow keys to scroll to the SET TIME menu and
press ENTER. Now scroll to the correct year,
month, and day and press ENTER. Scroll to the
correct hour and minute and press ENTER.
NOTE Depending on the version of the AquaLink RS,
the following items can be found either in the
Main Menu or in a Sub Menu under SETUP.
4.1.3 Set the Temperature
1.
Pool/Spa Combination
MENU > SET TEMP > POOL or SPA > SET TEMP VALUE
Press the MENU button, scroll to the SET TEMP
menu, and press ENTER. Use the arrow keys to
select POOL or SPA and press ENTER. Once you
have selected which heater to set the temperature
for, use the arrow keys to select the desired
temperature, and press ENTER to complete.
Figure 33. DIP Switch Settings at Power Center
J-Box
Always ON
If any DIP Switch is moved, you
must press SW1 to establish
communication.
SW1
Power Center
Transceiver
PCB
Figure 34. AquaLink RS All Button Control Panel
Buttons
MENU
CANCEL
BACK
FORWARD
ENTER
Arrow Keys

 Loading...